Using the incline on your home treadmill is one of the best ways to boost calorie burn, simulate hill walking or running, and build leg strength. But if you get it wrong, that climbing angle can overload your knees, irritate your lower back, and turn a good workout into a long‑term problem. This checklist walks you through warm‑up, shoe choice, posture cues and safe incline programming so you can enjoy all the benefits of hills without wrecking your joints.
Start with prep: warm‑up, footwear and treadmill setup
Before you touch the incline button, spend 5–8 minutes walking on a flat surface to warm your muscles and lubricate your joints. Wear supportive running shoes with good cushioning and a firm heel counter to limit ankle collapse. Make sure your treadmill is stable on the floor and that you know where the safety key is. Keep the deck clear of clutter and avoid placing heavy objects on the console that could fall while you walk or run. Begin each session with the incline at 0% to let your hips, knees and back adapt gradually.
Find your safe incline zone for walking and running
For most people, a 1–3% incline is ideal for everyday treadmill walking: it mimics outdoor terrain and slightly increases effort without stressing the knees. If you want a stronger hill effect, you can progress to 4–6% for short blocks, but keep the speed comfortable and monitor how your lower back feels. Runners should treat incline like resistance training: use 1–2% for easy runs and reserve 3–5% for short intervals rather than long continuous climbs. Extremely steep gradients (8–12% and beyond) are best kept for very short power walks, not for long sessions, to avoid excessive load on the patellar tendon and lumbar spine.
Posture, stride and handrails: the form that protects your joints
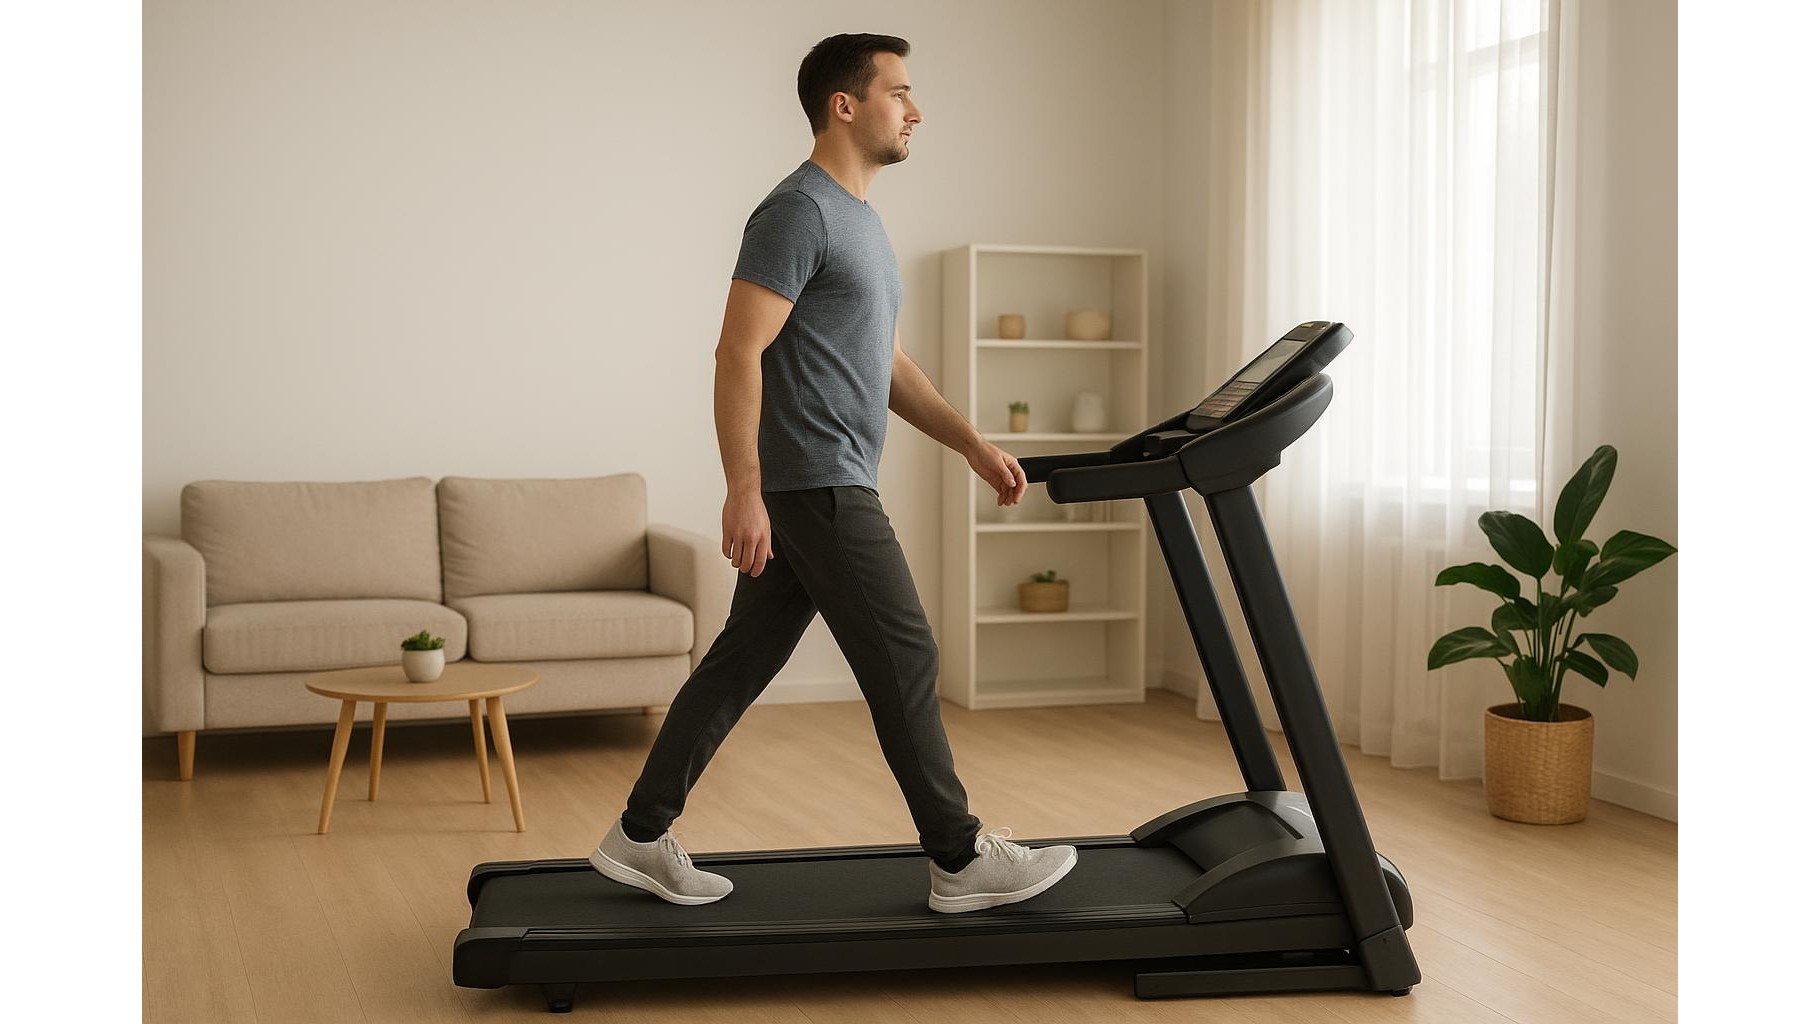
Good treadmill posture is non‑negotiable on an incline. Imagine a straight line from your ear through your shoulder, hip and ankle. Lean very slightly from the ankles, not from the waist, and keep your chest open so you can breathe. Let your arms swing naturally close to your sides instead of leaning on the handrails, which throws extra pressure into the shoulders and back while shortening your stride. Take slightly shorter steps and focus on placing your foot under your body, not far in front of you, to reduce impact on the knees. If your heels slap down or you feel your lower back tighten, the incline or speed is probably too high.
Programming hill workouts that your body can handle
Think of incline as a training tool, not a macho test. Beginners can start with a 20–30 minute walk at 1–2% incline, adding 0.5–1% every couple of weeks if it still feels comfortable. For a simple hill interval session, alternate 2 minutes at 3–4% incline with 3 minutes at 1–2%, repeated 4–6 times. Runners might use 60–90 second hill efforts at 3–5% with equal recovery on flat. Keep at least one flat or low‑incline day between hill sessions so your joints and connective tissues can adapt. If you notice persistent knee pain, sharp back discomfort, or tingling down the leg, drop the incline immediately and consult a professional before continuing.
Safety cues during and after your treadmill incline session
During your workout, use an effort‑based scale: you should still be able to speak in short sentences while walking on an incline; if you are gasping after a few words, lower the grade. Watch out for signs of overload such as stabbing pain in the front of the knee, pinching in the lower back, or one leg feeling much heavier than the other. Always include a cool‑down: 5 minutes at 0–1% incline with gradually decreasing speed, followed by gentle calf, hamstring and hip‑flexor stretches. Step off the moving belt only after it has come to a complete stop to avoid trips and falls. These simple cues make sure that every hill session builds strength and stamina instead of wear and tear.
Used correctly, the incline feature of your home treadmill is a powerful ally for cardio fitness, leg strength and weight management. By taking a few extra minutes to warm up properly, choosing the right gradient for your level, maintaining solid posture, and programming sensible hill intervals, you protect your knees and back while still challenging your cardiovascular system. Treat incline work as a gradual progression rather than a shortcut, and your home treadmill can deliver all the benefits of outdoor hills without the injury risk.