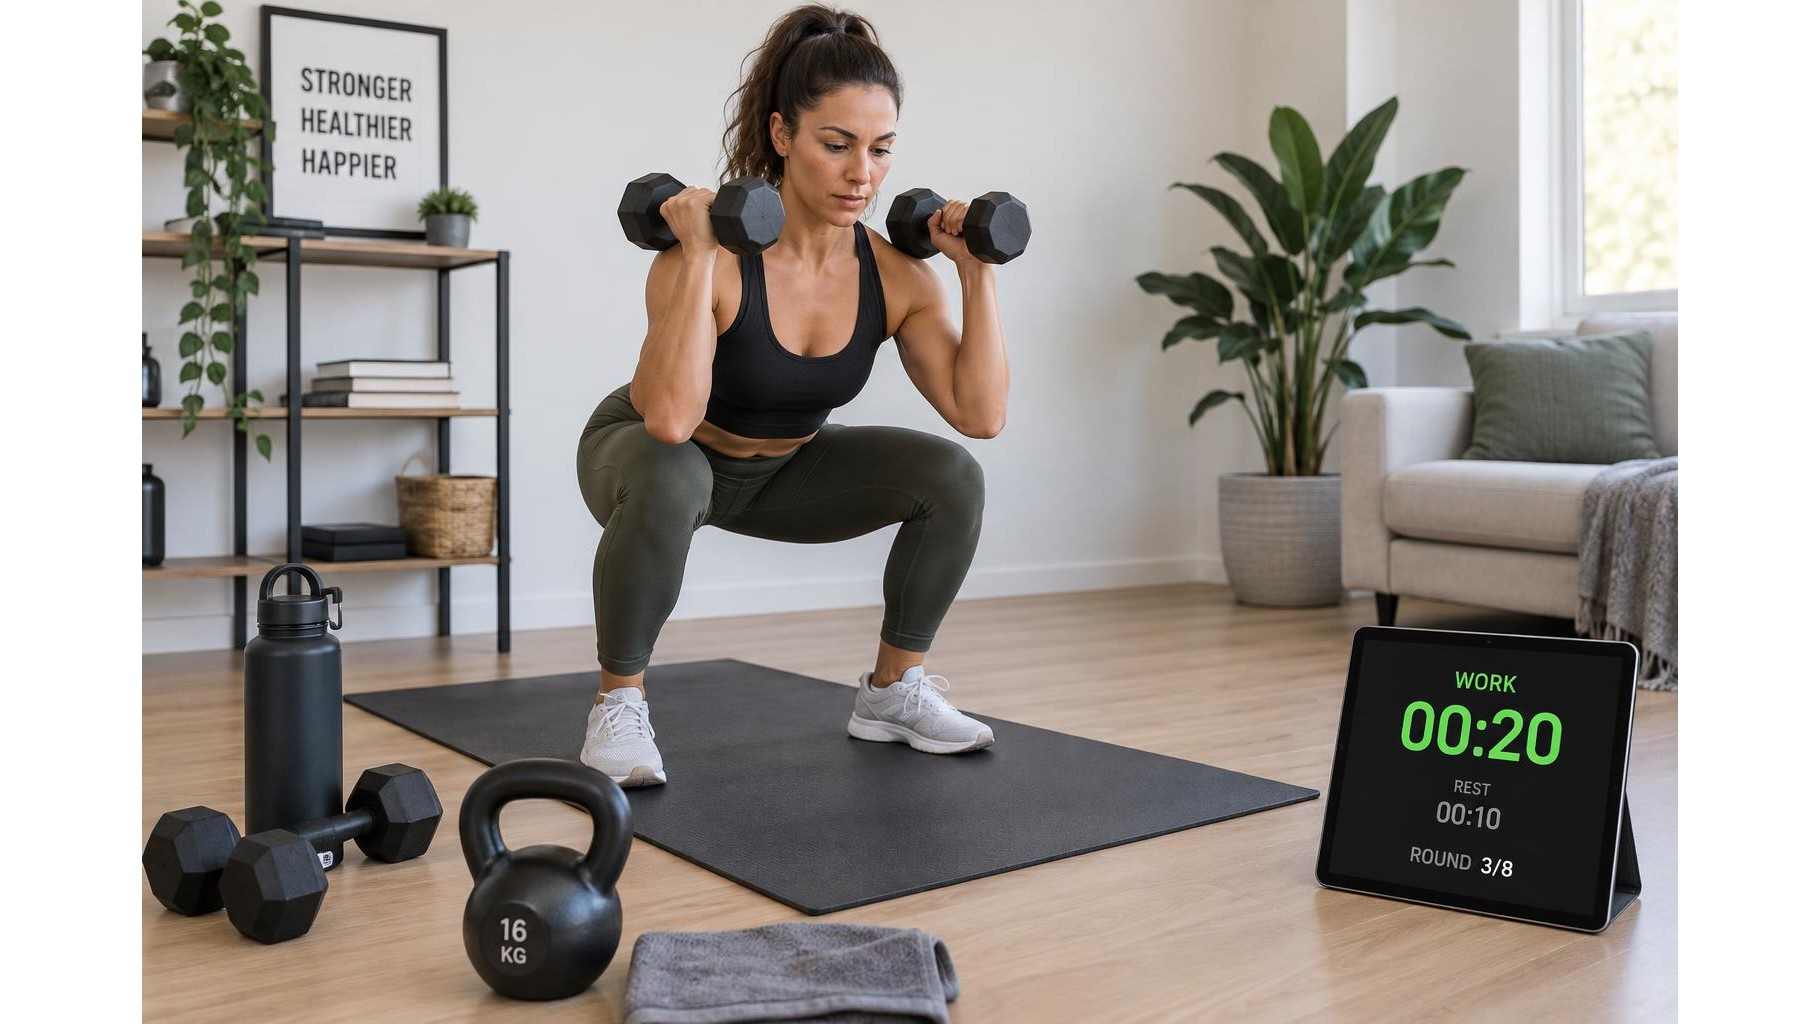
A digital interval timer can make a home workout easier to follow by signalling when to work, rest and move to the next exercise. Instead of checking a phone or counting seconds in your head, set the timing before you begin and focus on good technique. Whether you are doing strength circuits or conditioning, a simple plan helps keep each round consistent and makes it easier to manage your effort.
Choose a timer mode that fits your session
Start by checking which modes your timer offers. A basic countdown is useful for a single work period, while an interval or repeat mode can alternate work and rest automatically. Some timers also offer a stopwatch, a countdown to the start, and audible or visual alerts. For training at home, choose alerts you can notice without being startled, and place the display where you can see it from your exercise area. If the timer has a quiet or vibration option, use it when sound could disturb others. Learn how to start, pause and reset the timer before your workout so you do not need to troubleshoot between rounds.
Set work and rest periods with purpose
Match interval length to the task and your current fitness. For a controlled strength circuit, try 40 seconds of work followed by 20 seconds of rest. This gives you time to perform a manageable number of quality repetitions while keeping transitions brisk. For demanding conditioning exercises, begin with shorter efforts, such as 20 seconds of work and 40 seconds of recovery. Rest is part of the plan: use it to breathe, change position and prepare for the next movement rather than rushing into the next interval. Adjust the timing if your form deteriorates or you cannot recover enough to work safely.
Program rounds and exercise changes
Decide how many exercises make up one circuit, then calculate the number of intervals before setting the timer. For example, choose four movements, perform each for 40 seconds with 20 seconds to transition, and repeat the circuit three times. If the timer only repeats one work-rest pair, count completed intervals with a written list or add a longer recovery between rounds. Some interval timers allow a separate rest period between sets; use this to distinguish short exercise transitions from a proper round break. Write the sequence down in advance so you know which movement comes next.
Use a practical programming example
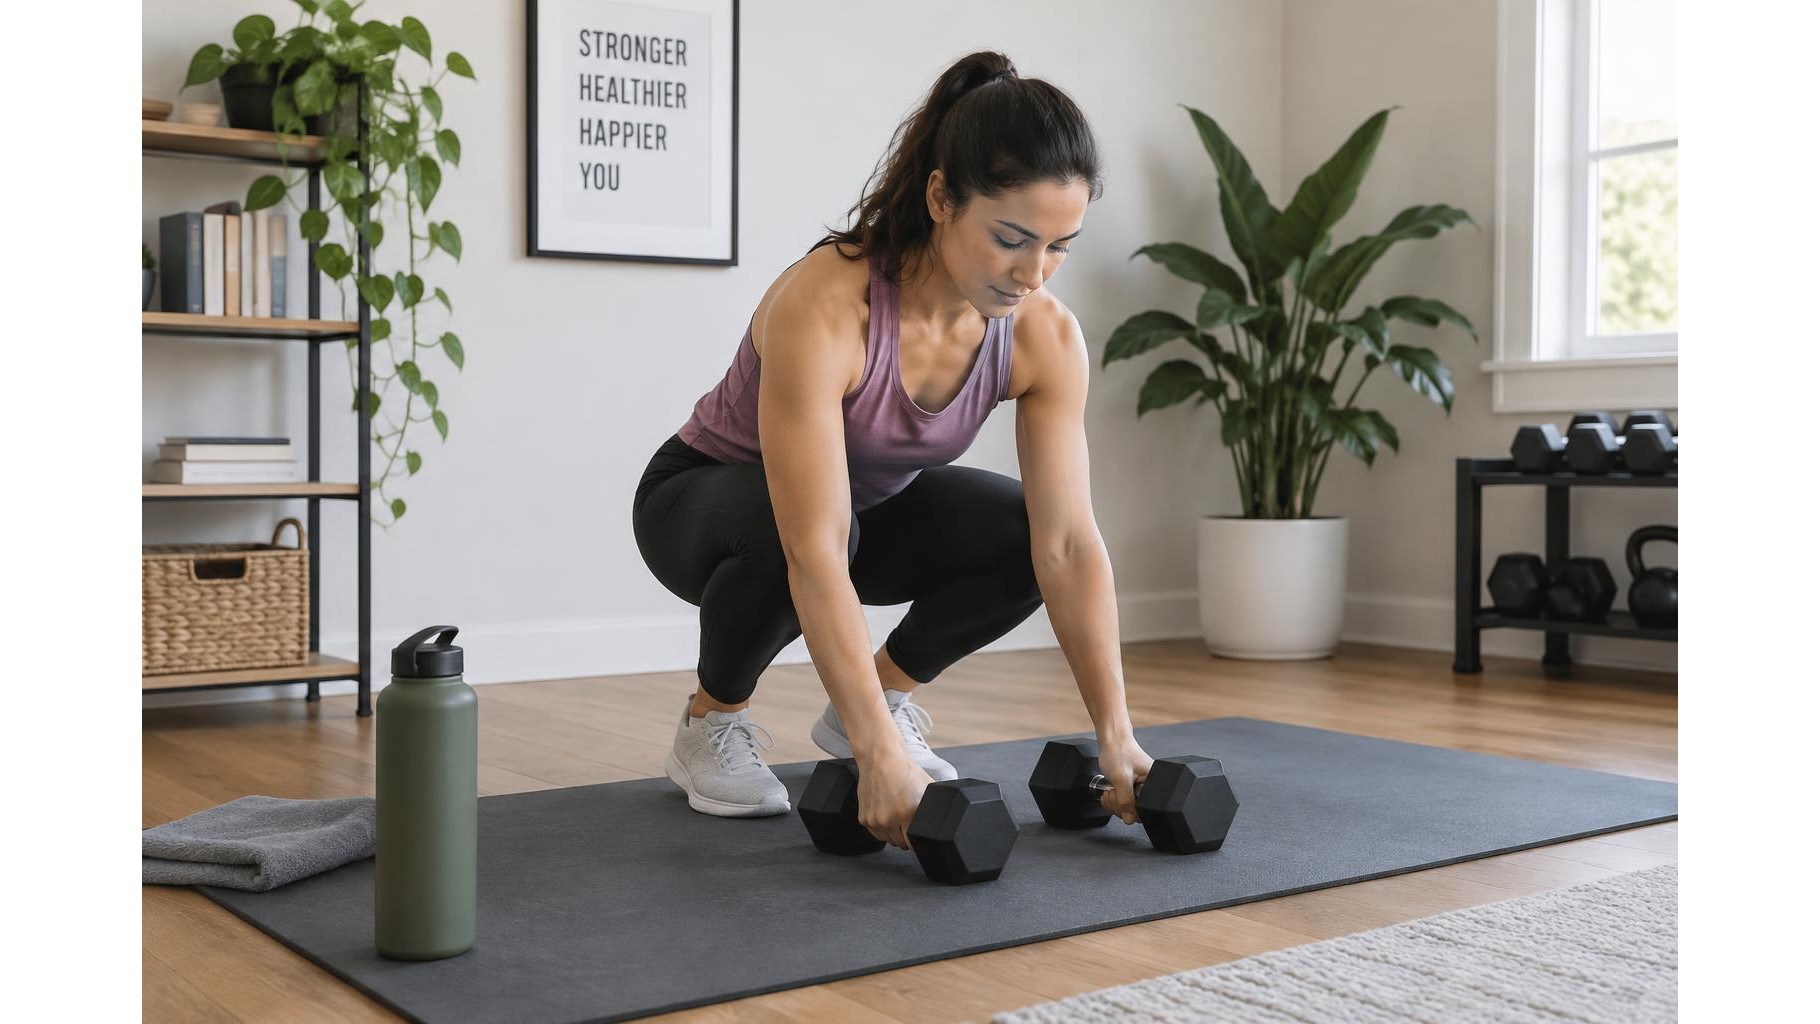
For a 20-minute full-body session, select five familiar exercises, such as squats, incline push-ups, hip hinges, rows and marching in place. Set 40 seconds of work and 20 seconds of transition, then complete four rounds. Five intervals make one round, so the work-and-transition blocks take five minutes per round. Add a longer rest after each round if needed, and include a warm-up and cool-down outside the timed circuit. Choose loads and variations that let you maintain steady technique throughout every interval; the timer should organise the workout, not force you to race.
Avoid common timing mistakes
Check the timer’s units, number of repeats and alert settings before pressing start. A misplaced extra round or a rest interval entered as work can change the whole session. Leave enough time to move safely between exercises, especially when equipment is involved, and do not place a timer where it can be knocked over. Avoid making every interval an all-out effort: pace yourself so later rounds remain controlled. If you pause for an interruption, stop the timer and restart the interval or round deliberately rather than guessing how much time remains. Keep a record of the settings that worked well so you can repeat or gradually adapt the session.
In short, a digital timer turns a workout plan into clear, repeatable steps. Select a suitable mode, program realistic work intervals, rest periods and rounds, then check the settings before you begin. Use the alerts to stay on track, while letting technique and recovery guide your pace. With a little preparation, timed home workouts can feel organised without becoming rushed.