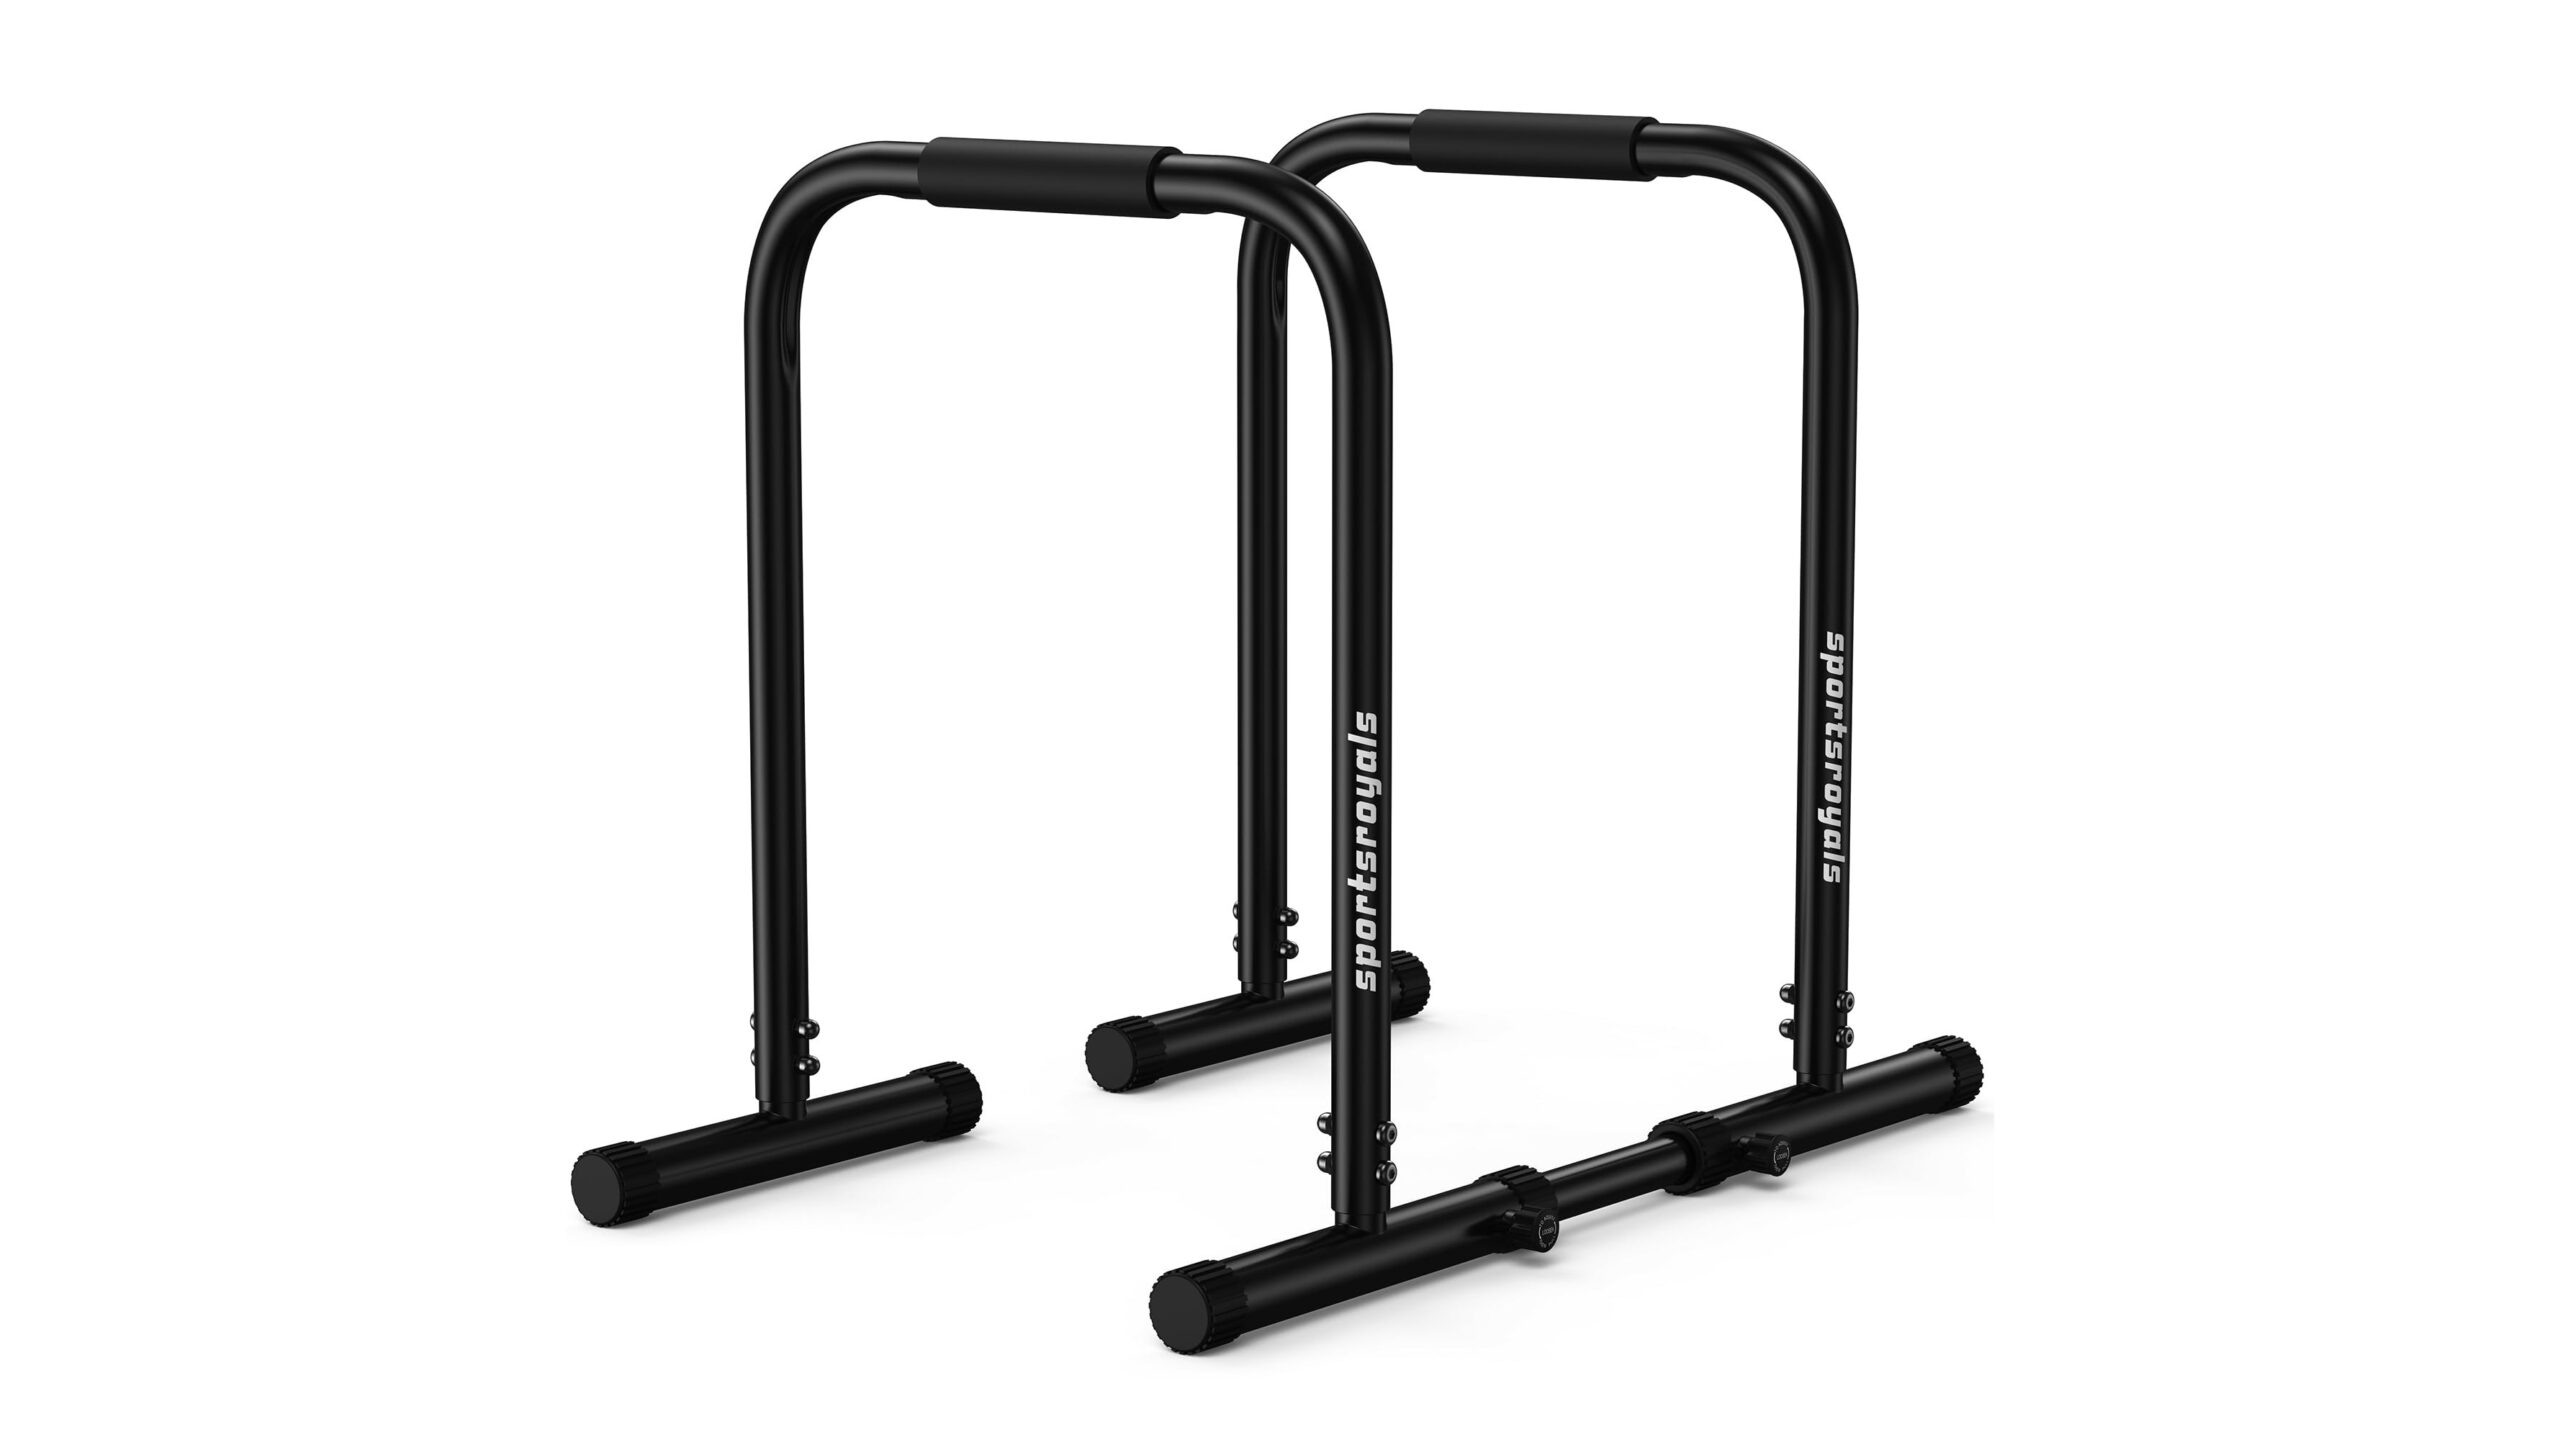
Parallel bars can make dips a useful part of a home strength routine, but good training starts before the first repetition. A stable setup, comfortable range of motion and gradual progression help you build strength while avoiding the temptation to force a deep position. Use this guide to adapt your bars and exercises to your space and current ability.
Choose a stable, suitable setup
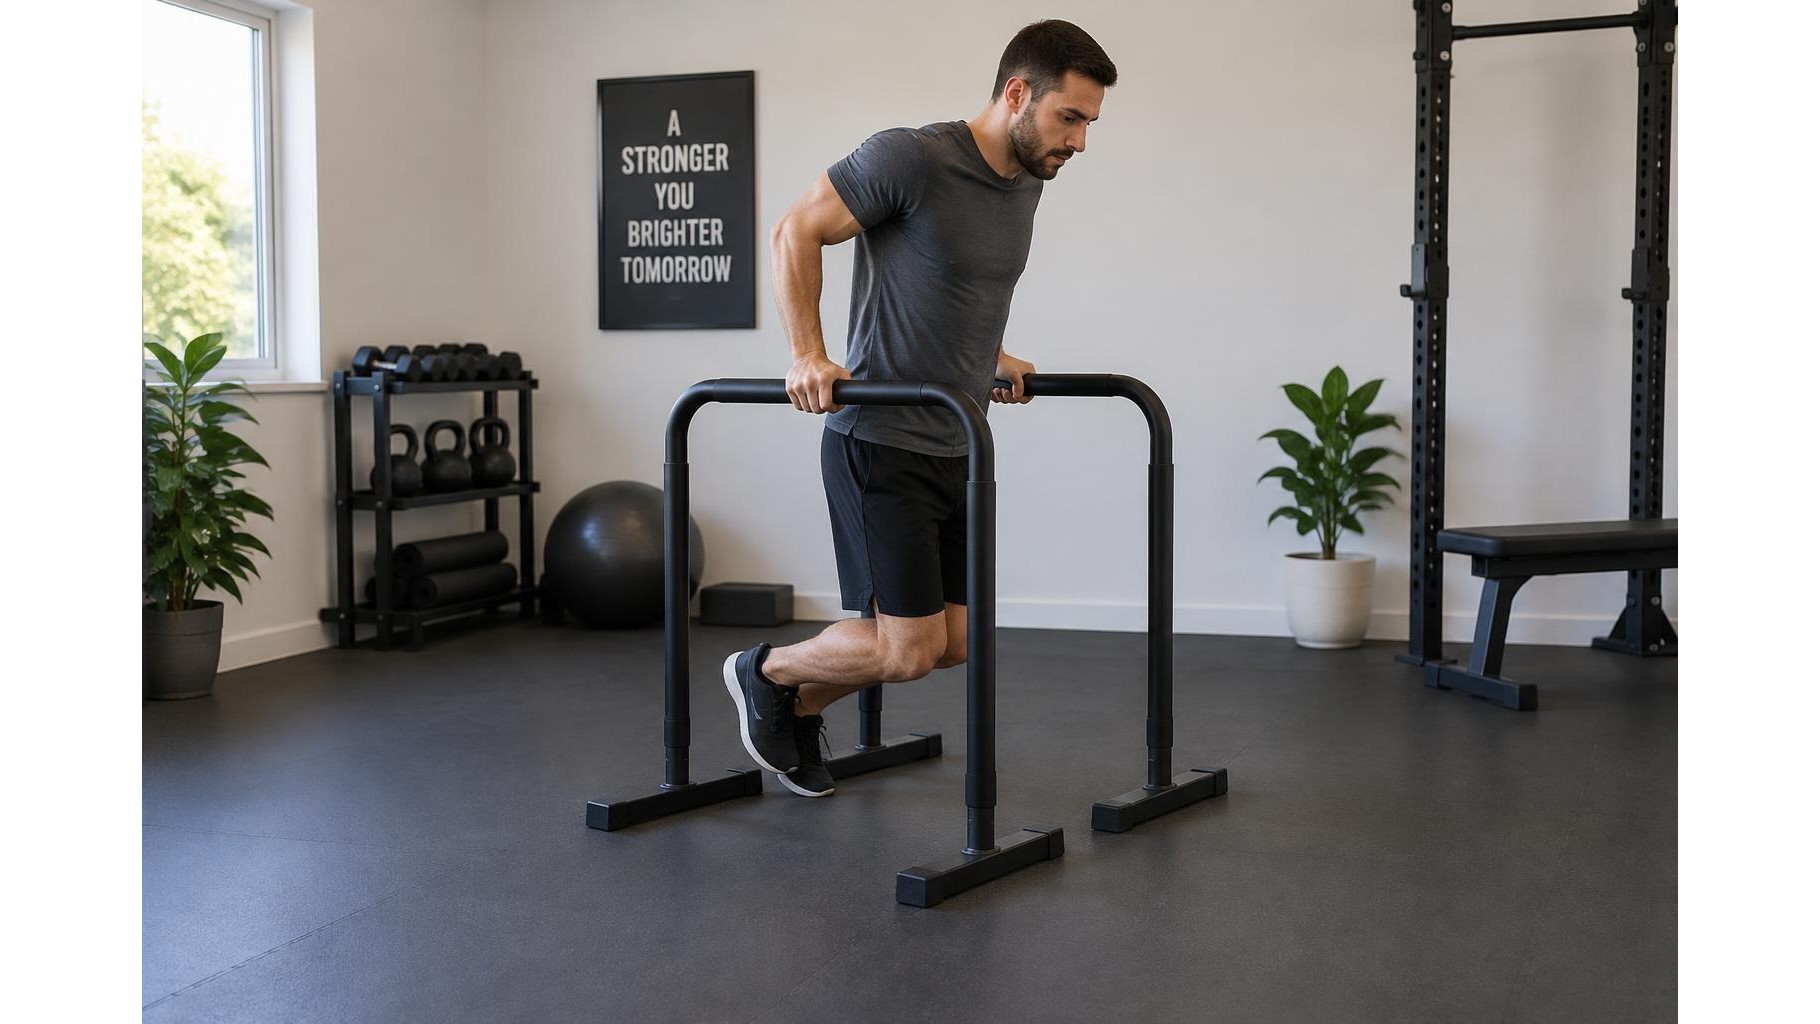
Place the bars on a firm, level surface with enough room to mount, dismount and move without hitting walls or furniture. Check that both rails sit evenly and that feet or bases do not rock when you press down. Before each session, inspect locks, bolts and adjustment points; tighten or secure them according to the manufacturer’s instructions. Test the equipment with your feet on the floor before supporting your full bodyweight. Keep children, pets and loose objects away from the training area.
Set the width and position for your body
Adjustable bars should be set so your hands can rest comfortably beneath your shoulders, or slightly wider if that feels more natural. Avoid a width that makes your wrists twist or shoulders feel pinched. For freestanding bars, position them parallel and check that they remain aligned under a gentle push. In a narrow room, turn the station so the bars run along the clearest path, leaving space at both ends. In a shared room, choose a setup that can be moved and stored safely between sessions rather than left in a walkway.
Practise support before lowering
Start by gripping the bars and holding a supported position with elbows straight but not forcefully locked. Keep shoulders gently active, ribs controlled and legs relaxed or slightly bent. Try several short holds while your feet remain close enough to the floor to assist if needed. This builds familiarity with the grip and lets you check that the equipment stays steady. If holding your bodyweight is uncomfortable, start with feet-assisted support instead of attempting full dips.
Build a beginner-friendly progression
Choose a version that lets you move smoothly and stop well before form breaks down. A practical progression is:
- Foot-assisted dips: keep your feet on the floor and use them to reduce the load.
- Supported holds: practise steady, pain-free support without lowering.
- Partial-range dips: lower only a small distance, then press back up with control.
- Fuller dips: increase the range gradually when the earlier steps feel confident.
Use a manageable number of repetitions, leaving a few good-quality reps in reserve. Rest between sets and increase only one variable at a time, such as repetitions or range.
Keep the depth controlled and pain-free
Lower slowly, keeping your shoulders comfortable and your movement controlled rather than bouncing. There is no requirement to descend until your shoulders are far below your elbows: stop at the deepest point you can reach without pain, shrugging, or losing control. Muscle effort is expected; sharp pain, joint pain, numbness or worsening discomfort is a reason to stop and reassess. Reduce the range or return to foot assistance, and seek professional advice if symptoms persist.
Review your setup as you progress
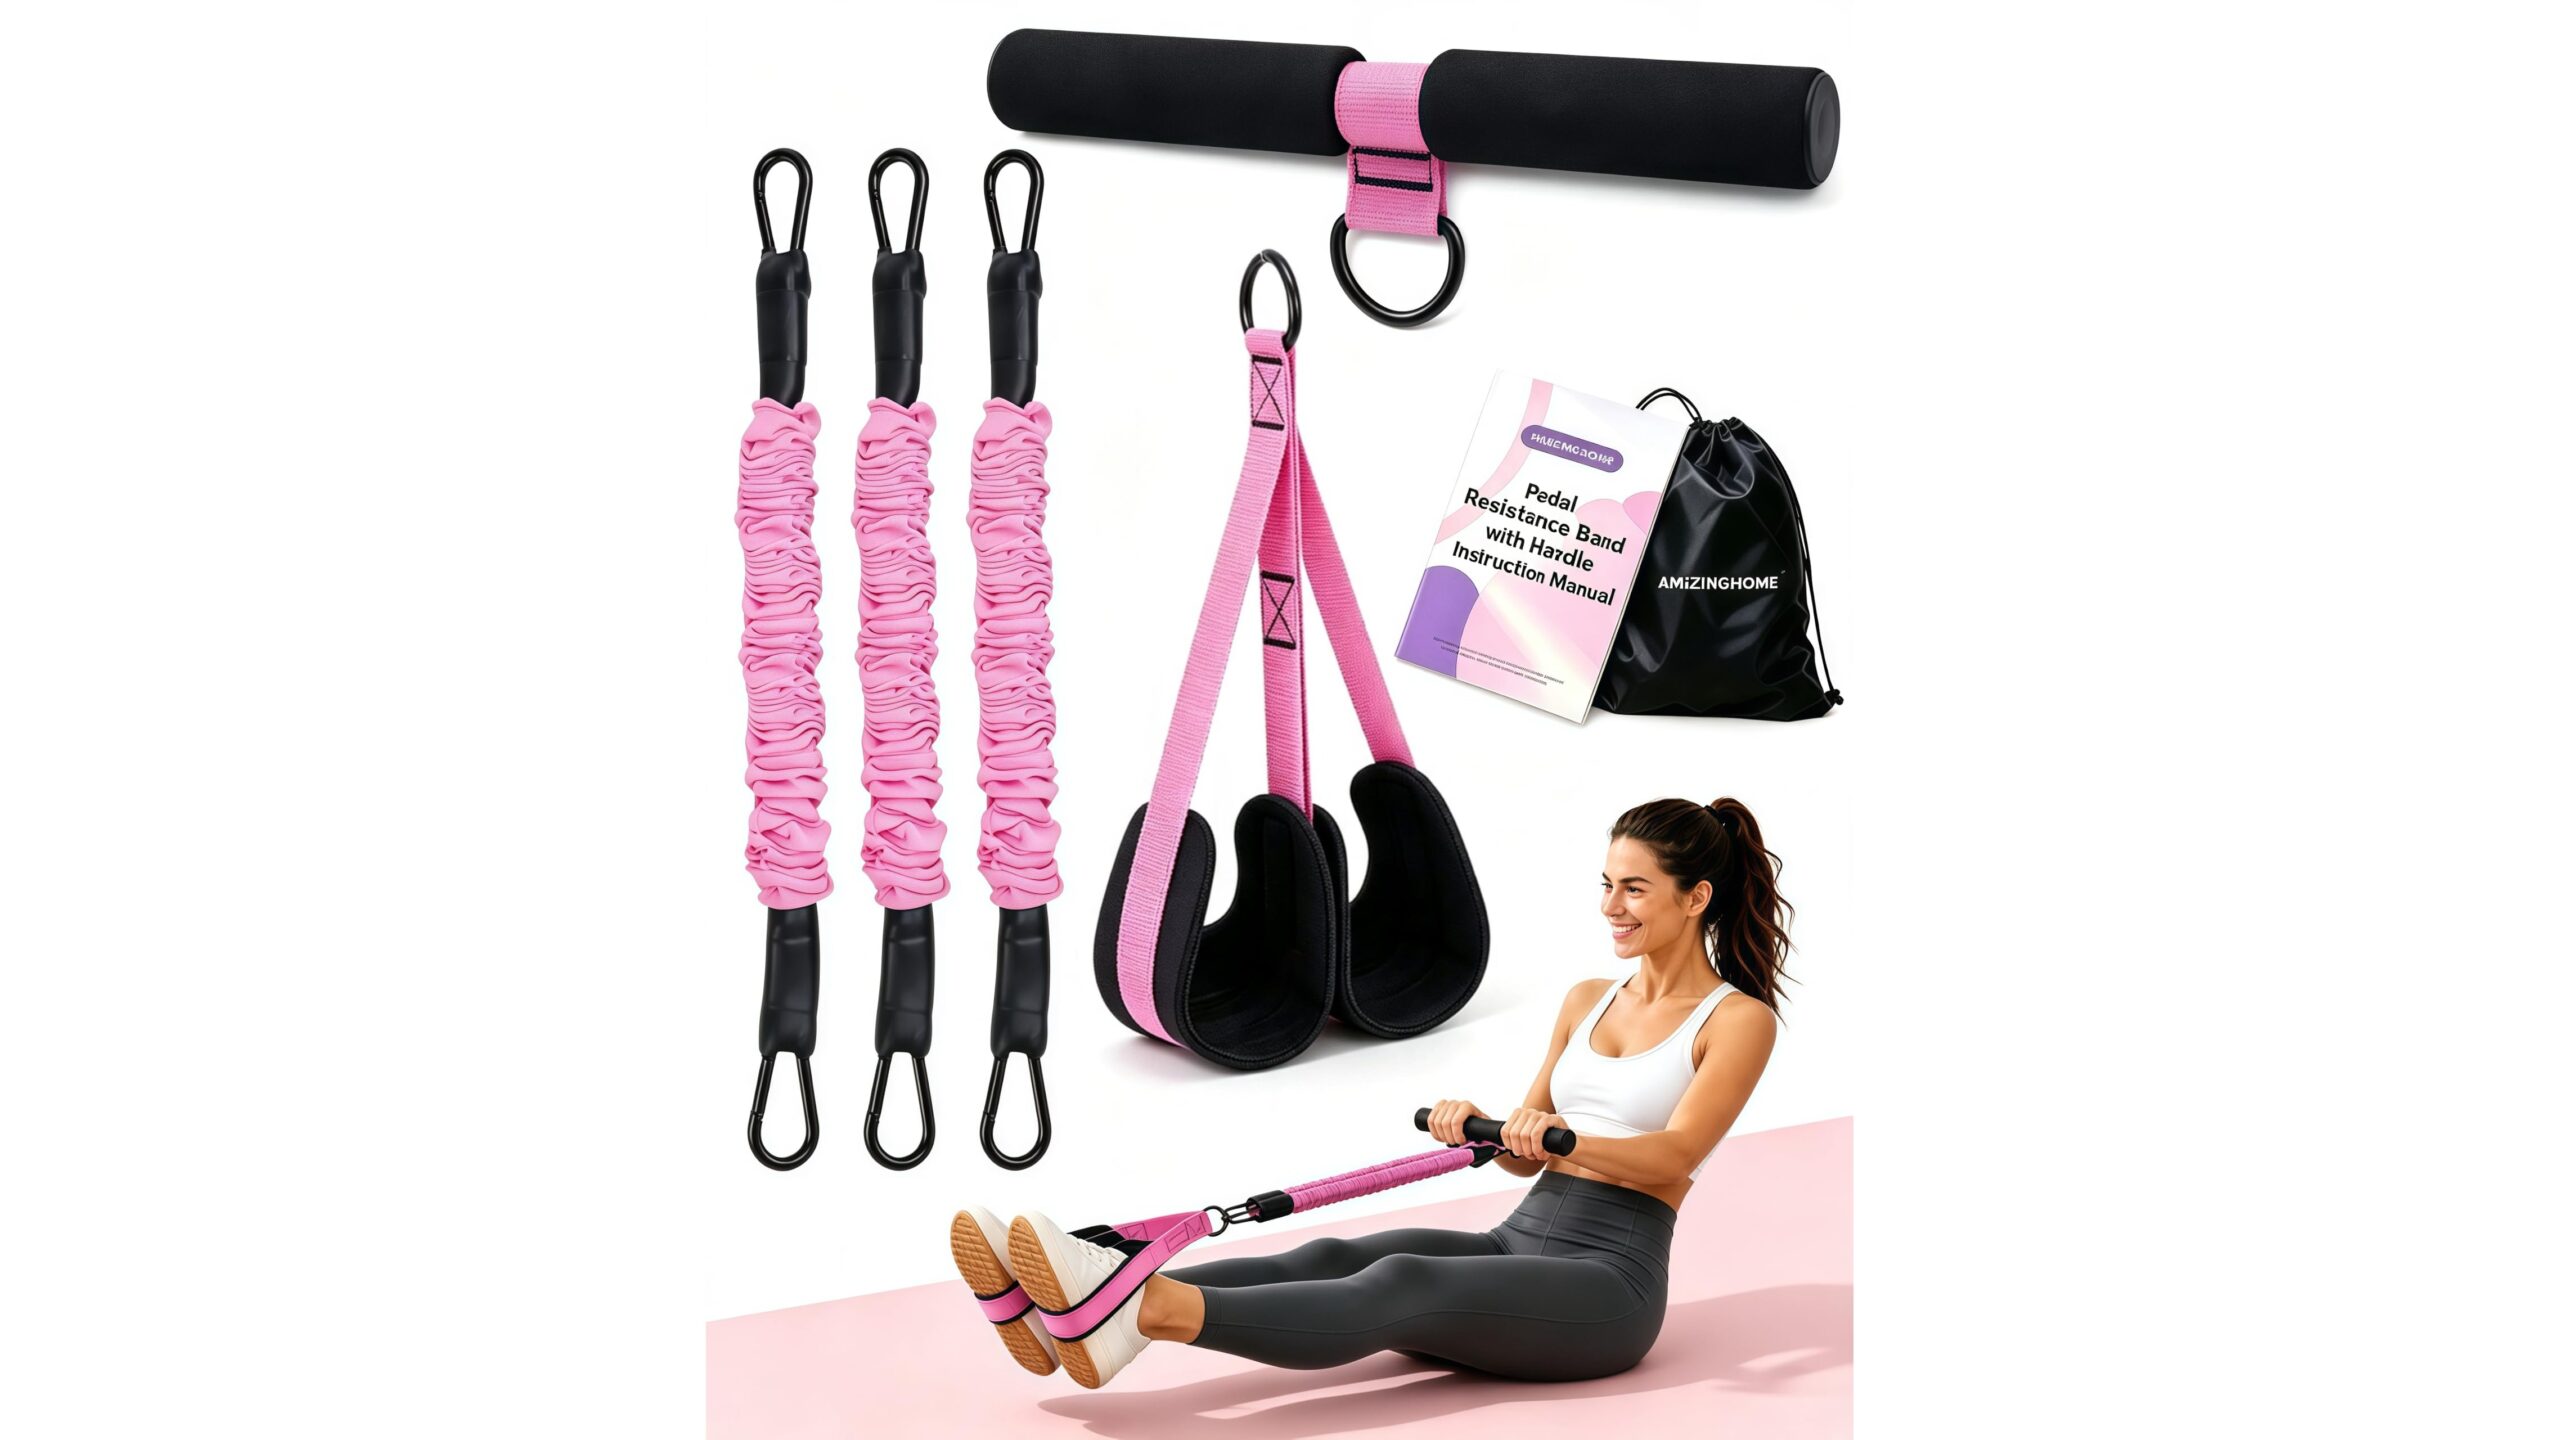
Recheck the floor, alignment and hardware when you move the bars or change their height or width. Keep the training area clear, and avoid placing bars on slippery rugs or uneven flooring. If your room cannot accommodate a stable dip station, use a more accessible strength option, such as incline push-ups against a secure surface, or band-assisted work with an appropriate anchor. These alternatives can develop pressing strength without forcing a difficult setup.
In summary, safer dip training relies on stable parallel bars, a comfortable hand position and patient progression. Begin with supported holds or foot assistance, use a range you can control, and never chase depth through pain. A consistent, well-fitted setup makes each session more effective and easier to repeat.