Foam rolling can be a powerful at‑home tool to ease muscle soreness, boost recovery and improve mobility. But if your sessions feel more like punishment than self‑care, or you roll religiously and still wake up stiff, chances are you’re making a few common mistakes. With a couple of simple tweaks and a focused 10‑minute routine, you can turn your foam roller into an effective recovery aid for your legs, back and shoulders.
Table of contents
Using the wrong type of foam roller at home
One of the biggest at‑home mistakes is choosing the wrong foam roller for your body and goals. Super‑hard, aggressively textured rollers can be too intense for beginners, making you tense up instead of relax. On the other hand, ultra‑soft rollers may feel nice but don’t offer enough pressure to affect deeper tissues. A medium‑density roller is usually the sweet spot for most people: firm enough to create change, but forgiving on sensitive areas like calves and lats. If you only buy one, pick a standard full‑length roller (around 90 cm) so you can work your whole back and also target smaller areas like quads and glutes by changing your body position.
Rolling too fast and chasing pain instead of tension
Another common error is treating foam rolling like a race. Fast, superficial passes feel busy but don’t give your tissues time to adapt. Slow down and think of it as self‑massage, not cardio. Move at a pace of about 2–3 cm per second, and when you find a tender spot, pause and breathe there for 20–30 seconds instead of rolling straight over it. Aim for discomfort, not sharp pain: if you hold your breath or clench your jaw, the pressure is too much and your muscles will guard instead of relax. Use long, controlled exhalations and keep your shoulders soft to let the roller actually do its job.
Spending too long on one muscle and ignoring the rest
Spending five minutes grinding the same knot in your quad is not more effective; it’s just irritating. Overworking a single area can increase soreness and even cause bruising. A smarter strategy is to spread your 10 minutes across the main chains that affect your posture and performance: calves, quads, glutes, upper back and lats. Think in terms of balance—if you roll the front of the thighs, also give some attention to the hamstrings and glutes; if you target the upper back, add a few passes to the lats. This whole‑chain approach helps your body move better as a system instead of just chasing one “tight spot.”
Ignoring posture and core engagement while rolling
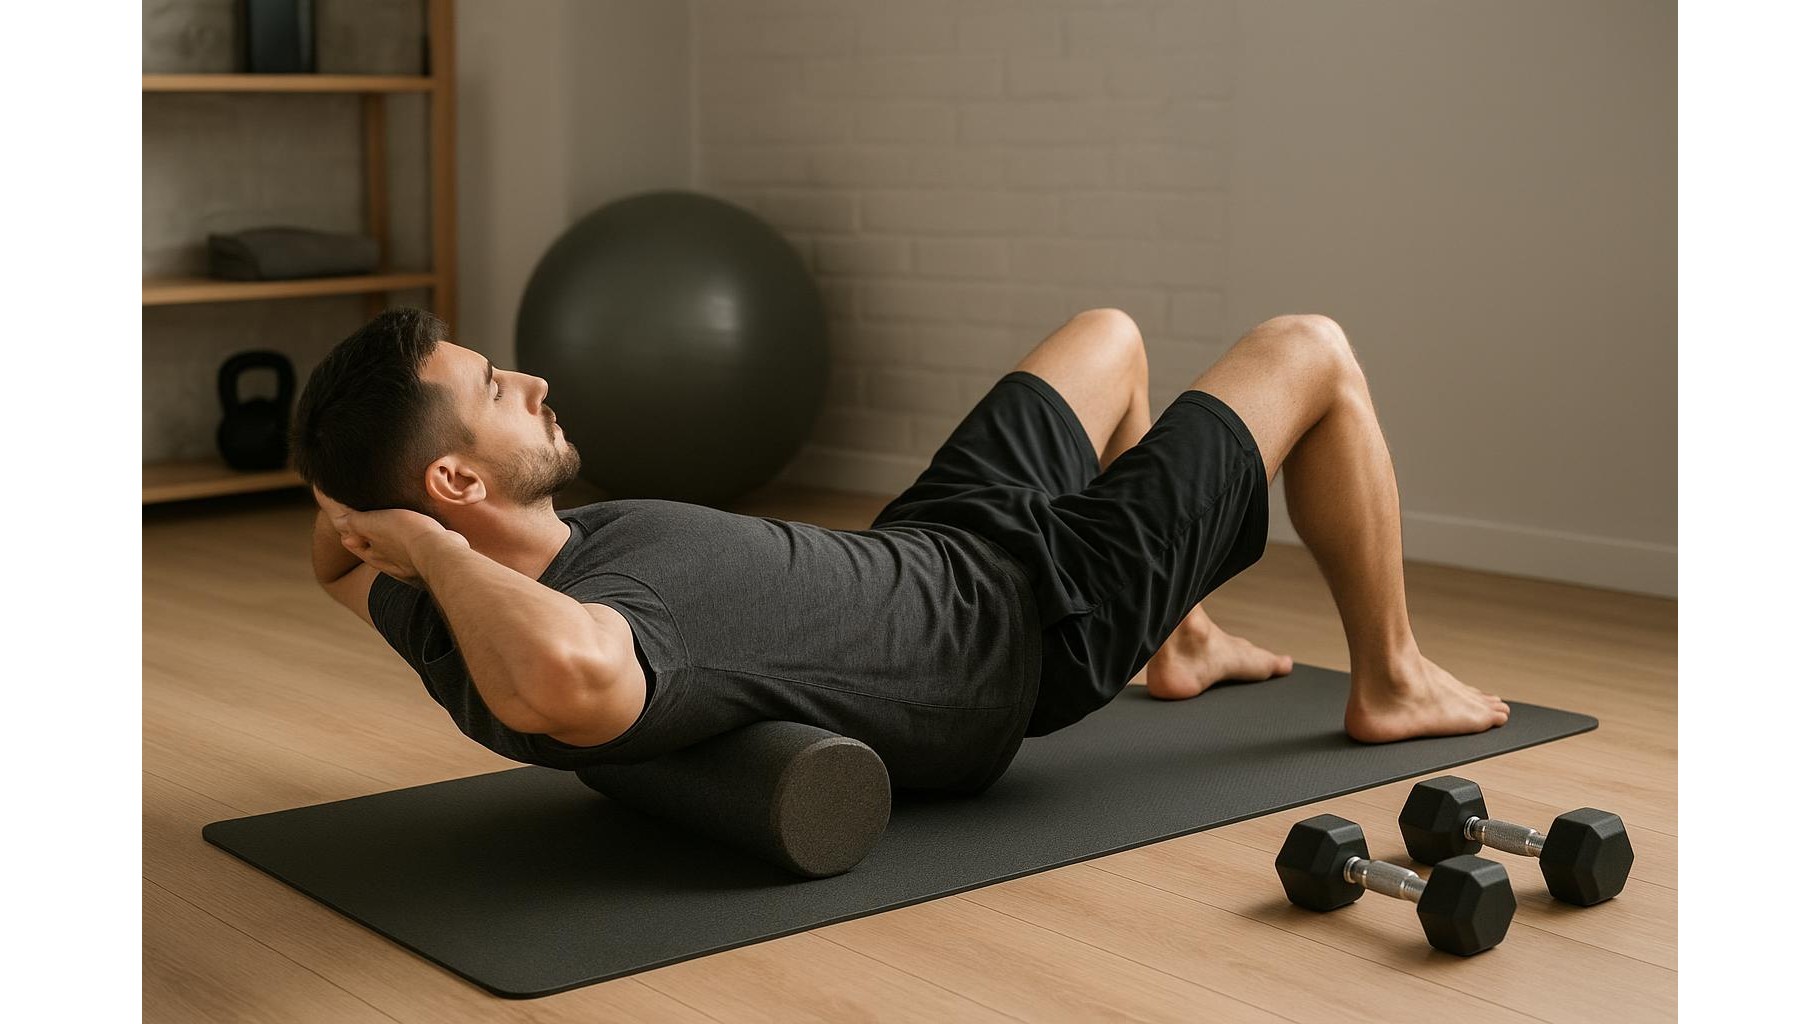
Home foam rolling often happens on the living‑room floor with zero attention to body position. Slumping through your session is a missed opportunity and can even irritate your lower back or shoulders. Treat your roller like a piece of home gym equipment: keep a light core engagement, avoid letting your lower back sag, and stack your joints where possible. For example, when rolling your calves, place your hands under your shoulders and gently push the floor away to keep your chest open. When rolling your upper back, support your head with your hands instead of letting it dangle. Good alignment means more targeted pressure on the muscles you want to treat, not on your joints.
A simple 10‑minute foam rolling routine for legs, back and shoulders
To fix these mistakes, follow this simple 10‑minute routine three to four times per week after training or in the evening. Move slowly and breathe throughout:
- Calves (2 minutes): Sit with one calf on the roller, the other leg crossed over for extra pressure. Roll from heel to just below the back of the knee, pausing on 2–3 tight spots.
- Quads (2 minutes): Lie face‑down with the roller under one thigh. Roll from just above the knee to the front of the hip. Switch sides after about a minute.
- Glutes (2 minutes): Sit on the roller, cross one ankle over the opposite knee and lean slightly toward the crossed leg. Roll the side of the hip and glute, then switch.
- Upper back (2 minutes): Lie on the roller across your mid‑back, knees bent. Support your head with your hands and roll from mid‑back to just below the shoulder blades.
- Lats/shoulders (2 minutes): Lie on your side with the roller under your armpit area. Roll slowly down toward mid‑ribcage, then swap sides.
Stick to this structure, avoid the common errors above, and you’ll turn foam rolling from a frustrating habit into a quick, effective tool that genuinely speeds up your recovery, reduces stiffness and keeps your home workouts feeling strong and sustainable.