Long home workouts can leave your upper and lower back feeling tight, knotted and sore. A simple DIY trigger point wall routine using massage balls lets you release those stubborn spots without a massage therapist or bulky equipment. With just a couple of firm balls and a clear stretch of wall, you can target deep muscle tension after strength, HIIT or cardio sessions and speed up recovery.
Table of contents
Why use a wall-based trigger point routine?
A wall massage routine is ideal for home gyms because it needs almost no space and gives you full control over the pressure. By leaning your bodyweight into a ball placed between your back and the wall, you can adjust intensity instantly just by bending your knees or stepping closer. This makes it safer than many floor techniques for beginners or anyone with sensitive joints. Wall work is perfect after home workouts that hammer the back, like rows, deadlifts, kettlebell swings or long indoor cycling sessions, when your posture has been locked in the same position.
Choosing the right massage balls for your back
For a back-focused routine, look for firm massage balls roughly the size of a tennis ball or slightly smaller. This size lets you dig into specific trigger points around the shoulder blades, glutes and lower back without feeling unstable. A smooth, grippy rubber surface helps the ball stay in place against the wall while you roll slowly. Many people like to mix one slightly softer ball for the upper back and a firmer one for the hips and glutes. Avoid very large, squishy balls for trigger point work: they are better for general mobility than for deep knot release.
Warm-up: preparing your back for self-massage
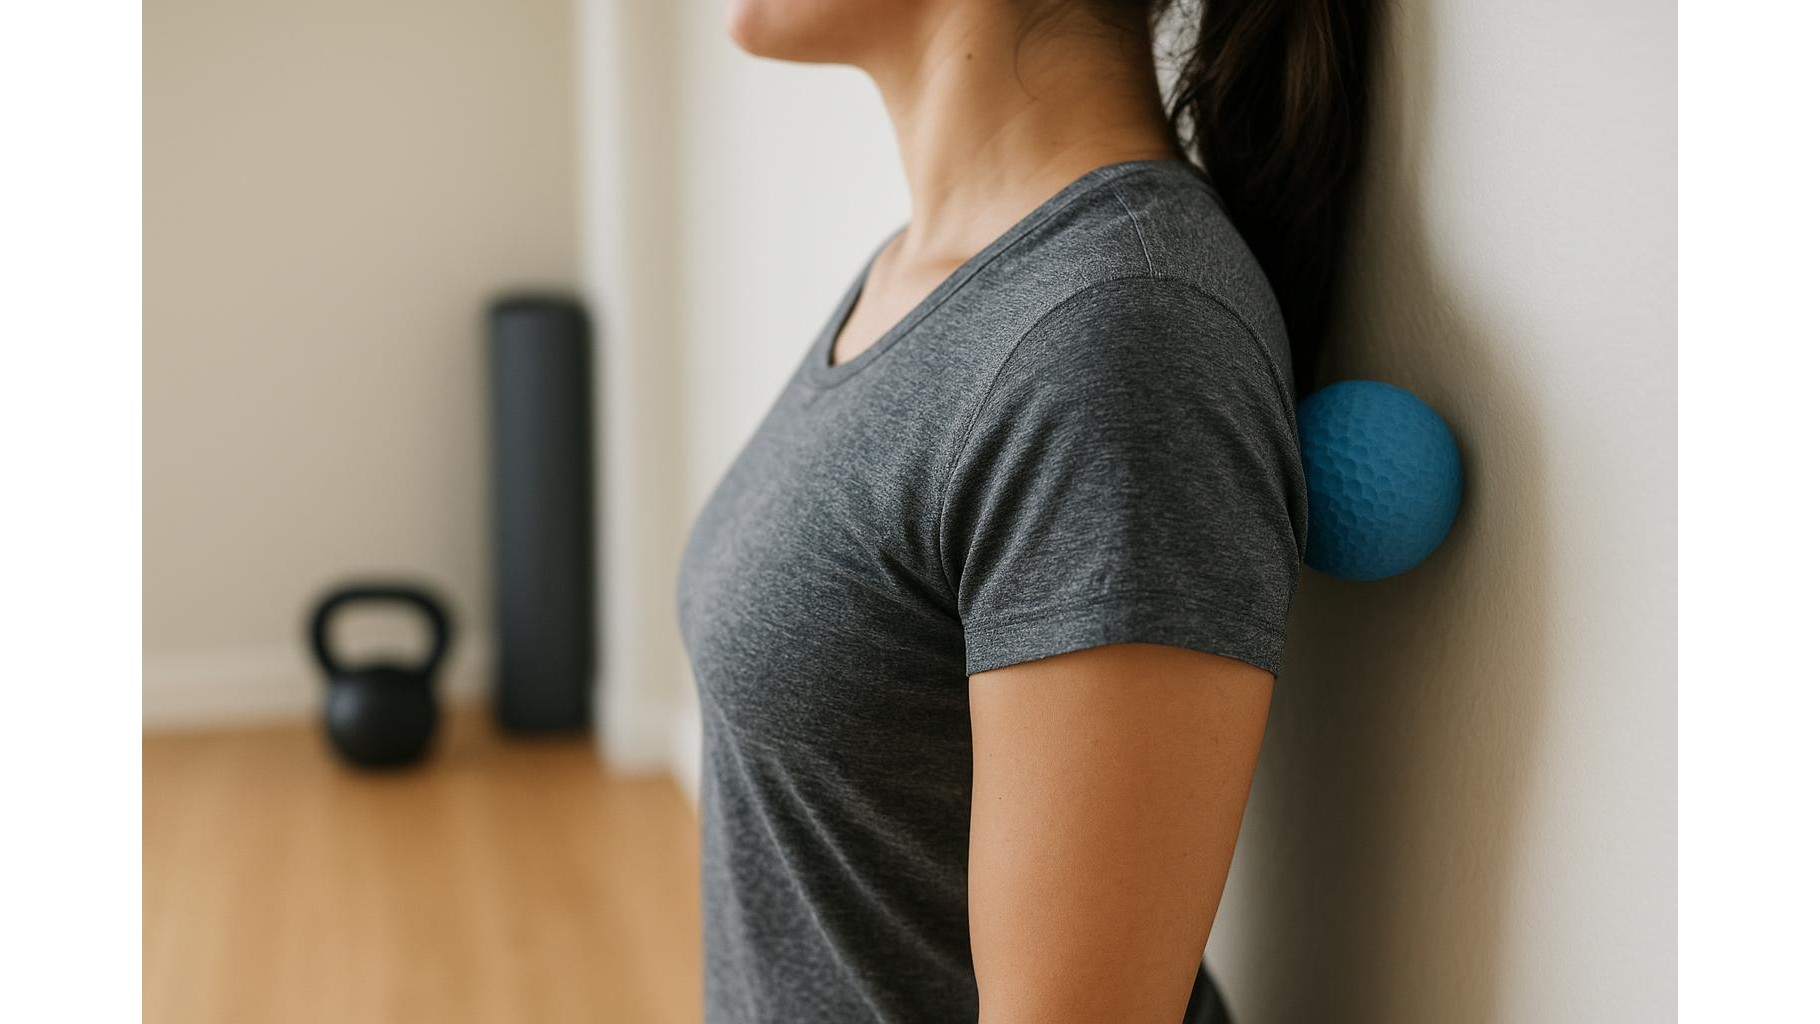
Before you start pressing into tight spots, spend 3–5 minutes waking up the tissues with light movement. Walk around, perform a few gentle cat-cow motions, and add arm circles to pump blood into the upper back. Then stand with your back to the wall and place a ball between the wall and the middle of your back, avoiding the spine itself. Lean lightly and perform slow mini-squats so the ball rolls up and down along the muscles beside the spine. Keep this pressure very light at first – think of it as a warm-up sweep that helps you find the stiffest areas.
Main routine for upper back and shoulders
To target the upper back, place the ball just to the side of your spine, between the shoulder blade and the backbone. Lean your weight into the wall until you feel a firm but manageable pressure on a tender point. Hold still and breathe slowly for 20–30 seconds, letting the sensation fade from sharp to dull. Then add small movements: draw tiny circles with your body or perform slow arm reaches across your chest and overhead. This engages the muscle under pressure and increases release. Repeat on several spots around each shoulder blade, then move higher to the traps at the base of the neck. Always avoid direct pressure on the spine, and stop if you feel tingling, burning or pain that radiates into the arms.
Lower back, glutes and hip release
For the lower back, keep the ball to the side of the spine and start just above the waistline. Support yourself by holding the wall or a sturdy rack, then gently bend and straighten your knees to roll over the tight bands of muscle along the lumbar region. To safely address tension that often drives lower back pain, shift the ball to the side of the hip and into the glute muscles. Lean in until you feel a deep ache, hold and breathe for 20–30 seconds, then perform slow hip circles. This area can feel extremely tight after home leg days with squats and lunges, and releasing it often eases pressure in the lower back more effectively than working the spine area itself.
How to structure your post-workout wall routine
A simple structure keeps your trigger point wall routine safe and effective. After your workout, do 3–5 minutes of light movement, then spend 5–10 minutes on targeted trigger point holds. Aim for 2–3 spots per side on the upper back and 2–3 on the glutes and hips, holding each for up to 30 seconds. Finish with a gentle sweep using softer pressure over the whole back to calm the nervous system. Use this routine 3–4 times per week, and keep breathing slow and steady throughout. Over time, you should notice less stiffness after training, better posture during lifts and a more comfortable back in daily life.
Incorporating a regular DIY trigger point wall routine into your home training plan is an easy way to manage tight backs without extra gadgets. With just a couple of well-chosen balls and a free wall, you can release stubborn knots, support recovery and keep your strength or cardio sessions feeling good rather than leaving you locked up the next day.