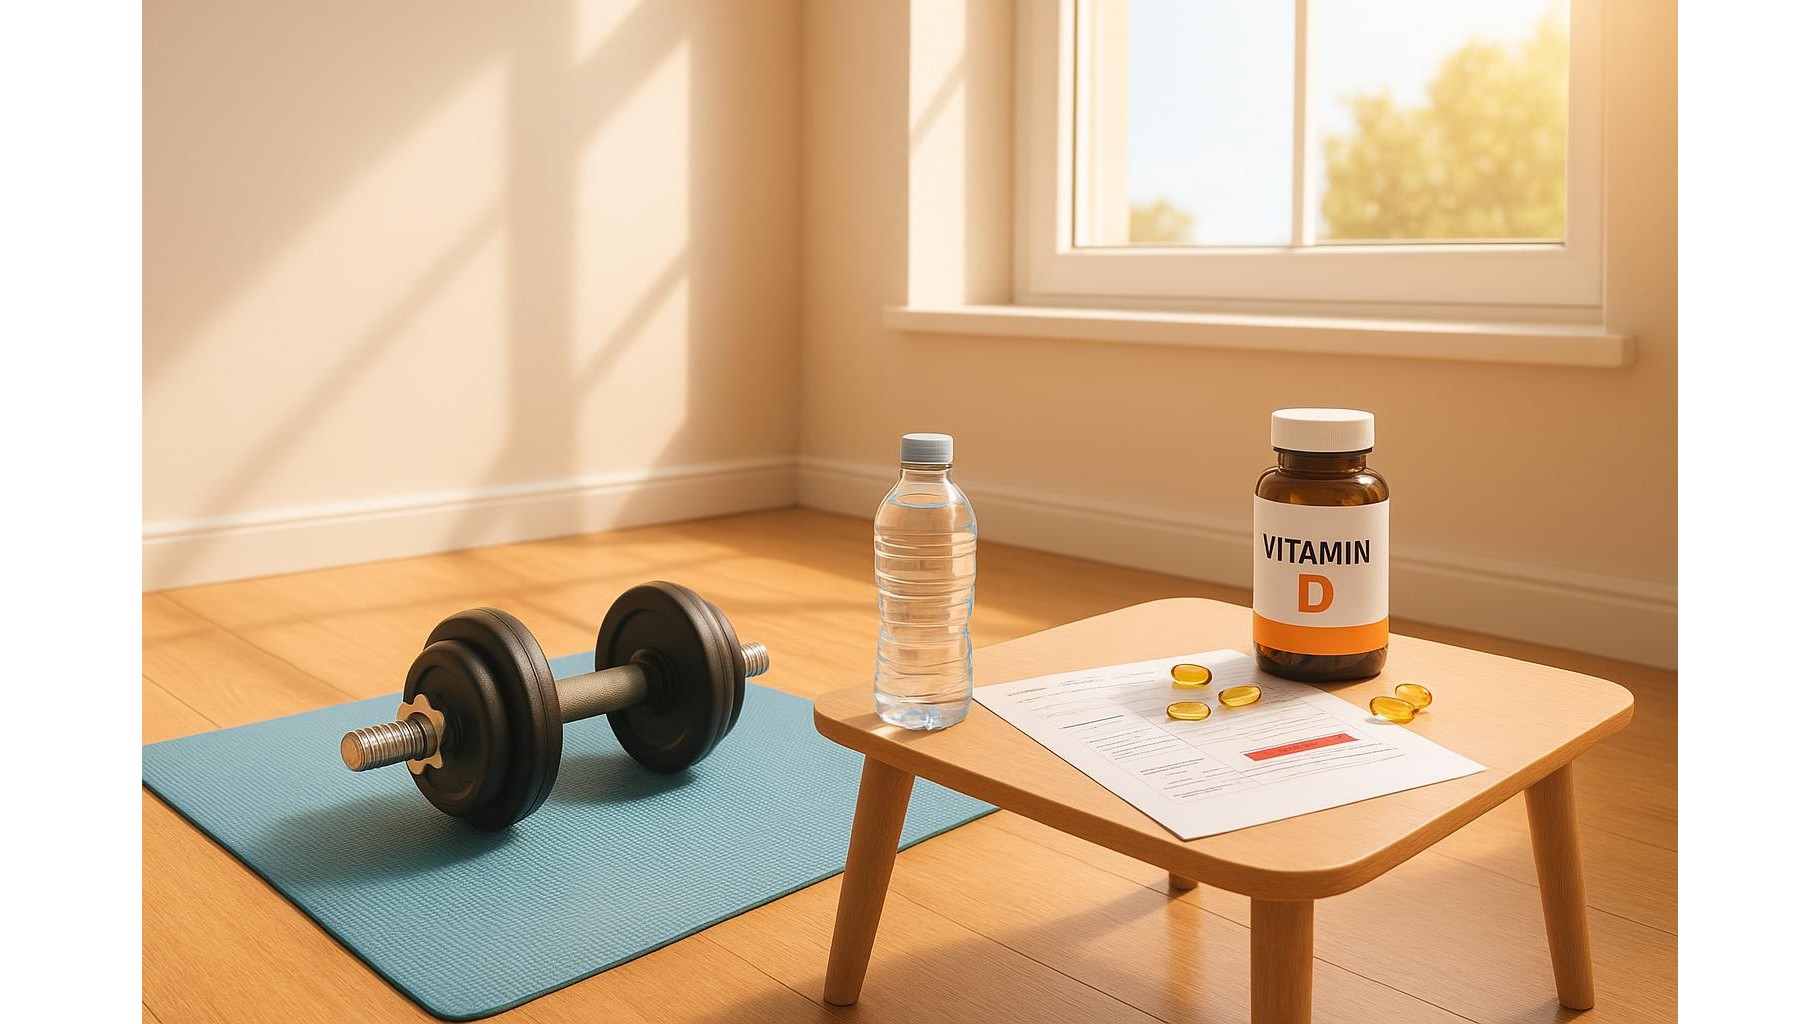
If you’re building an at-home cardio routine with a treadmill, stepper or high-impact workouts, painful shin splints can quickly derail your progress. The good news is that most cases are preventable and manageable with a few smart tweaks to your setup, your warm-up and your recovery habits. In this guide, you’ll learn simple, realistic ways to protect your lower legs so you can keep training consistently without that burning ache along the front of your shins.
Table of contents
Understand why shin splints show up at home
Shin splints – technically called medial tibial stress syndrome – are usually caused by a mix of too much impact, too fast progression and not enough support. At home, this often happens when someone jumps straight into daily treadmill runs or energetic HIIT sessions on hard floors in unsupportive shoes. Repetitive pounding irritates the muscles and connective tissue along the shin bone, leading to that familiar tenderness. Poor foot mechanics, such as overpronation, and weak calves or hips can add extra strain. Understanding these triggers matters, because relief is not about stopping all activity, but about adjusting variables like surface, footwear, volume and recovery so your tissues can adapt rather than overload.
Warm-up and regressions that protect your shins
Before any home cardio workout, invest 5–8 minutes in a targeted warm-up. Start with 2–3 minutes of easy marching or slow treadmill walking, then add dynamic moves such as ankle circles, heel-toe rocks and shallow bodyweight squats to increase blood flow to your lower legs. If you’re doing jumps, regress first: swap tuck jumps or burpees for low-impact step jacks, brisk marching, or light skipping with small hops. On a treadmill, gradually increase speed and incline instead of starting at a hard pace. Follow a simple rule: if your shins are already sore, reduce impact by 30–50%—shorter sessions, more walking than running, or replacing jump blocks with non-impact options like step-ups onto a stable bench or low box.
Footwear, surfaces and smart cardio choices
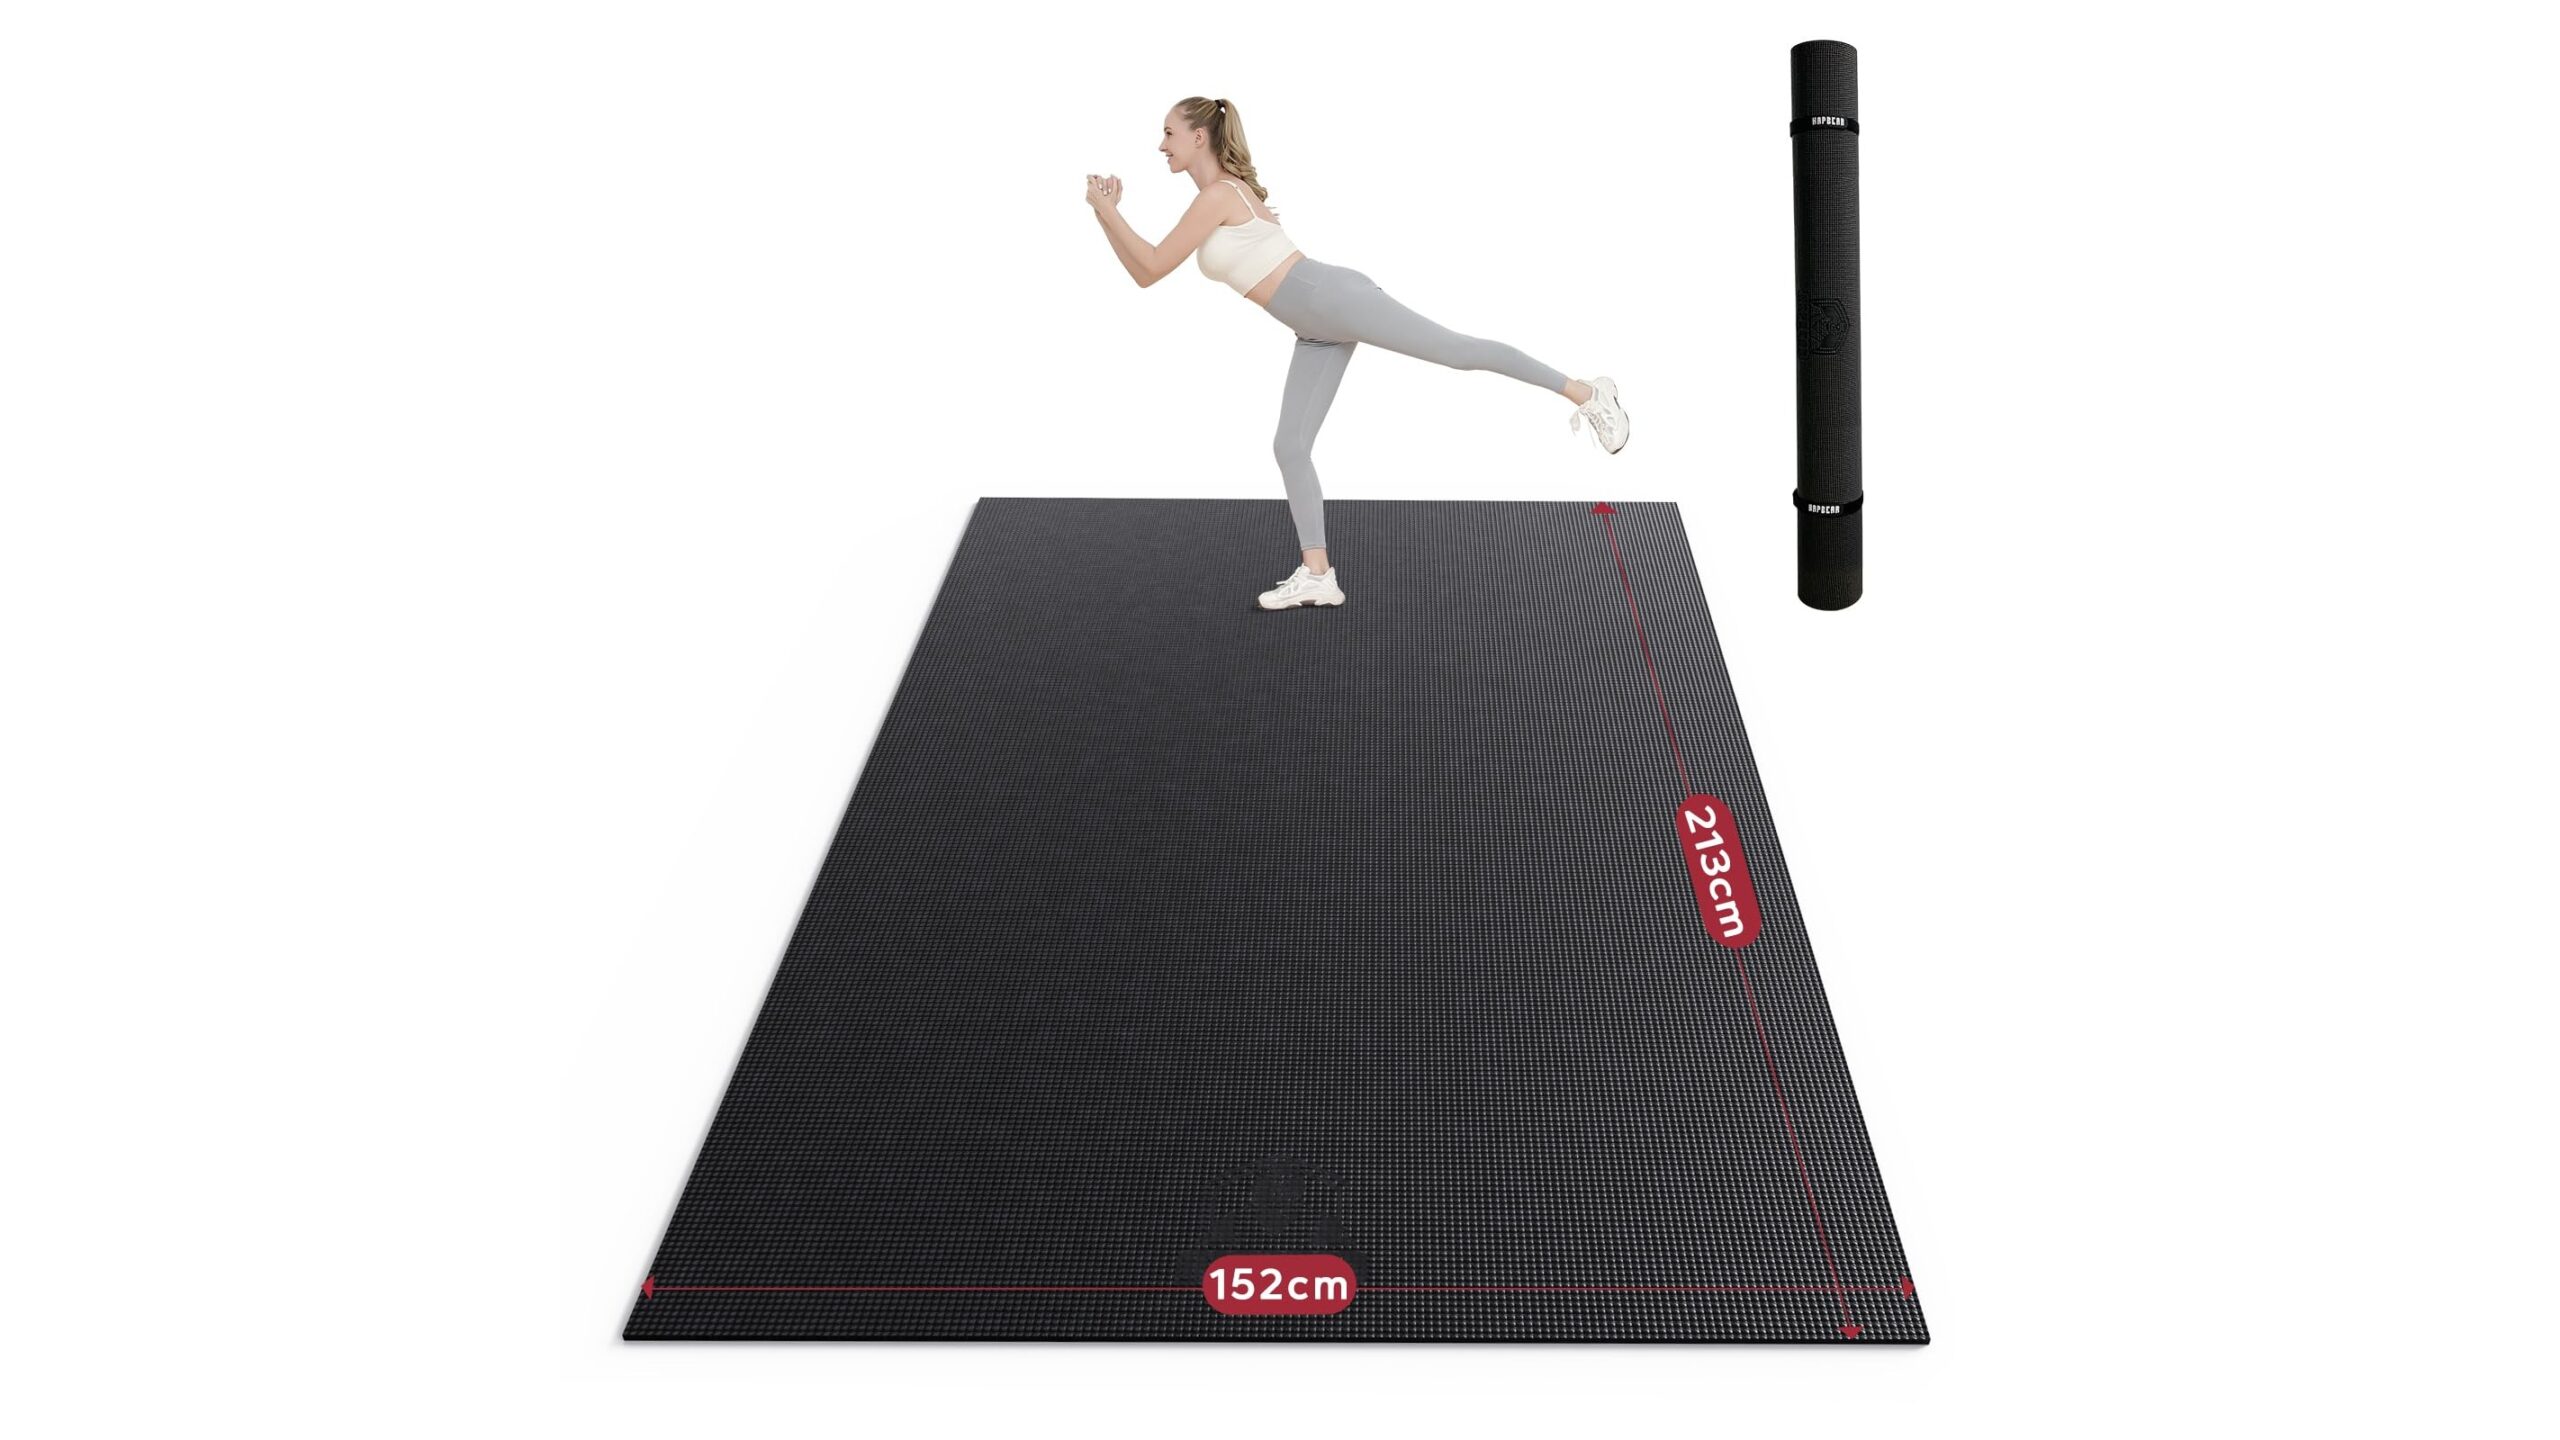
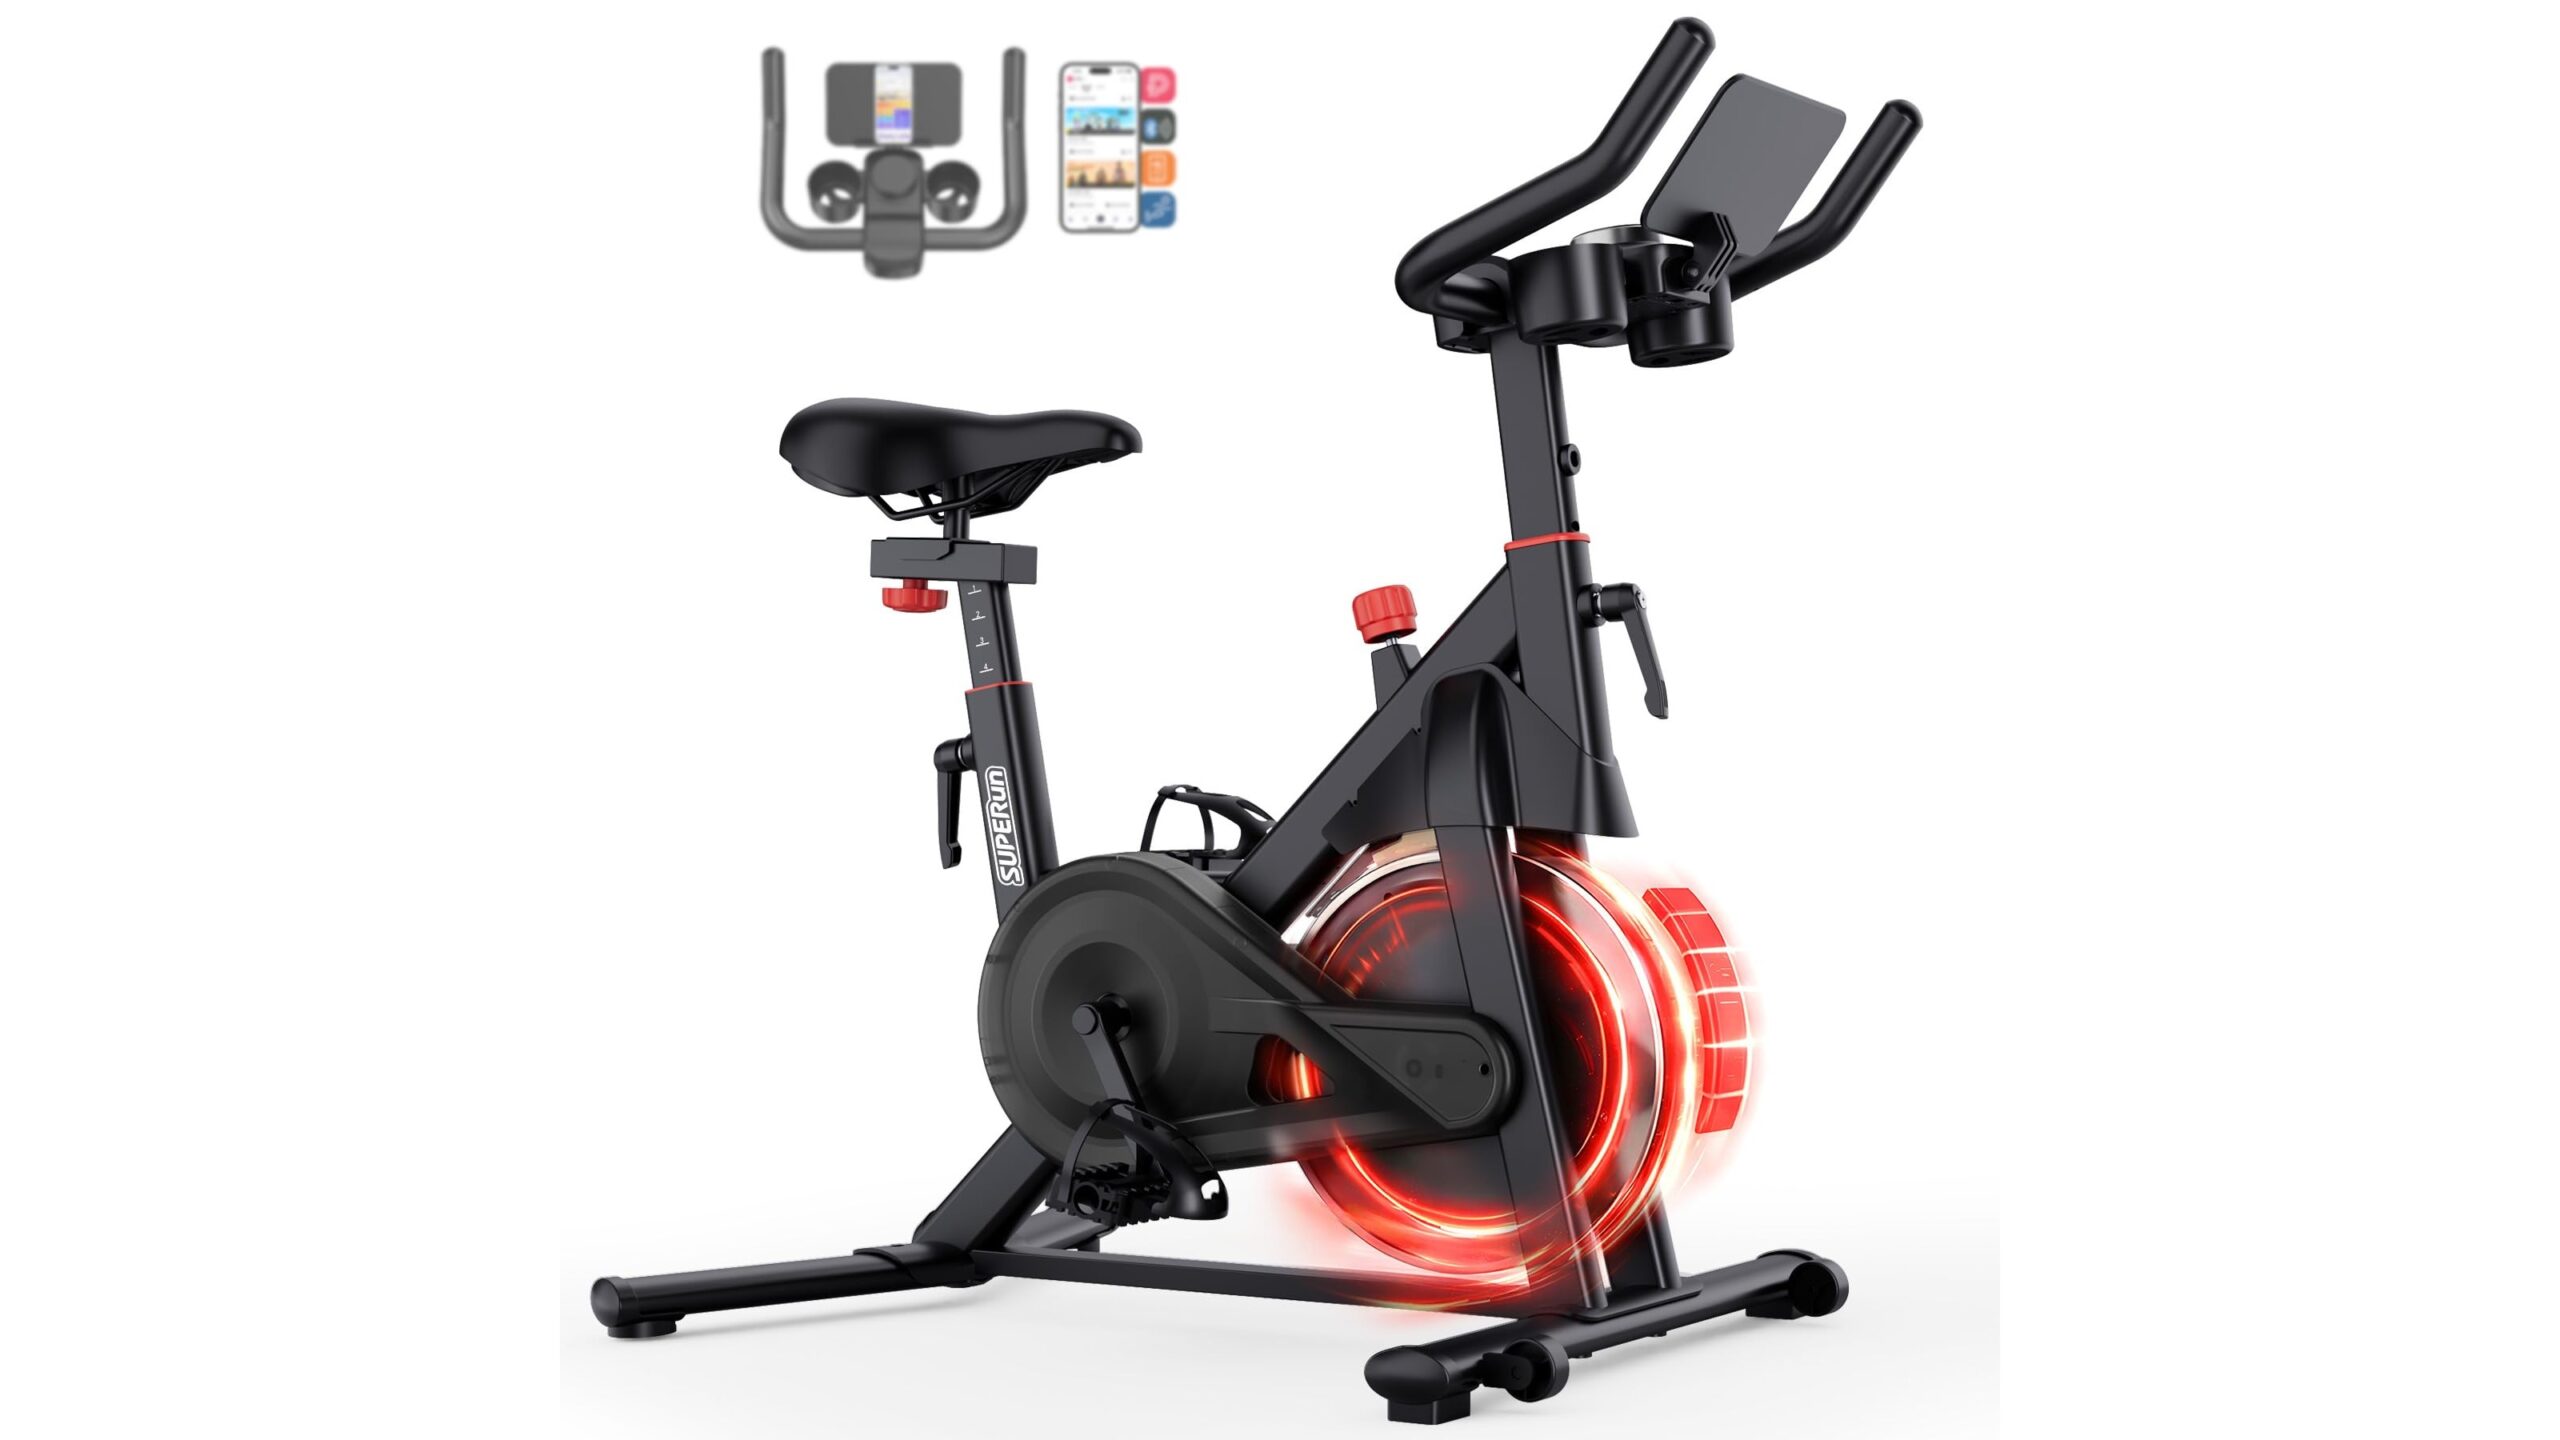
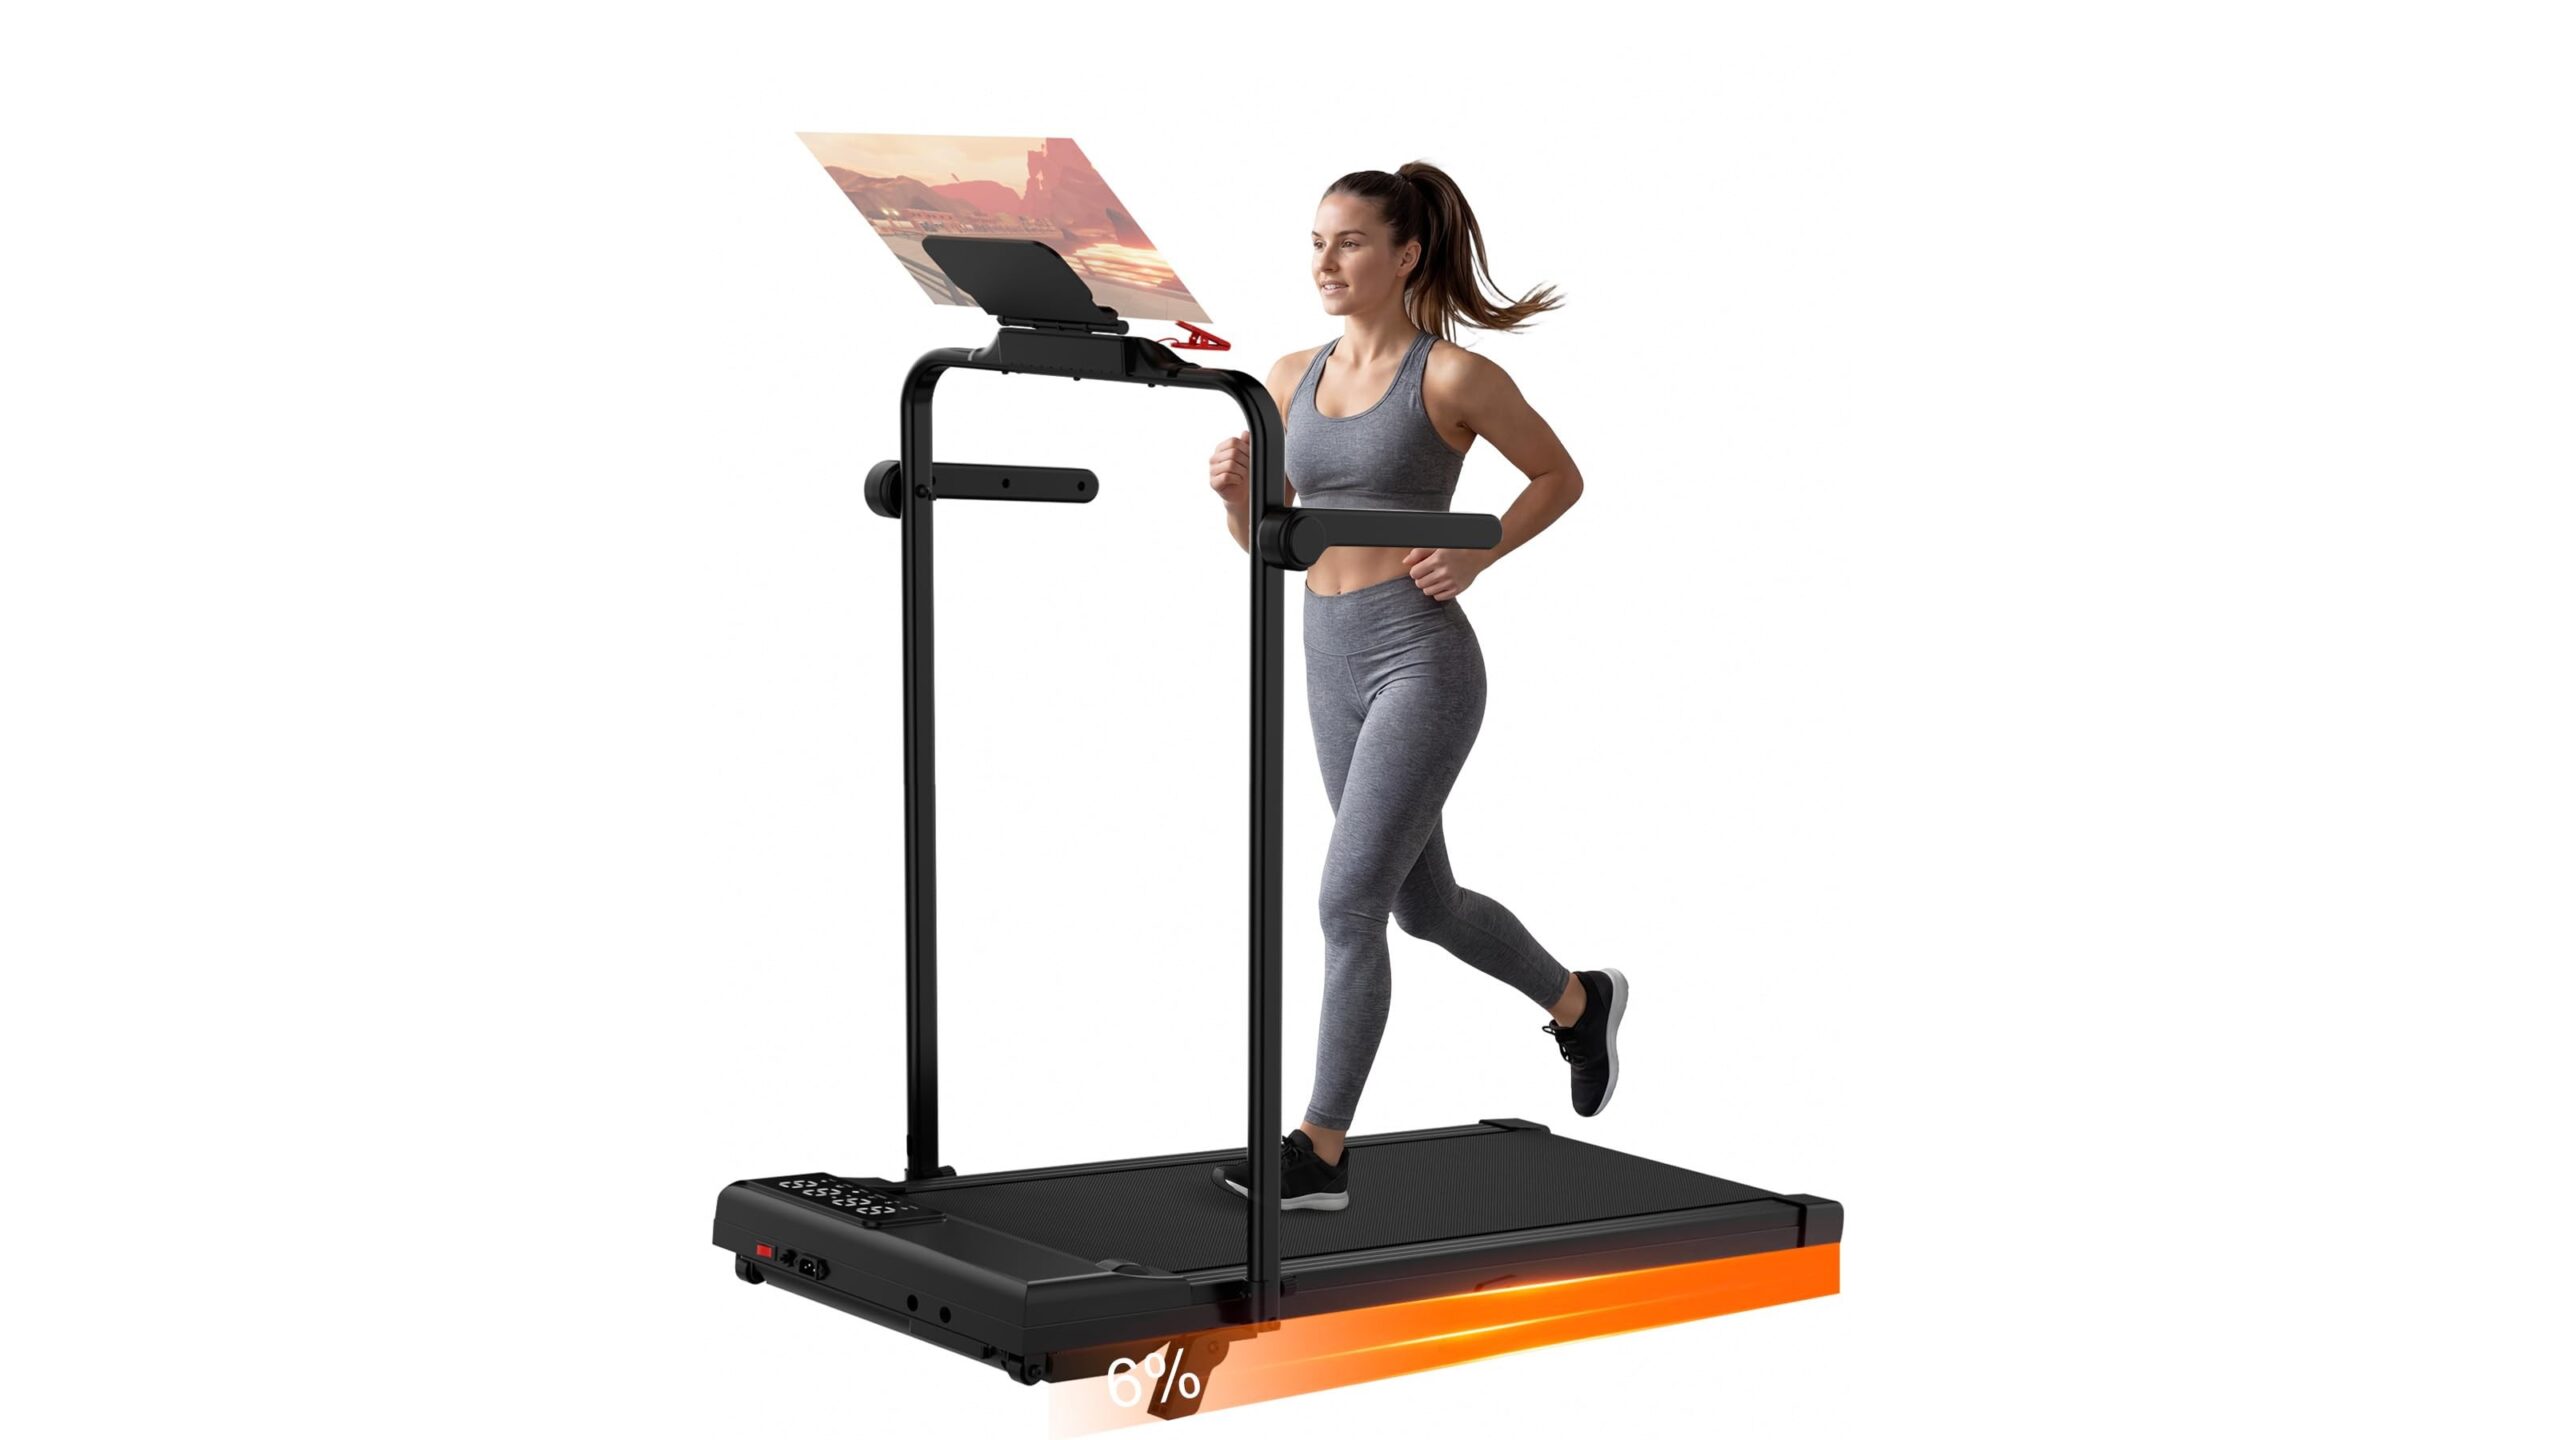
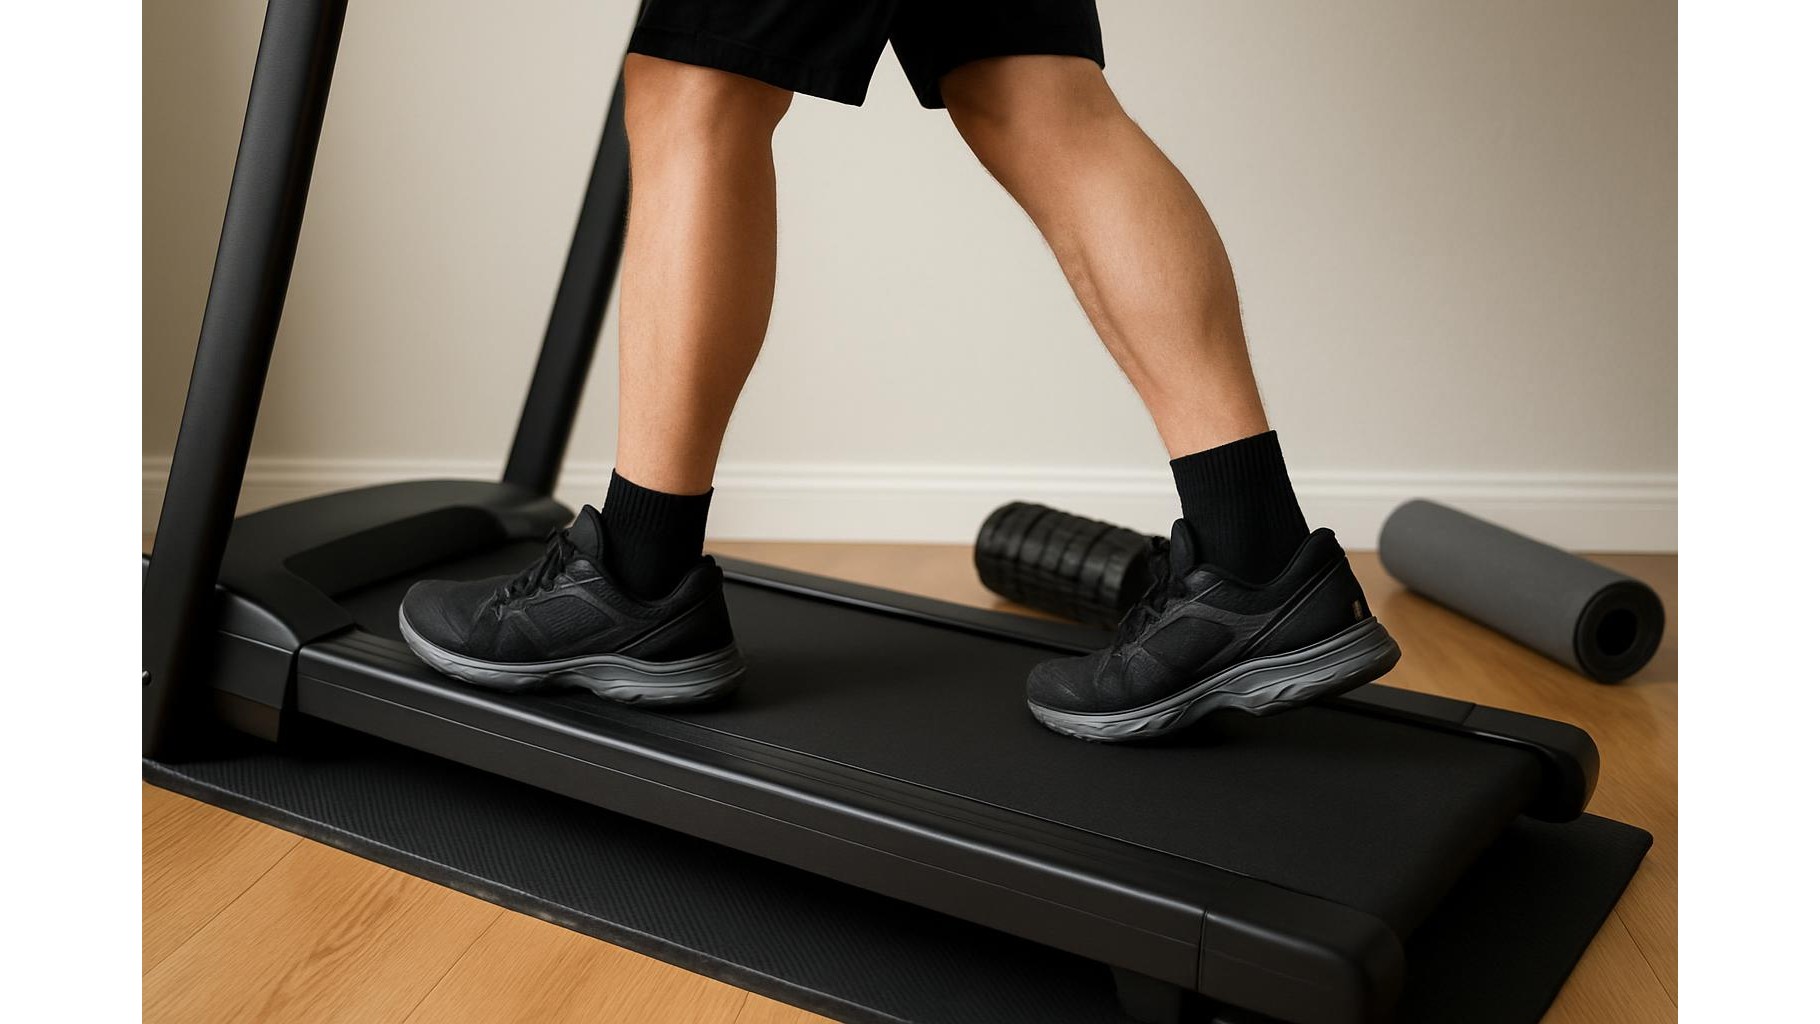
Your home gym setup can either stress or spare your shins. Whenever possible, avoid training directly on bare concrete, tiles or thin laminate. Adding a thick exercise mat or interlocking foam tiles under your treadmill, stepper or workout space helps absorb some impact. Equally important are your shoes: use well-cushioned, supportive trainers reserved just for workouts, and replace them when the midsole feels flat or the tread is worn. If running is consistently aggravating, rotate in lower-impact cardio like inclined treadmill walking, stepper sessions with a controlled pace, or cycling on a stationary bike. These still challenge your cardiovascular system while drastically reducing the repetitive stress that leads to shin splints.
Strength exercises to bulletproof your shins
Building strength in the muscles that support your shins is one of the most effective long-term strategies. Two or three times a week, add a short lower-leg routine at the end of your workouts. Focus on calf raises (both straight-leg and bent-knee), controlled toe raises leaning against a wall, and single-leg balance drills to improve ankle stability. Hip and glute strength also reduce the load on your shins, so include moves like glute bridges, clamshells and split squats. Start with 2–3 sets of 10–15 reps each, performed with slow, controlled tempo. These simple bodyweight exercises require minimal space or equipment but significantly improve how your lower legs handle impact when you’re back on the treadmill or doing jump-based home routines.
Recovery tools and habits to ease shin pain
If your shins are already irritated, recovery habits make the difference between a short setback and a lingering issue. After sessions, gently stretch your calves and the front of your lower legs by pulling your toes towards you with a towel or performing a wall calf stretch. Use a basic foam roller or massage ball on your calves and the muscles beside your shin bone, rolling slowly and avoiding sharp pain. Short bouts of icing (10–15 minutes) after high-impact work can help bring down inflammation. Rotate your weekly plan so that harder impact days are separated by lighter, low-impact ones, giving tissues time to repair. Listen to early warning signs – persistent tenderness or pain that worsens during a session – and respond by cutting volume, not by pushing through.
Plan your progress and stay consistent
Protecting your legs during home cardio is less about perfection and more about consistent, sensible progression. Build your weekly routine with a gradual increase in total minutes or intensity, ideally no more than about 10% per week. Combine this with a proper warm-up, appropriate shoes and surfaces, targeted strengthening and simple recovery tools, and most shin discomfort will either not appear or fade quickly. If pain becomes sharp, localised or persists despite these adjustments, consult a healthcare professional to rule out more serious issues like stress fractures. With a bit of planning and respect for your body’s limits, you can enjoy regular, effective at-home workouts without being sidelined by shin splints.