Adding multi-grip push-up handles to your home gym is one of the simplest ways to protect your wrists while making classic push-ups more effective. Angled grips, rotating bases and wider hand positions can all reduce joint stress and help you recruit more chest, triceps and shoulder muscle fibres. In this guide, we’ll look at what to consider before buying, how to use these tools safely on different floors, and how to progress from beginner to advanced strength levels.
Why multi-grip push-up handles matter for wrist health
Traditional floor push-ups force the wrist into a deep extension that can irritate the small joints and tendons over time. Multi-grip push-up bars allow you to keep your wrist closer to a neutral position, aligning the hand, wrist and forearm in a straighter line. This reduces pressure on the carpal joints and can make push-ups pain-free for people with previous injuries or who spend long hours typing. Handles also elevate your hands slightly, giving more range of motion at the bottom of the movement, which increases muscle activation in the chest and shoulders. For home training, this combination of protection and performance is ideal, especially if push-ups are a major part of your weekly routine.
Choosing joint-friendly angles and grips
When picking handles, prioritise ergonomic angles and multiple hand positions. Neutral-grip options, where your palms face each other, are particularly friendly for wrists and shoulders. Slightly angled grips can encourage your elbows to track closer to the body, reducing strain on the shoulder joint. Look for textured or foam-coated handles to prevent slipping when your hands are sweaty. Wider settings emphasise the chest, while narrower positions increase triceps work and make the movement more challenging. If you share your home gym with others, choose a design that offers several fixed grip widths so beginners and stronger athletes can both find a comfortable, safe hand placement.
Stability and safety on different home gym floors
Home gyms often use a mix of surfaces: hardwood, tiles, rubber mats or carpet. Good push-up handles should feel rock-solid on all of them. Prioritise a broad base with non-slip rubber feet, which prevents sliding and tipping when you fatigue. On hard floors, check that the contact points do not leave marks and that the base distributes weight evenly. On softer flooring like thick mats or deep carpet, avoid narrow bases that can sink in and become unstable. Before intense sets, test the handles with a few controlled reps, pushing slightly forward and sideways to ensure they stay planted. Stability is crucial: if your brain senses wobbling, you will unconsciously hold back, limiting strength gains and increasing the risk of overcompensating through the shoulders or lower back.
Progressions for beginners using push-up handles
Beginners can use multi-grip push-up bars to gradually build strength without overloading their joints. Start with incline push-ups, placing the handles on a bench, sturdy box or step so your hands are higher than your feet. This reduces the percentage of body weight you’re lifting while still training proper alignment. Focus on controlled, slow reps: 2–3 sets of 8–10, with full lockout at the top and a brief pause at the bottom. As you progress, lower the incline until you can perform full push-ups from the floor. Keep the core tight to avoid sagging hips. If standard push-ups are still too challenging, use a slightly wider grip and allow your feet to be further apart for extra balance, always prioritising smooth motion and pain-free wrists over high rep counts.
Advanced strength variations with multi-grip handles
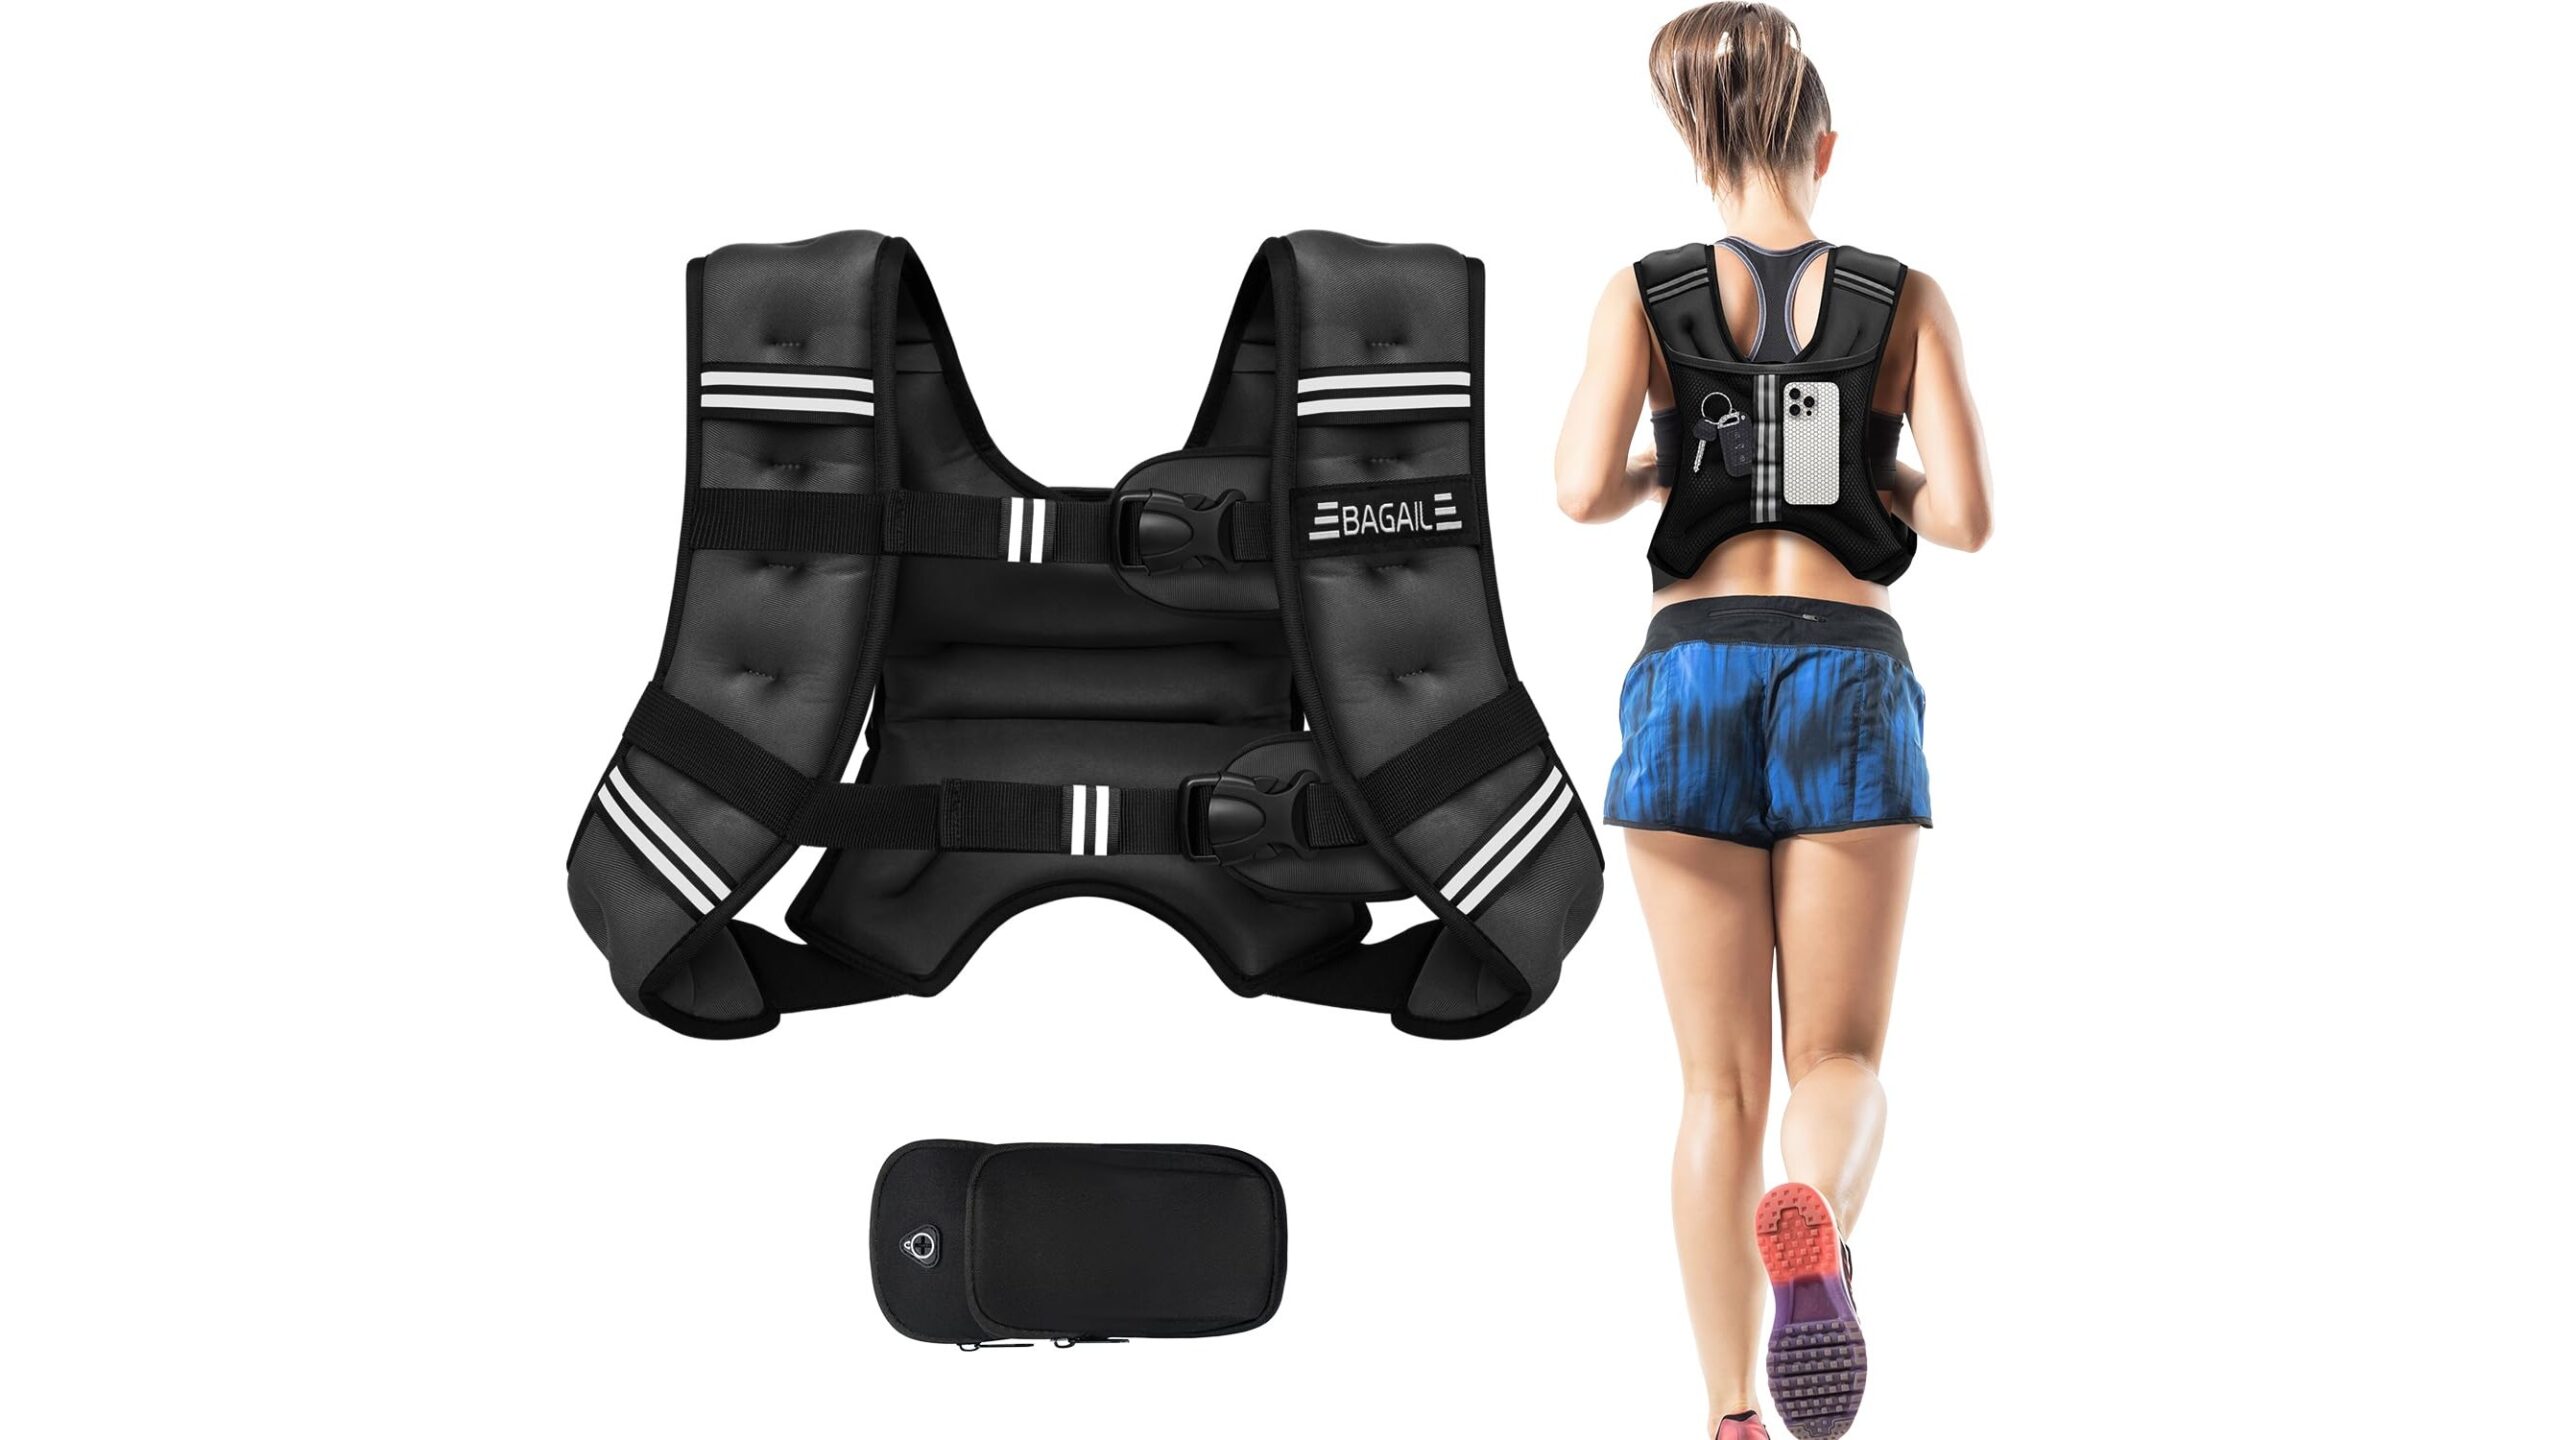
More experienced athletes can use push-up handles to turn a simple exercise into a demanding strength builder. The extra height allows for deep deficit push-ups, where you lower your chest below hand level to maximise stretch and activation. You can also elevate your feet on a bench or box to create decline push-ups that shift more load onto the upper chest and shoulders. Narrow-grip push-ups with handles are an excellent triceps builder, while staggered hand positions challenge core stability. For even greater intensity, add a weighted vest or backpack and perform multiple sets of 5–8 controlled reps. Advanced users should still respect joint alignment: keep wrists neutral, shoulders packed down and avoid flaring elbows too far out to the sides.
Integrating handles into a balanced home gym routine
To make the most of your multi-grip push-up handles, integrate them into a balanced weekly plan rather than treating them as a novelty gadget. Combine push-up variations with pulling movements such as rows or pull-ups to protect shoulder health and maintain muscular balance. Two to three push-up focused sessions per week are enough for most home trainees, with a mix of easier and harder variations. Always warm up the wrists and shoulders with gentle circles and light mobility drills before loading them. Over time, track progress by increasing range of motion, adding sets or adding external load, not just speed. Used intelligently, these simple tools can keep your wrists happier, your joints safer and your upper body training challenging for years to come.