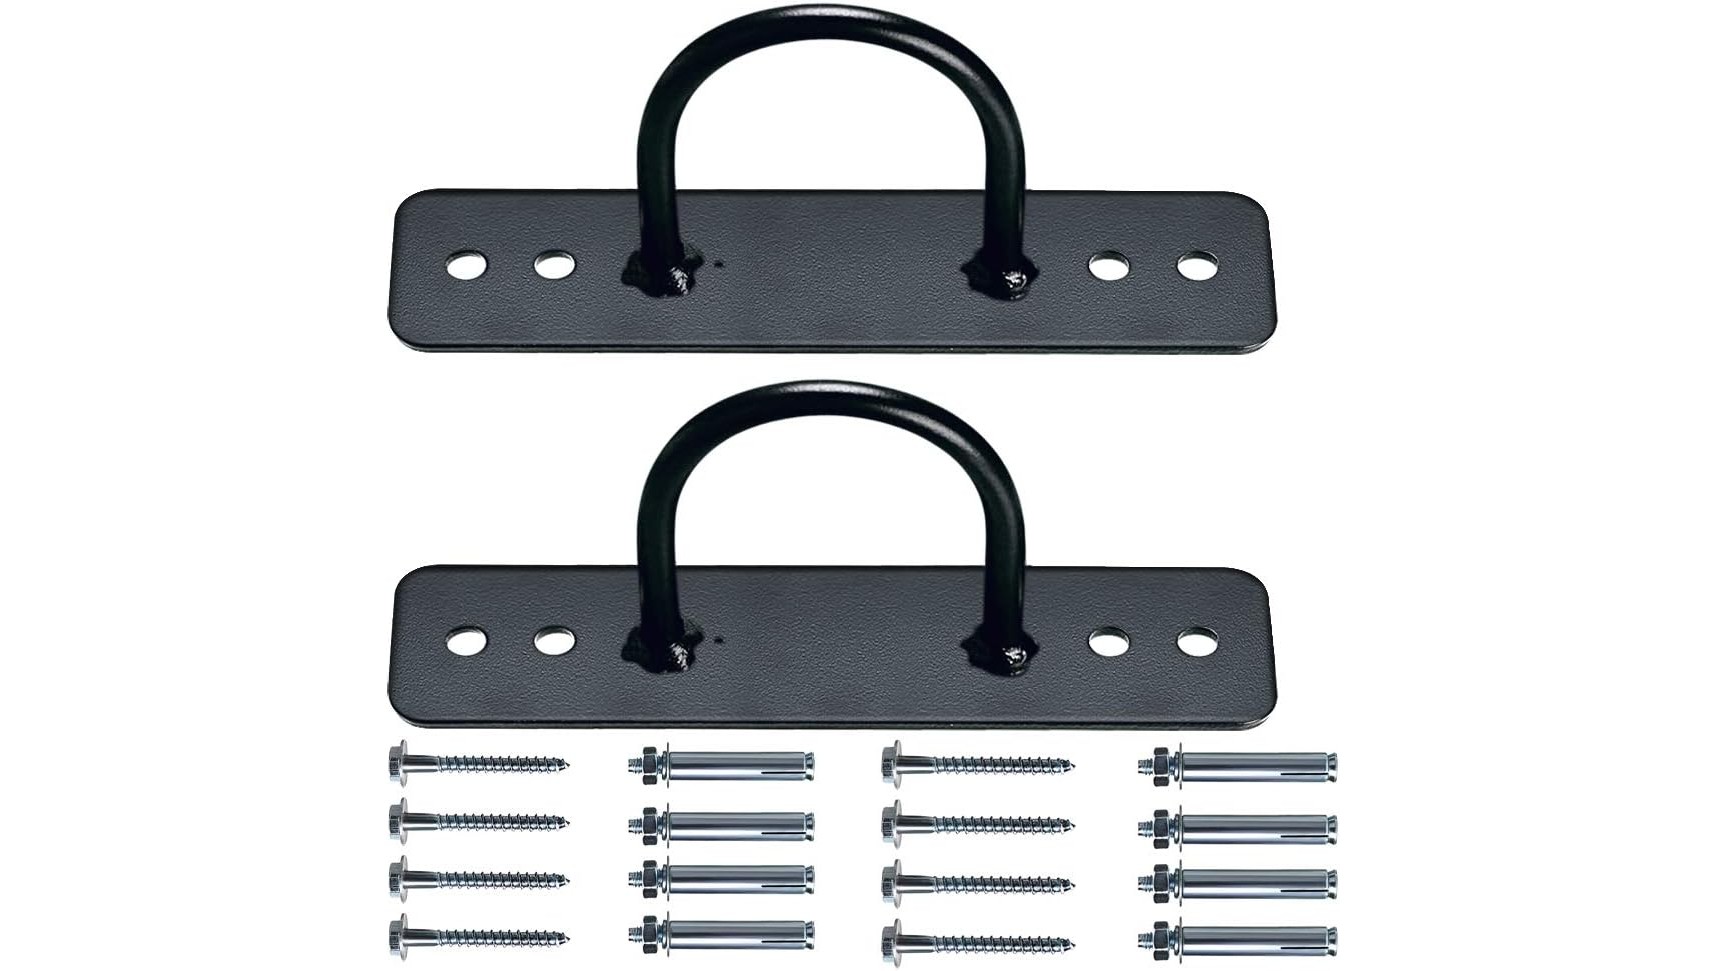
Adding battle ropes to your home gym is a powerful way to build conditioning and upper-body strength, but everything depends on a safe anchor point. Whether you mount your ropes on a wall, ceiling beam or even the floor, choosing the right hardware for your wall type and installing it correctly is essential to avoid damage and injury. This guide walks you through how to pick a solid anchor, how to fix it to different surfaces, and the basic safety checks you should run before you start slamming those ropes.
Choosing the right battle rope anchor bracket
The heart of your setup is the anchor bracket. For most home gyms, a compact steel plate with a welded loop or eye offers the best mix of strength and versatility. A solid option is the SUNMALL Wall/Ceiling Mount Anchor Bracket, which supports up to 700 lb and works for battle ropes, suspension trainers, gymnastic rings and resistance bands. If you need multiple anchor points along a wall or at different heights, a kit like the Jinyuanchao Battle Rope Anchor Kit (3 pcs) lets you spread loads and create different training stations. For a longer, low-profile option, the Hipiwe Battle Rope Wall/Ceiling Mount Anchor Bracket offers a robust eye with hardware for both wood and concrete. Whichever you choose, look for heavy-duty metal construction, a stated load rating, and compatible screws or bolts.
Understanding your wall type and fixing options
Before you drill, you must know what you are fixing into. For solid masonry or concrete walls, use the supplied expansion anchors that come with brackets like the SUNMALL or Hipiwe models; these spread the load inside the wall and resist both pulling and shearing forces from your ropes. For a timber-framed or stud wall, do not mount into plasterboard alone; instead, locate the wooden stud or ceiling joist with a stud finder and use heavy-duty wood screws. Products such as the Jinyuanchao kit include screws suitable for both wood and concrete, but many users still choose slightly longer screws for extra bite. If your only option is a hollow wall, consider adding a backing board across two studs and mounting the anchor into that, rather than relying on the wallboard itself.
Step-by-step installation of a wall or ceiling anchor
Once you have the right anchor and a suitable surface, installation is straightforward. First, decide the height and position: for battle ropes, shoulder height or lower gives a natural line of pull; ceiling mounts are ideal if you also plan to use suspension straps or rings. Mark the hole positions using the base plate of your chosen bracket, then drill pilot holes of the correct diameter and depth for the supplied anchors. For concrete, use a hammer drill with a masonry bit and insert the expansion anchors flush with the surface. For wood, pre-drill smaller pilot holes to avoid splitting studs, then drive in the wood screws fully so the plate sits tight against the surface. Check that the bracket is solid by pulling hard in all directions before you attach your ropes or straps.
Protecting your walls and floors from battle rope wear
Battle ropes generate a lot of friction and impact, which can quickly scar walls and floors if you are not prepared. Use a rope sleeve or wrap the section of rope nearest the anchor with old tape to reduce wear on both the rope and the metal loop. Position your anchor so the rope clears the wall edge and does not rub constantly at a single point. Underfoot, add a rubber gym mat or a strip of heavy-duty flooring where the ropes will hit the ground; this not only protects tiles or laminate but also reduces noise and vibration. If you are anchoring close to painted walls, consider a small section of plywood or protective panel between the bracket and the wall finish, which spreads load and guards against chipping.
Safety checks before intense battle rope workouts
Before every heavy session, take a minute to run through a few safety checks. Inspect the anchor plate and loop for any cracks, rust or flexing while you pull on it. Check that all screws or bolts are tight and that there is no movement in the wall or stud behind the anchor. Look over your battle rope for fraying, especially near the attachment point. When you start, test with lighter waves and slams first, gradually increasing intensity to ensure the anchor and wall behave as expected. If you plan to hang your full bodyweight using rings or a suspension trainer from brackets like the SUNMALL or Hipiwe models, stay well within their rated capacity and avoid sudden dynamic movements until you are confident in your installation.
Building a safe wall-mounted anchor for battle ropes in your home gym is mainly about choosing the right heavy-duty bracket, matching the fixing hardware to your wall type, and taking a few simple steps to protect surfaces and check stability. With quality products such as the SUNMALL, Jinyuanchao or Hipiwe anchor brackets correctly installed into solid studs or masonry, you can train hard with confidence, knowing your setup is secure, your walls and floors are protected, and your battle rope sessions will be both effective and safe.