A compact balance trainer can add a gentle stability challenge to a home workout without requiring heavy weights, jumping or much floor space. The right choice depends on your current balance, the exercises you want to do and how safely the trainer sits on your floor. Prioritise a secure platform, dependable grip and a clearly stated weight limit, then progress gradually. A simple board or domed trainer can support controlled practice, but it should not replace professional advice if you have an injury or a condition affecting balance.
Choose a platform that feels predictable
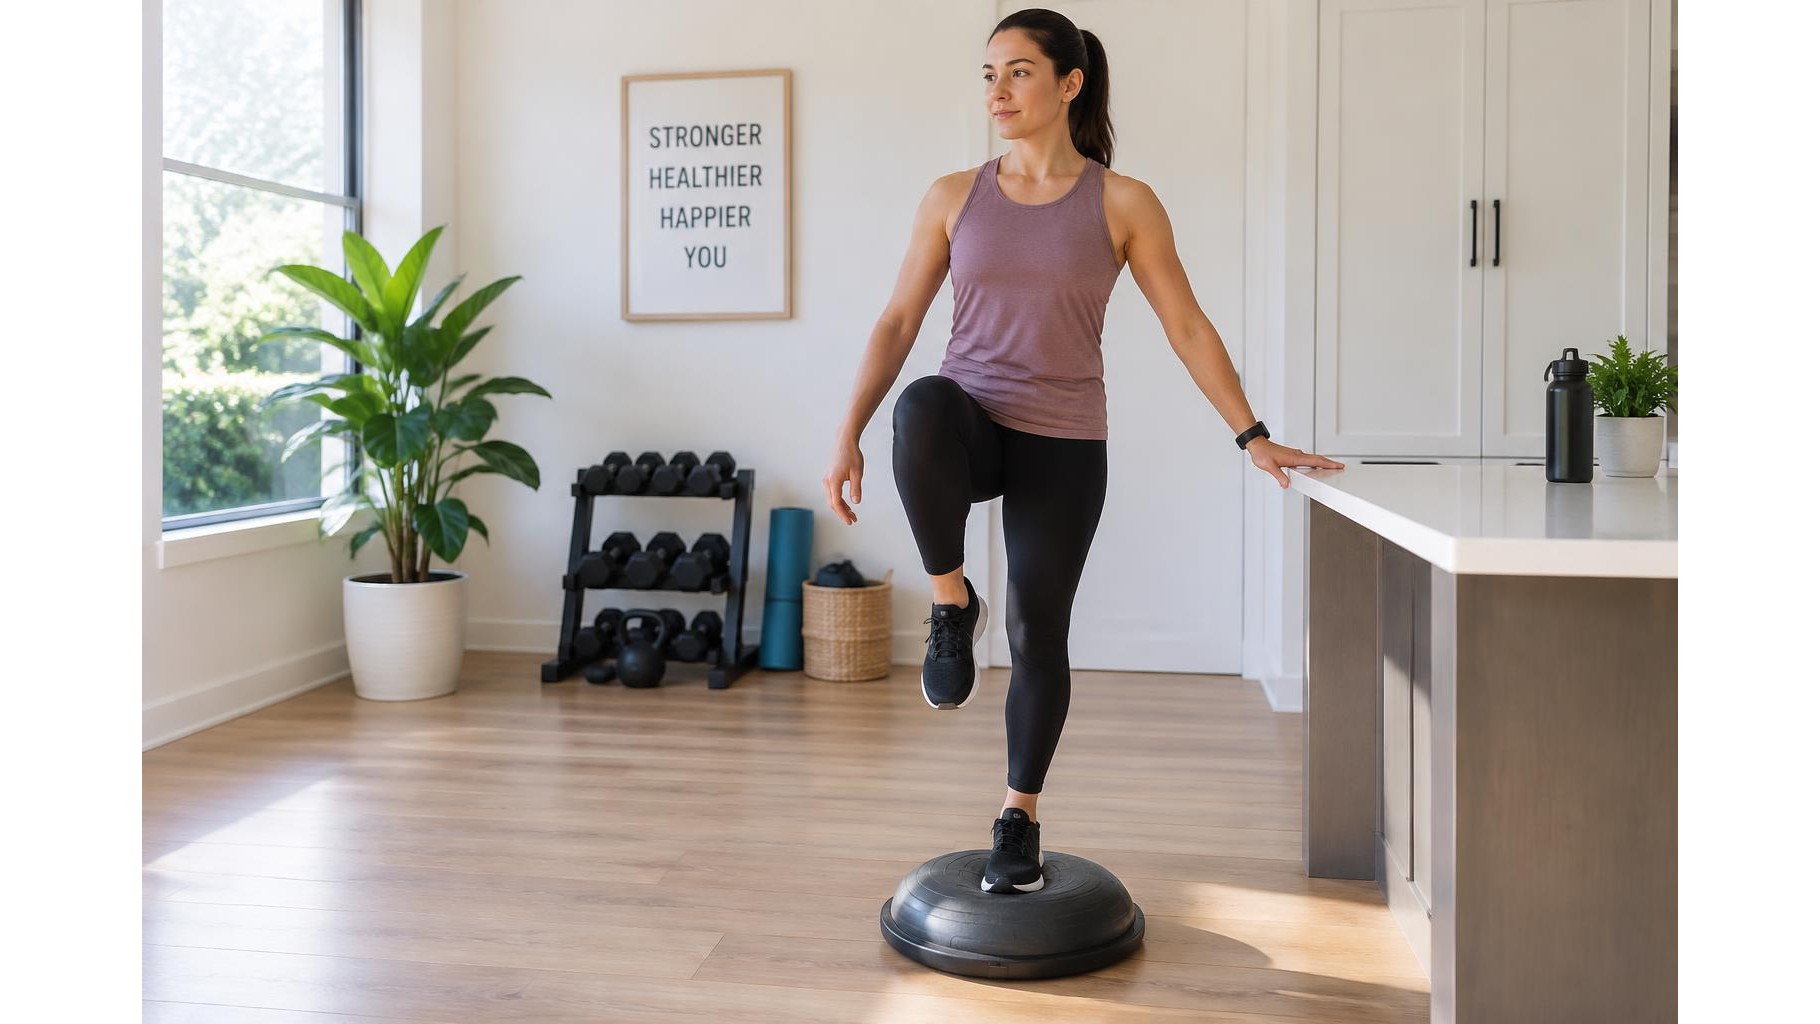
Balance trainers vary from flat wobble boards to raised, dome-shaped platforms. A flat board often offers a smaller, more predictable range of motion, while a dome can move in several directions and may feel less stable. For beginners, look for a broad standing surface and a modest tilt rather than choosing the most challenging design. Check the product dimensions and the base shape: a platform should have room for your feet and should not rock unexpectedly on a level, hard floor. If possible, try a trainer near a sturdy support such as a counter before using it independently.
Check grip and floor contact
Grip matters on both sides: your feet need a secure surface, and the trainer’s underside needs to stay put. Look for a textured top or a material designed to provide traction, and check that the base has non-slip contact points suitable for your flooring. Avoid using a trainer on loose rugs, wet surfaces or uneven flooring. Before each session, inspect the surface for dust, moisture, damage or worn tread. Bare feet or supportive trainers may work, depending on the design and your comfort, but avoid socks on a slick platform.
Respect weight limits and build quality
Read the stated maximum user weight and follow the manufacturer’s instructions; do not estimate capacity from appearance. Choose a model with a comfortable margin above your body weight, especially if you plan to add hand weights or perform dynamic movements. Check whether the listing explains the materials, construction and intended use. A trainer that flexes, creaks, slips or shows cracks should not be used. Also consider whether the product needs inflation or assembly, and whether its parts can be checked or replaced. Use it only for the exercises and loading specified by its maker.
Make storage part of the decision
A compact trainer is useful only if it fits your routine and living space. Compare its diameter, height and weight with the area where you plan to exercise and store it. A lightweight design may be easier to move, while a larger platform can provide more standing room. Check whether it can be stored safely in a cupboard or under a bed without being bent, punctured or exposed to heat. Keep it away from walkways when not in use, and leave enough clear space around it during exercise so you can step off without hitting furniture.
Start with support and simple progressions
Begin beside a stable counter or wall, with the trainer on a non-slip floor and a clear area around you. Try these controlled drills:
- Supported stance: stand with feet comfortably apart and hold the counter lightly for 20–30 seconds.
- Weight shifts: move your weight gently from side to side, keeping your knees soft and your breathing steady.
- Mini squats: hold support and bend only a little, keeping your knees aligned over your feet.
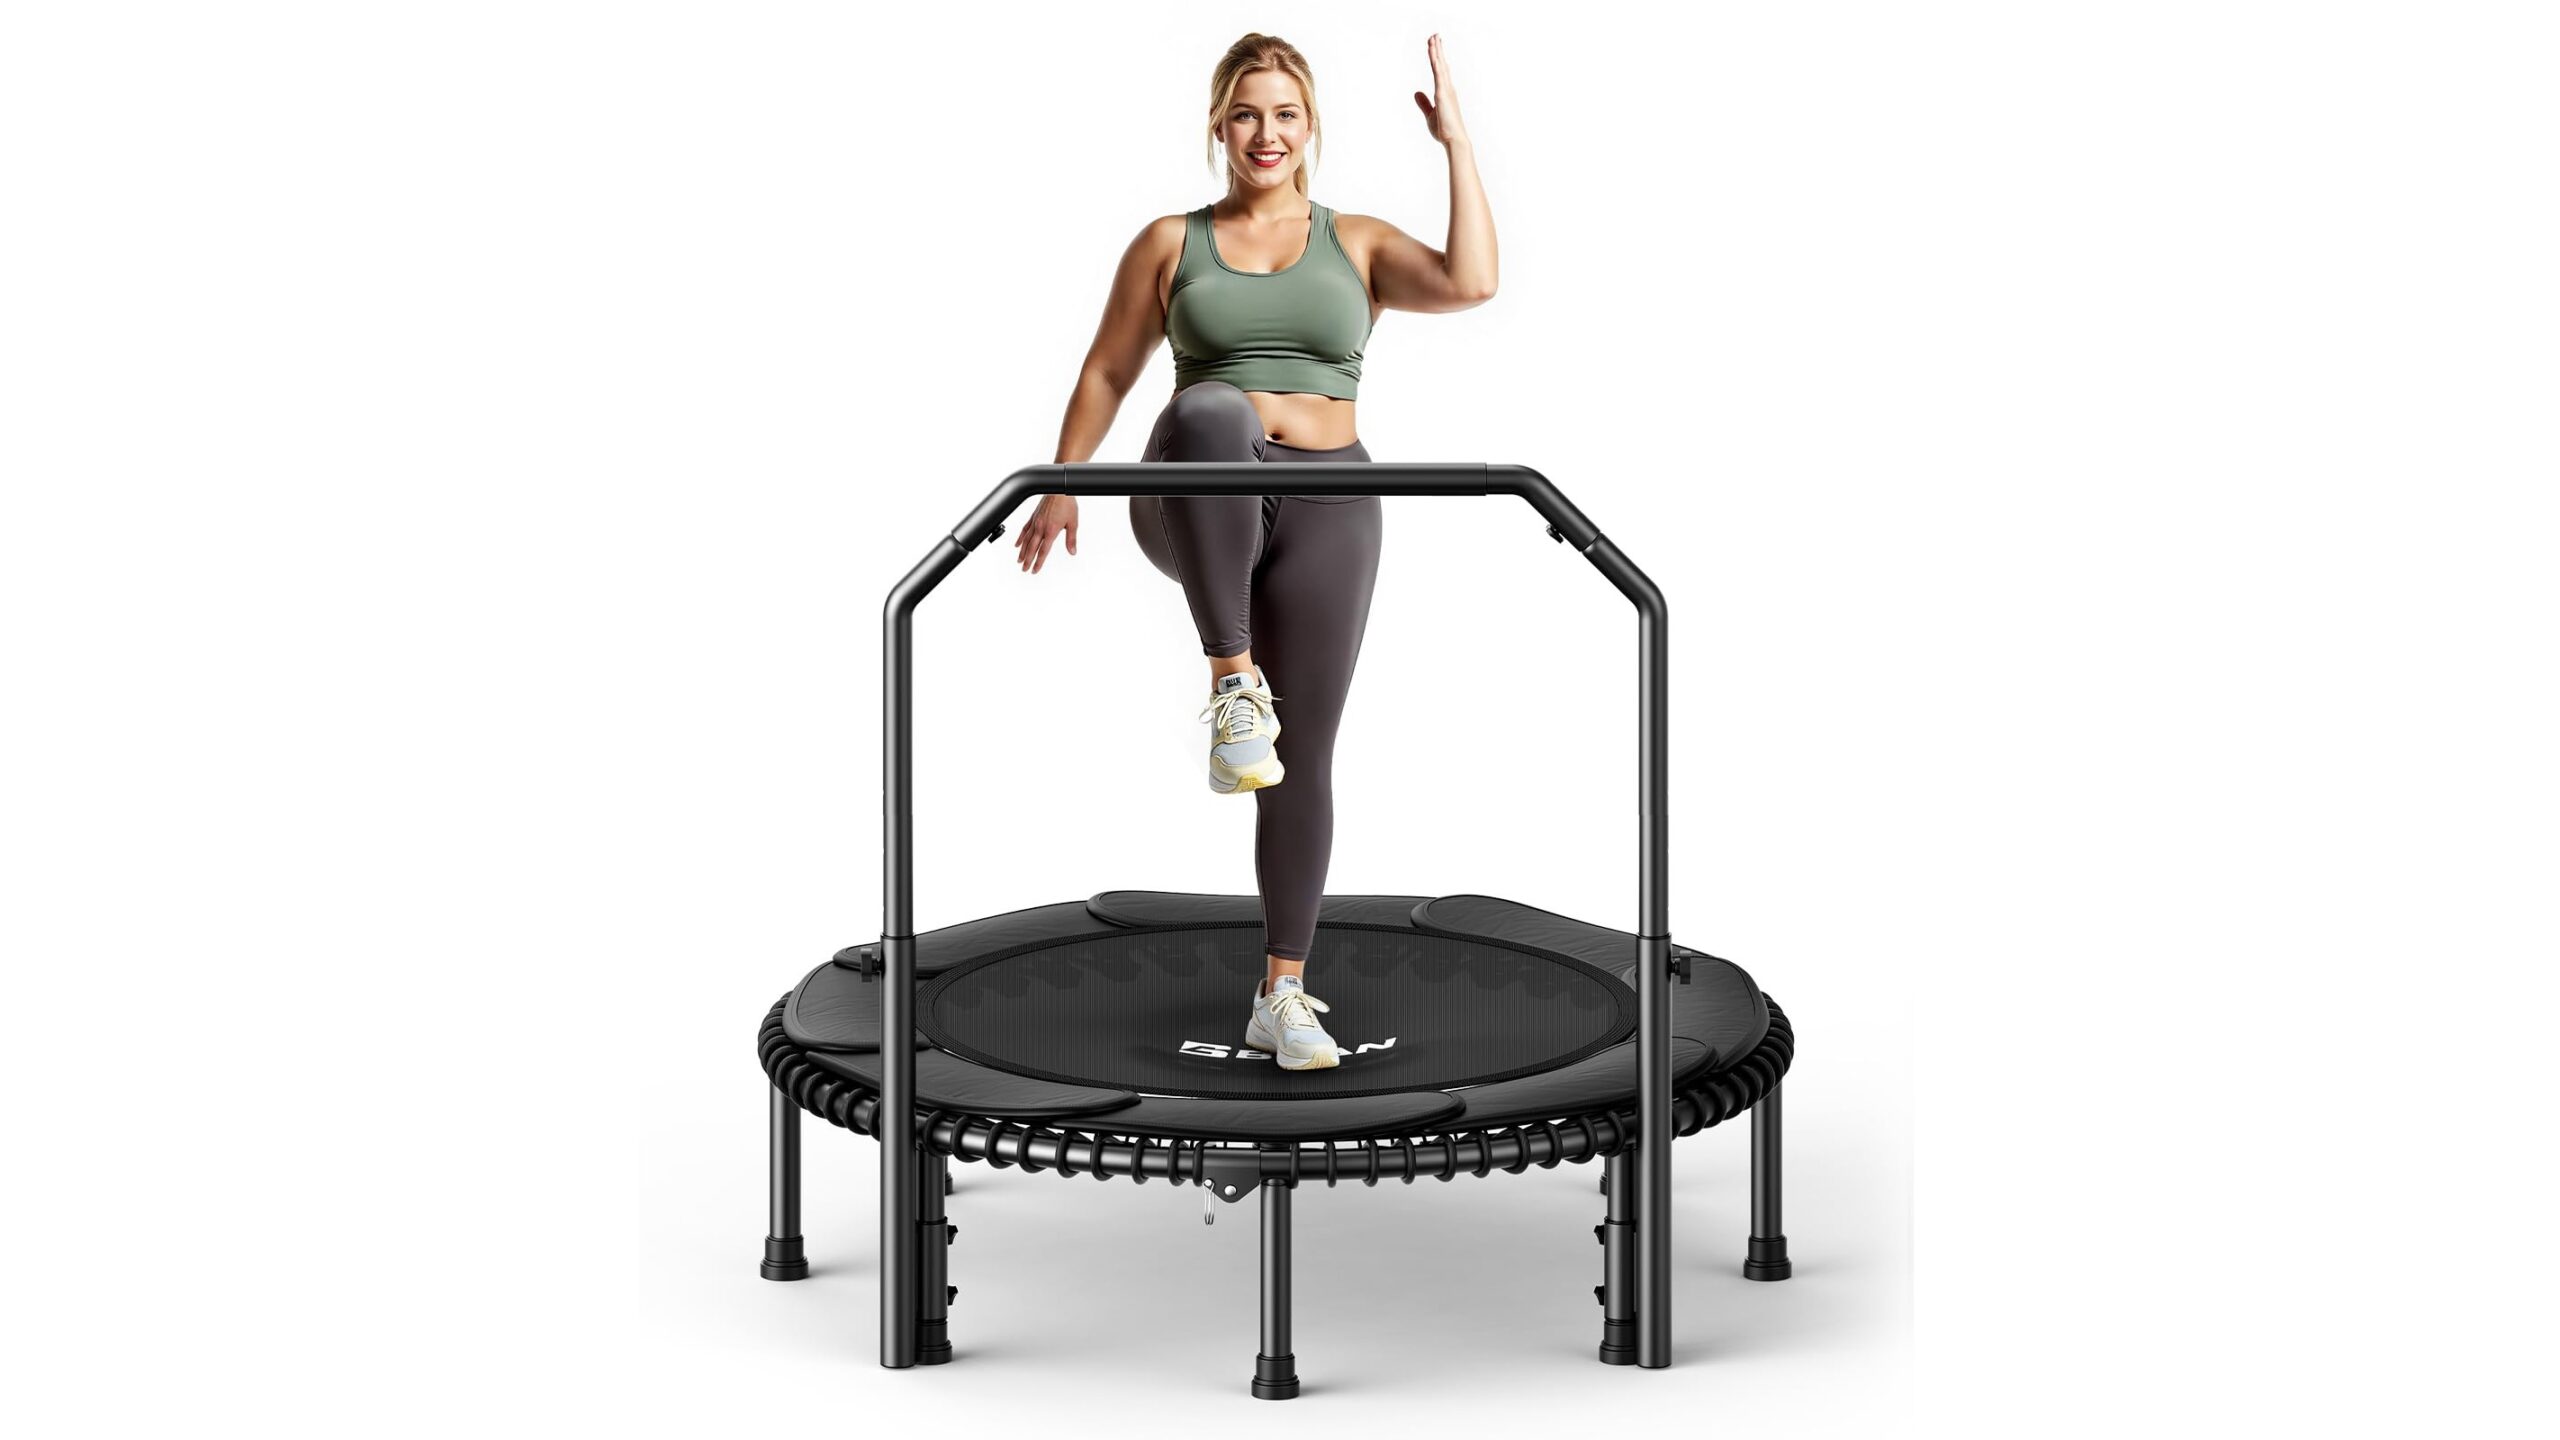
- Marching: once standing feels steady, lift one heel at a time; keep a hand near support.
Stop if you feel pain, dizziness or unusual instability. Reduce the range of movement before trying longer holds, fewer hand supports or more demanding exercises.
For a low-impact home routine, choose a trainer that feels secure, fits your floor and storage space, and has a clearly stated weight limit. Start with supported balance drills and progress only when you can stay controlled. Careful setup and consistent practice matter more than buying the most challenging platform.