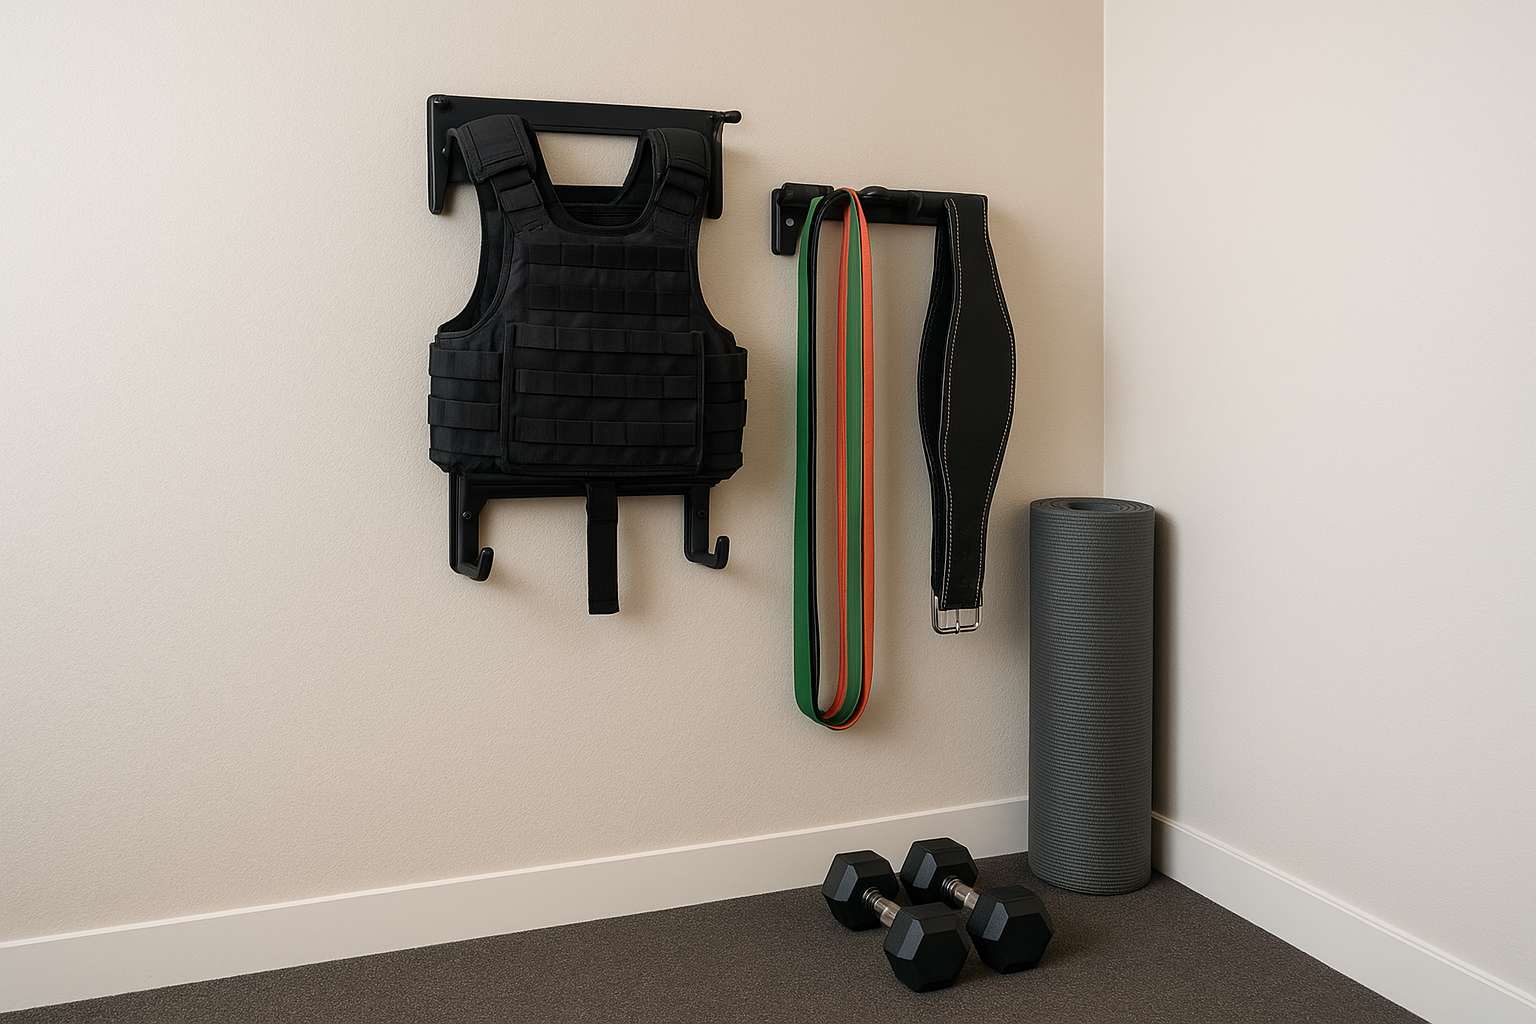
Creating a tidy, efficient home gym corner is much easier when your gear has a dedicated place. A compact adjustable weight vest rack or hanging system keeps heavy vests, bands and small strength tools off the floor, protects your walls and equipment, and speeds up your workouts. This guide explains what to look for when buying or DIY‑building a rack, how to plan your layout, and the main safety points to consider in a small space.
Table of contents
Why your weight vest needs a dedicated rack
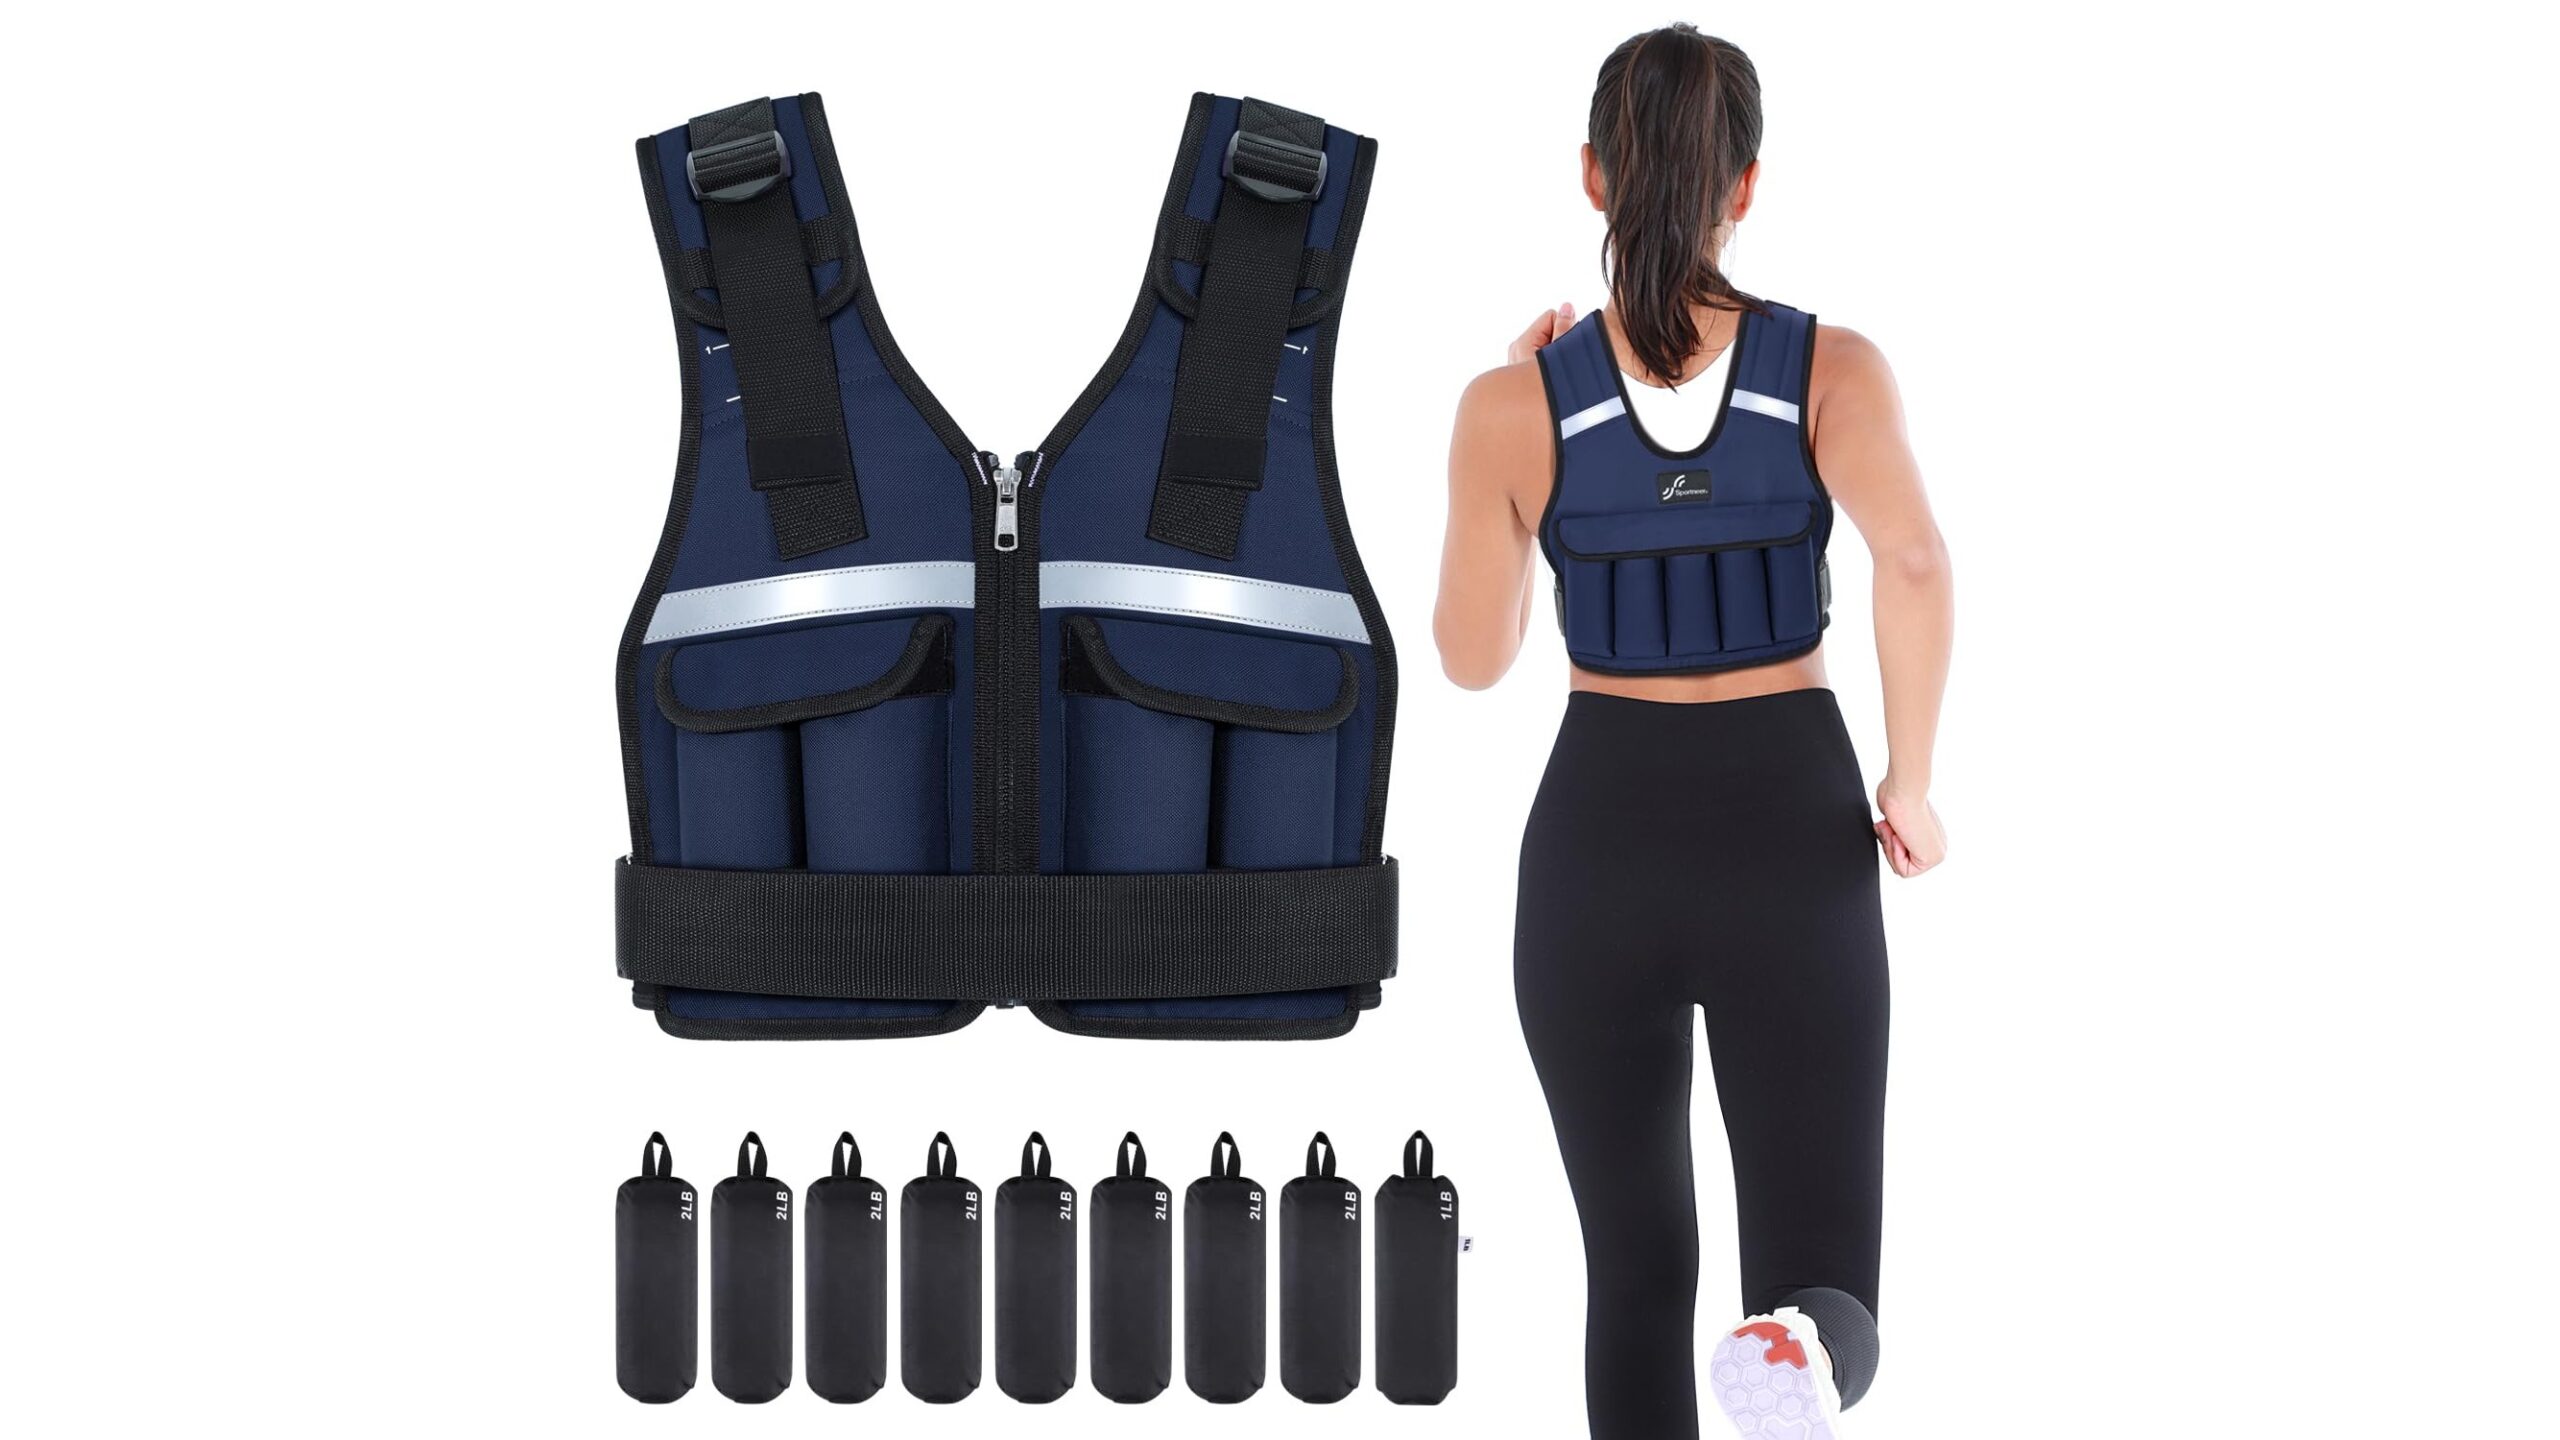
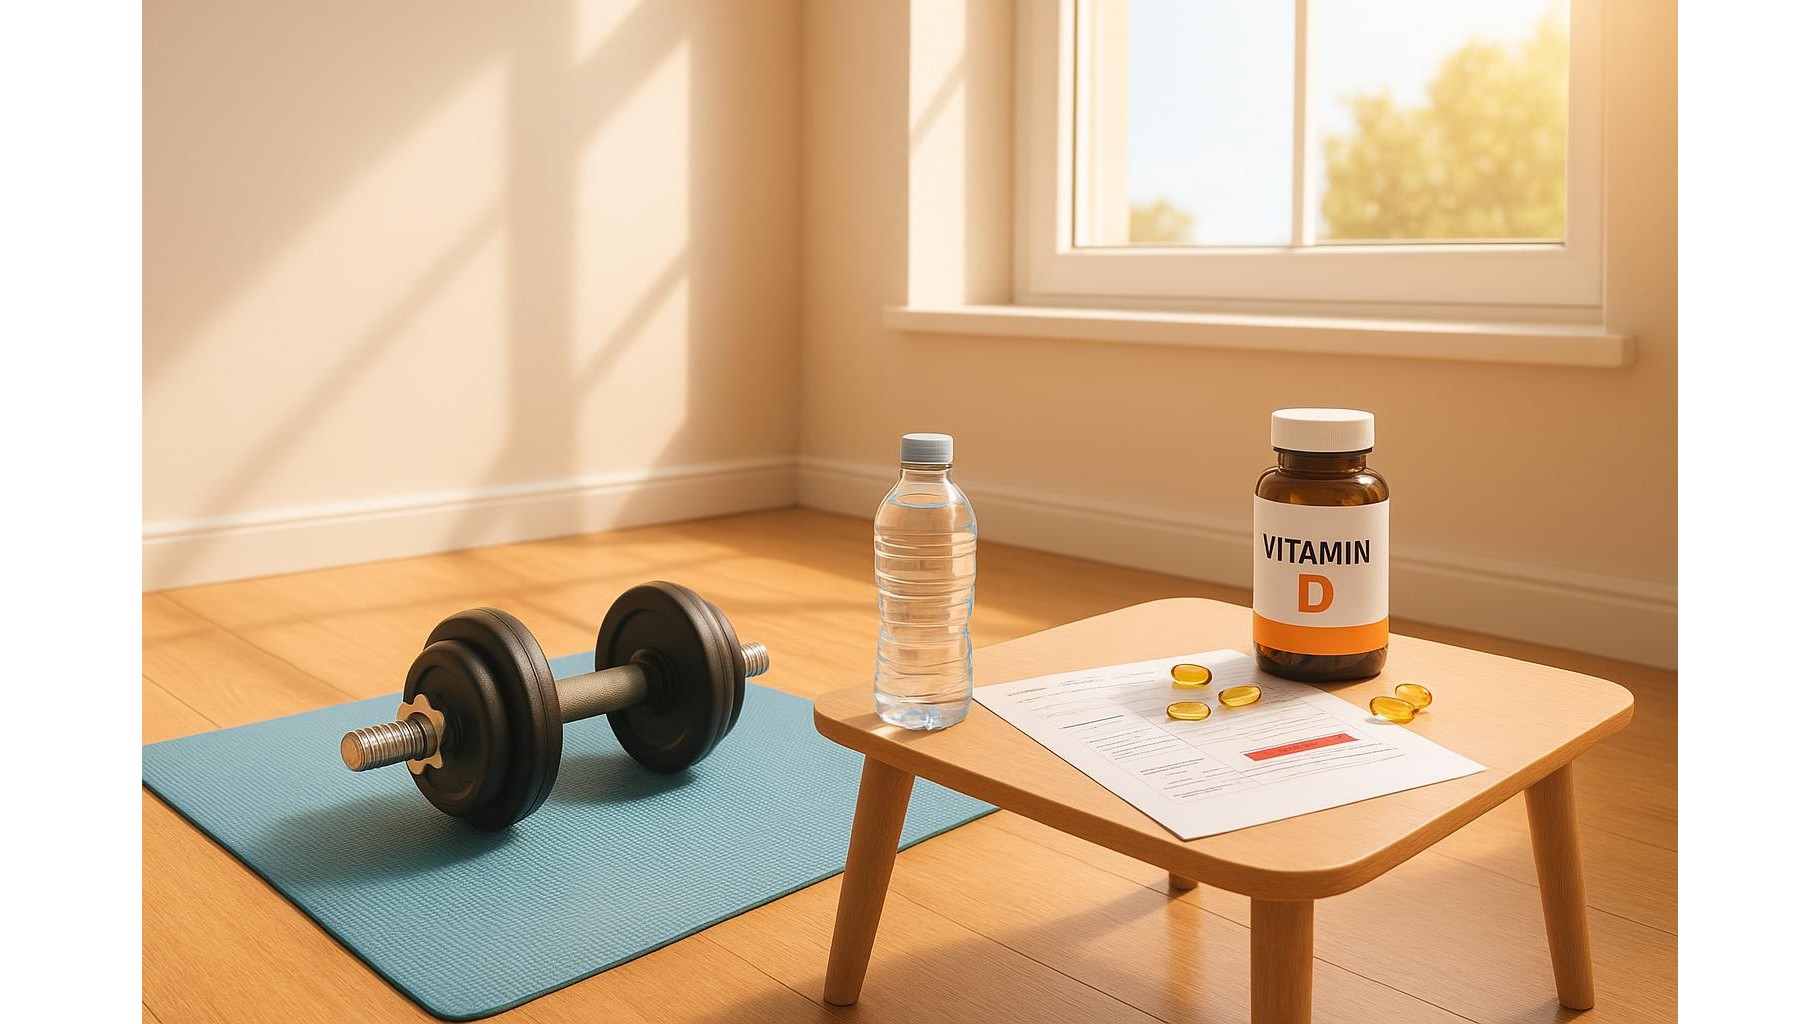
A loaded weight vest can easily exceed 20–30 kg, and leaving it on the floor is a trip hazard and can damage both plates and padding. A dedicated weight vest rack or hanger keeps the vest fully supported by its shoulders, helping the padding dry between sessions and prolonging Velcro and stitching. It also prevents your vest from deforming if it’s stored folded over a chair or crumpled in a box. Storing the vest at waist or chest height is kinder on your back when you pick it up, which matters if you train frequently or share the space with people of different strengths and heights.
[p_iol_placeholder type=”cta” id=”telegram”/]
Wall‑mounted vs free‑standing: what suits a small corner
In a compact home gym corner, the first choice is between a wall‑mounted rack and a free‑standing stand. Wall racks and multi‑hook hangers minimise the floor footprint and are ideal if you have solid brick or block walls. They work well behind a squat rack, beside a door, or above a shoe bench. Free‑standing trees or posts make sense if you train in a rented home where you cannot drill into the wall, or on drywall partitions without strong studs. They occupy more floor space but offer flexibility: you can wheel or slide them out of the way, and often combine storage for vests, belts and resistance bands. When choosing, measure the exact corner, allow space to move around safely, and check door swing or window access.
Key features of a compact adjustable rack or hanger
Look for a rack with a generous weight capacity that exceeds the total loaded mass of all your vests and accessories by at least 30–50%. Adjustable or staggered hooks let you hang one or more vests at different heights so shoulder straps and Velcro don’t clash. Wide, rounded arms or padded hooks protect the vest’s shoulders and keep the load centred, while narrow metal pegs may create pressure points over time. A compact rack should keep depth to a minimum so you can walk past without catching your shoulder, ideally under 30 cm from the wall to the outer edge of the hooks. Integrated side hooks or lower pegs for dip belts, lifting belts, bands and jump ropes add value without taking extra space.
DIY‑building a simple weight vest hanger
If you are handy with tools, a DIY weight vest hanger can be built from a short length of hardwood or a steel bar, two heavy‑duty wall brackets and robust fixings. Mount the board horizontally using sleeve anchors or long wood screws into solid studs, then add two or three wide coat hooks or padded utility hooks spaced to match the vest shoulders. For extra protection, wrap pipe insulation or foam tape around the hooks so the vest’s fabric isn’t cut or compressed. Always confirm the safe working load of brackets and fixings; the system must hold the full vest weight plus a safety margin. For renters, a standalone DIY rack from a vertical 4×4 post fixed to a wide base can offer stable storage without a single hole in the wall.
Safety, ergonomics and space‑saving layouts
Safety starts with how you anchor the rack. Use appropriate plugs for masonry, find timber studs behind plasterboard, and avoid mounting into weak surfaces like thin panelling. Place the vest so that the bottom edge sits between hip and chest height; this makes it easier to lift onto your body without twisting or rounding your back. In tight corners, store the heaviest vest on the most accessible hook and keep lighter accessories higher or lower. Maintain a clear floor area of at least 60×60 cm in front of the rack so you can put the vest on and off without stepping over plates or kettlebells. If you share the space, establish a routine: always re‑rack the vest after use and keep straps secured so nothing dangles into your walking path.
A well‑chosen or thoughtfully DIY‑built compact weight vest rack transforms a cluttered nook into a functional home gym corner. Prioritise solid mounting, adequate weight capacity, and ergonomic height so you can gear up quickly and safely. Whether you opt for a minimal wall hanger or a multi‑purpose storage stand, a dedicated place for your vest and small strength tools will protect your equipment, reduce trip hazards and make every workout in your home gym more efficient and enjoyable.