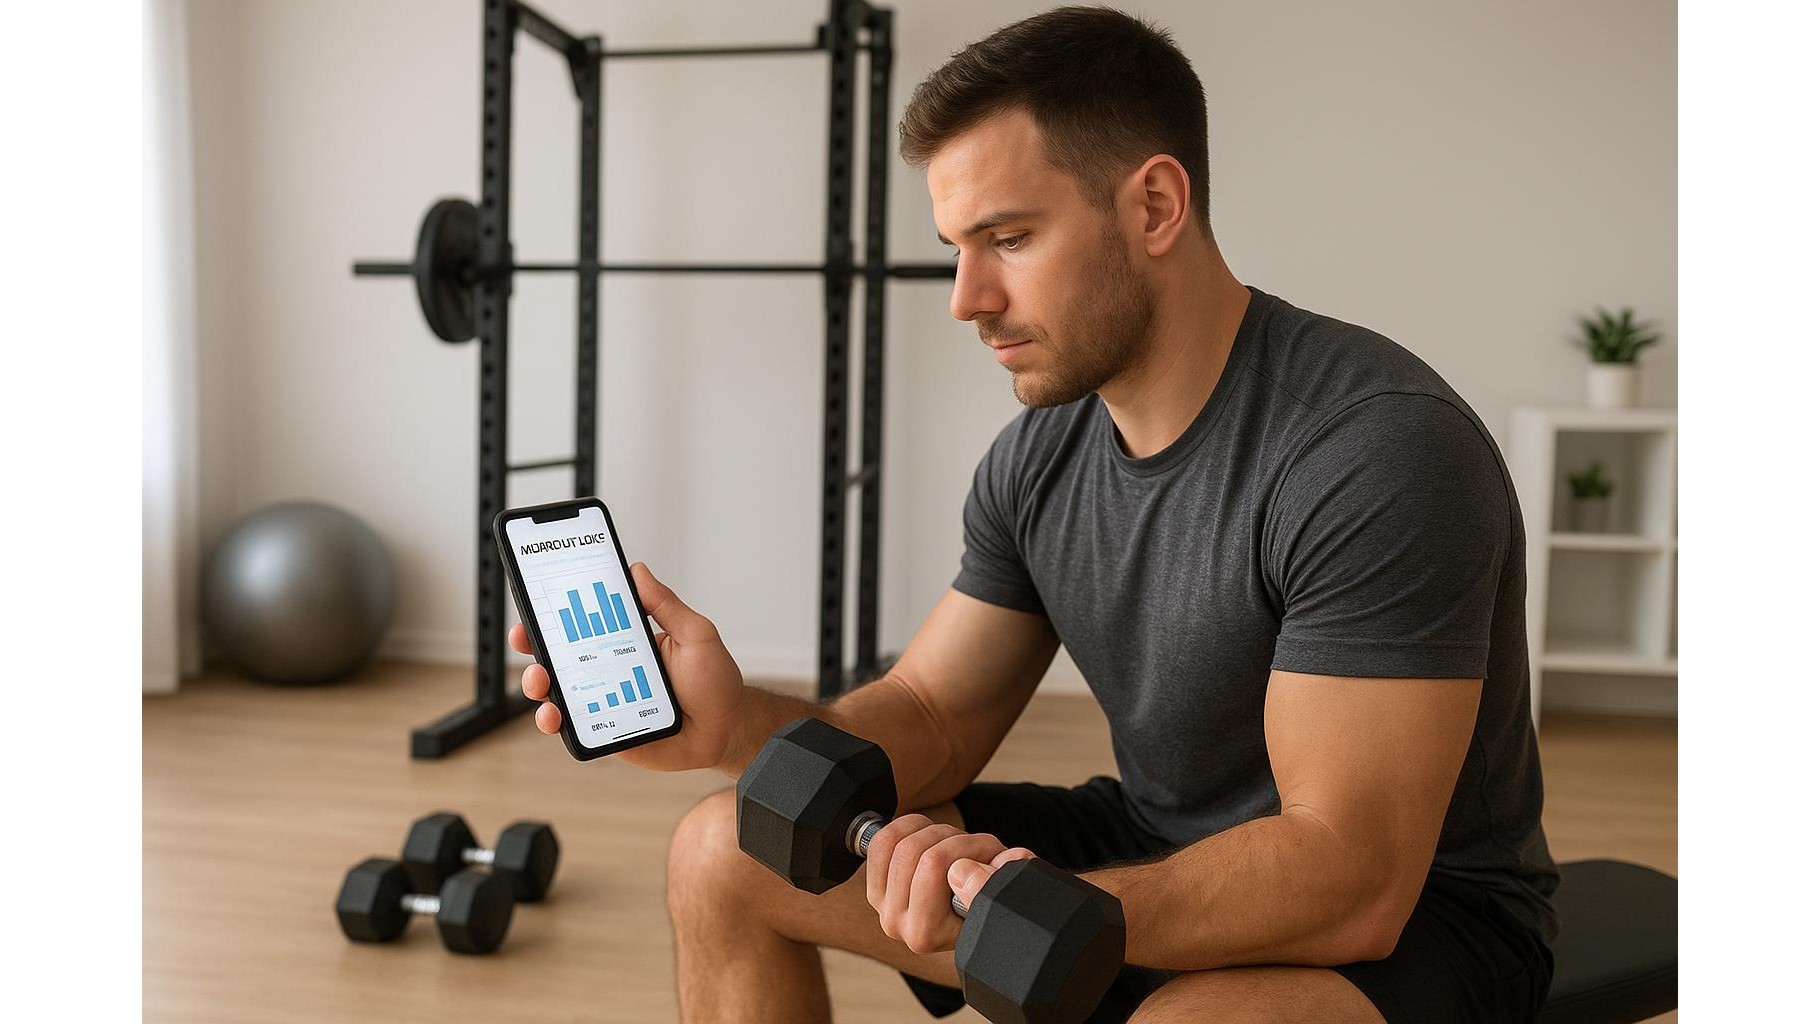
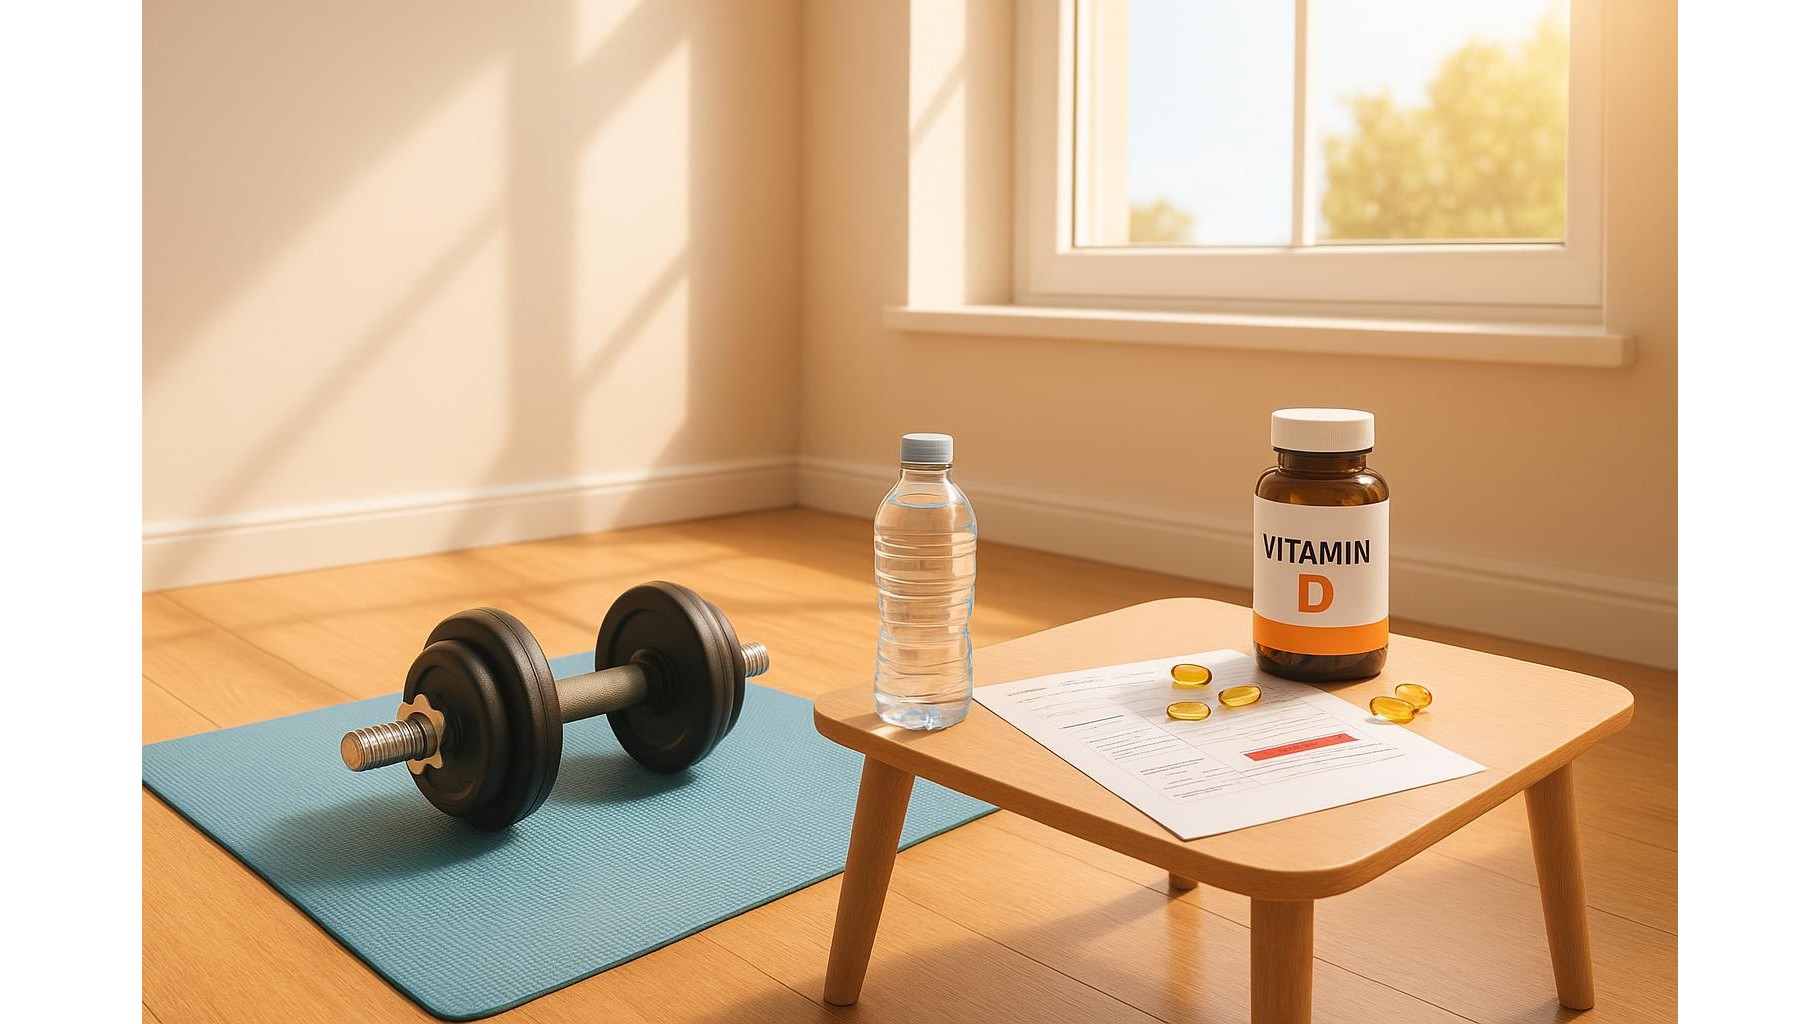
Training alone in a home gym does not mean you have to guess your form. With a basic smartphone or webcam, you can turn your space into a mini technique lab and spot the same issues a coach would notice: knee cave, rounded back, bar path and uneven lockouts. By learning how to place your camera, how to light your room and what to look for in the video, you can make steady progress on your squat, hinge and press without spending money on one‑to‑one coaching.
Table of contents
Setting up your home camera for strength training
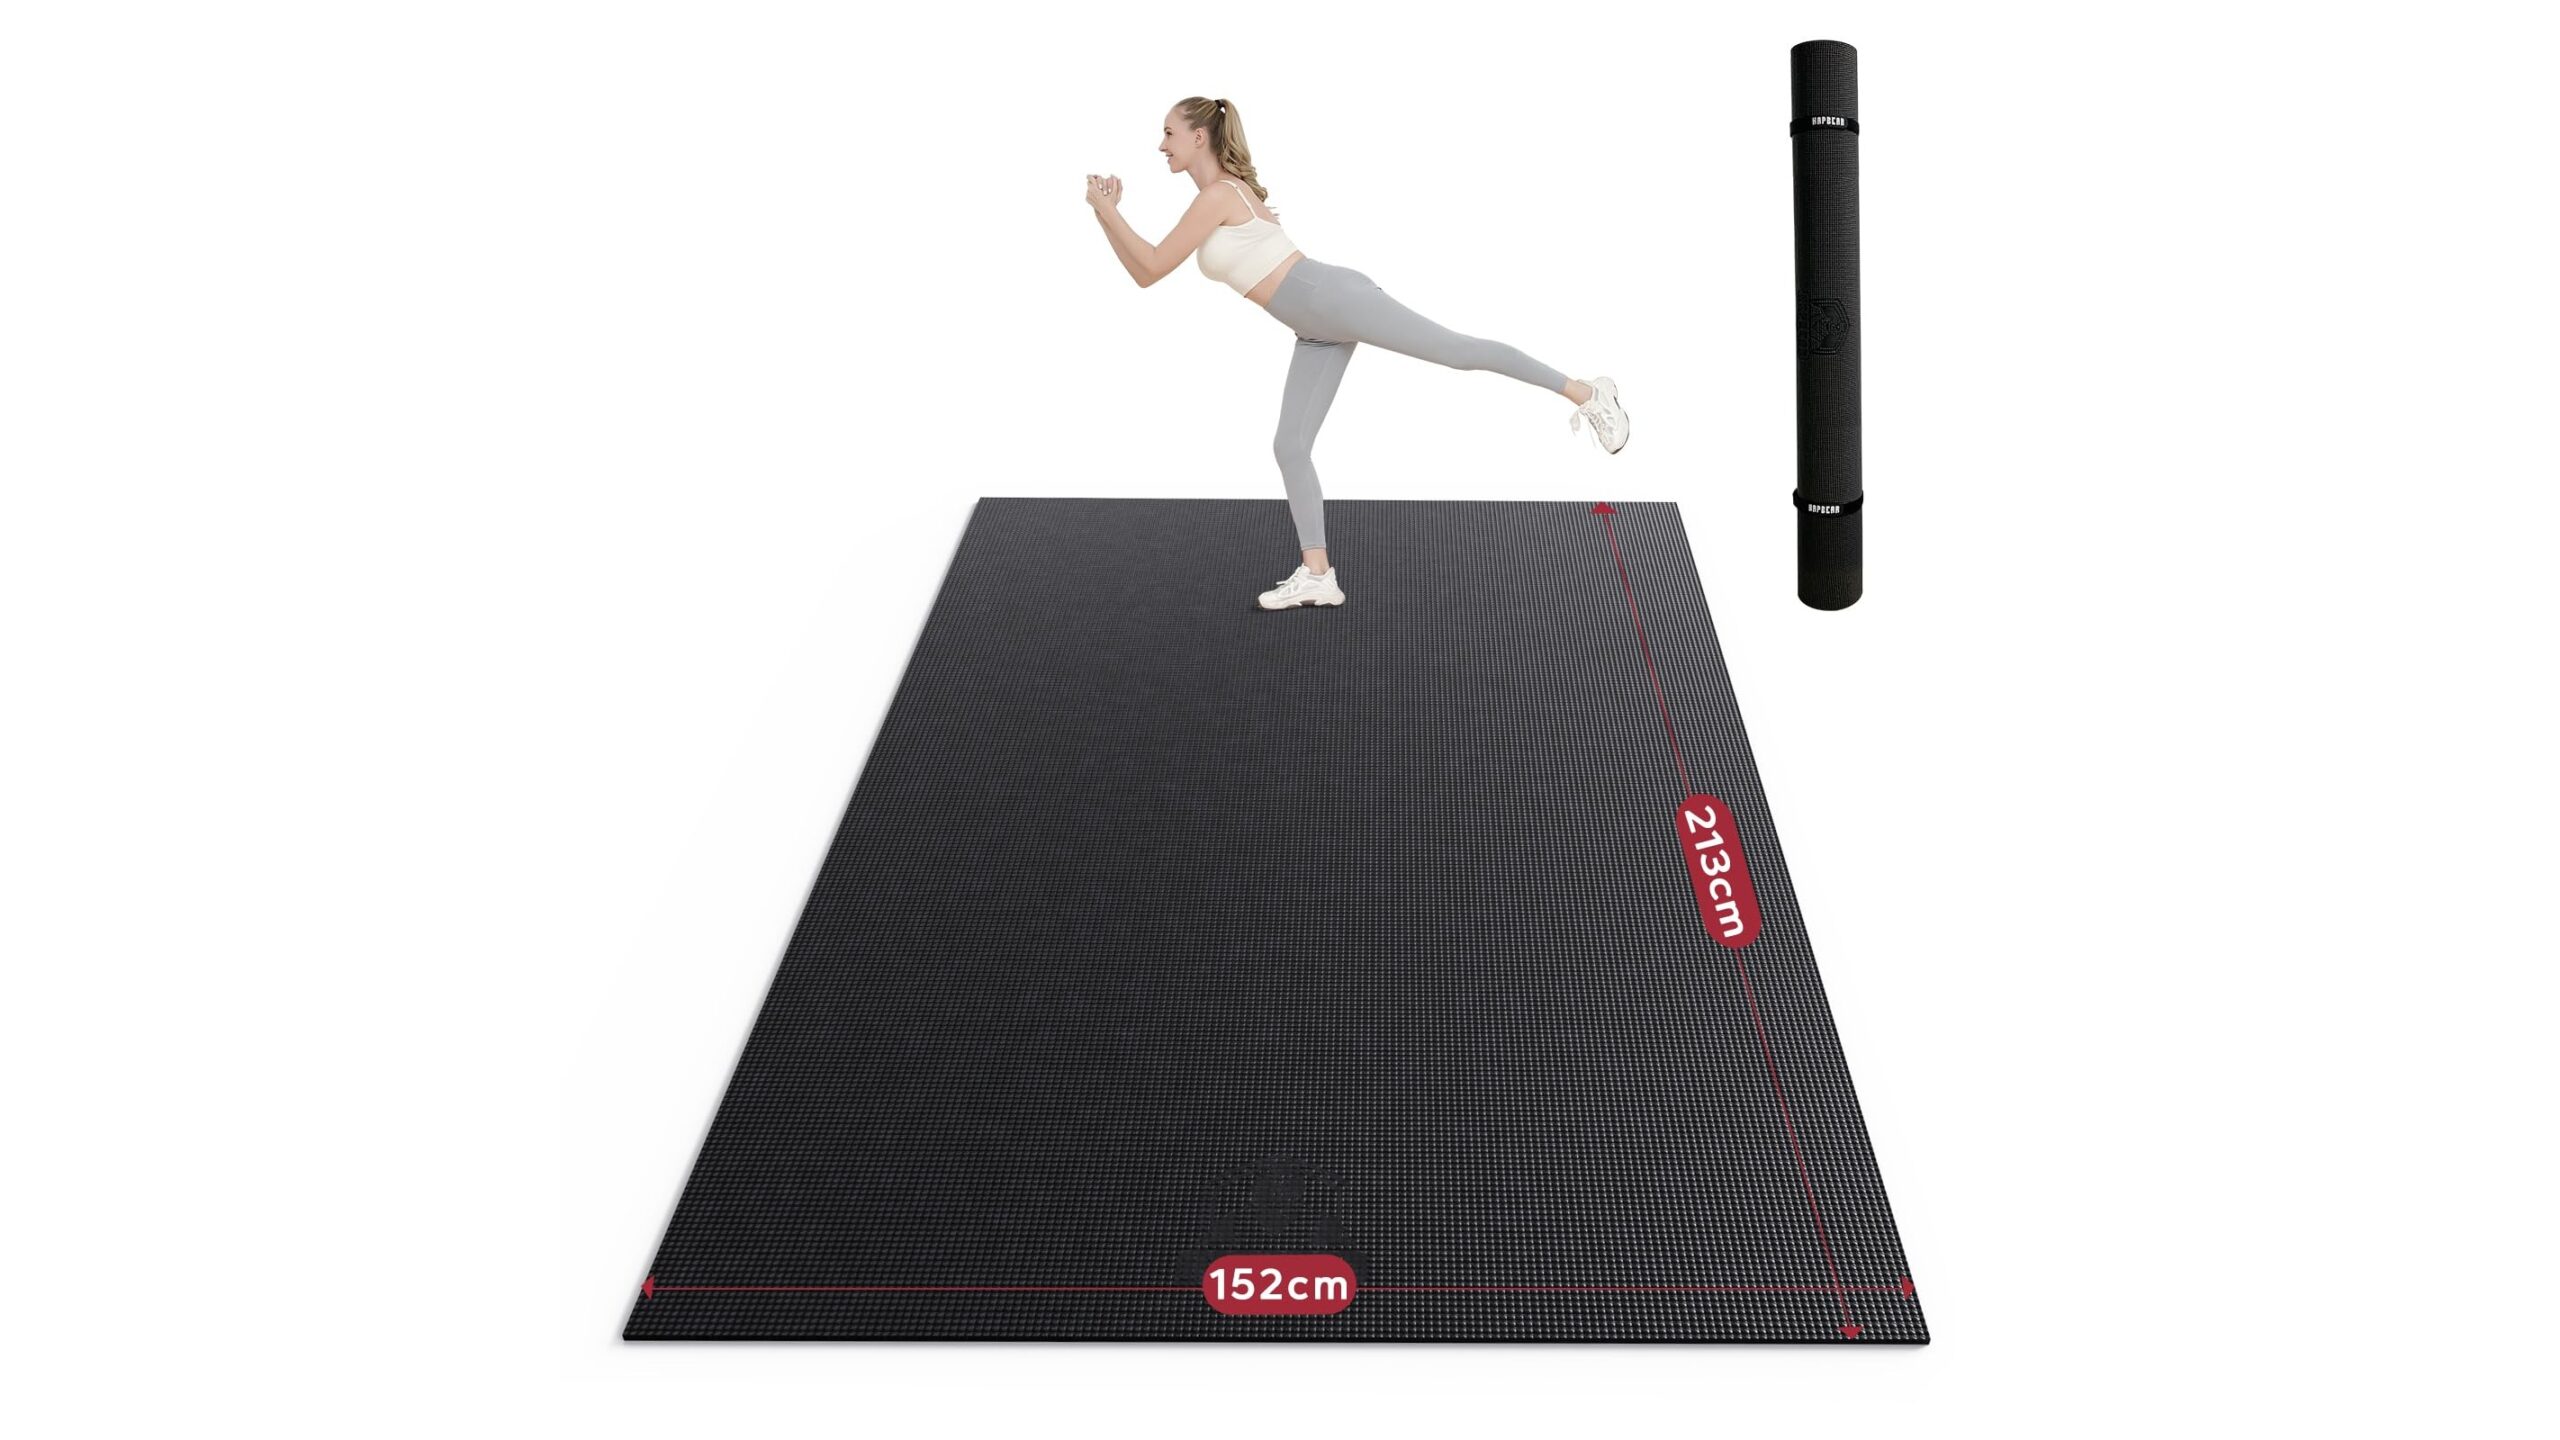
The first step is choosing and stabilising your recording device. Any recent smartphone camera is more than good enough to analyse lifting technique, and most laptops have a decent webcam. The crucial factor is stability and repeatable positioning so that each session is filmed from the same angle. Use a solid surface like a shelf or bench, and mark the spot with tape so you can place the device in the same position every time. Consistency makes it far easier to compare technique over weeks and see if your adjustments are actually working.
Best angles to film squats, hinges and presses
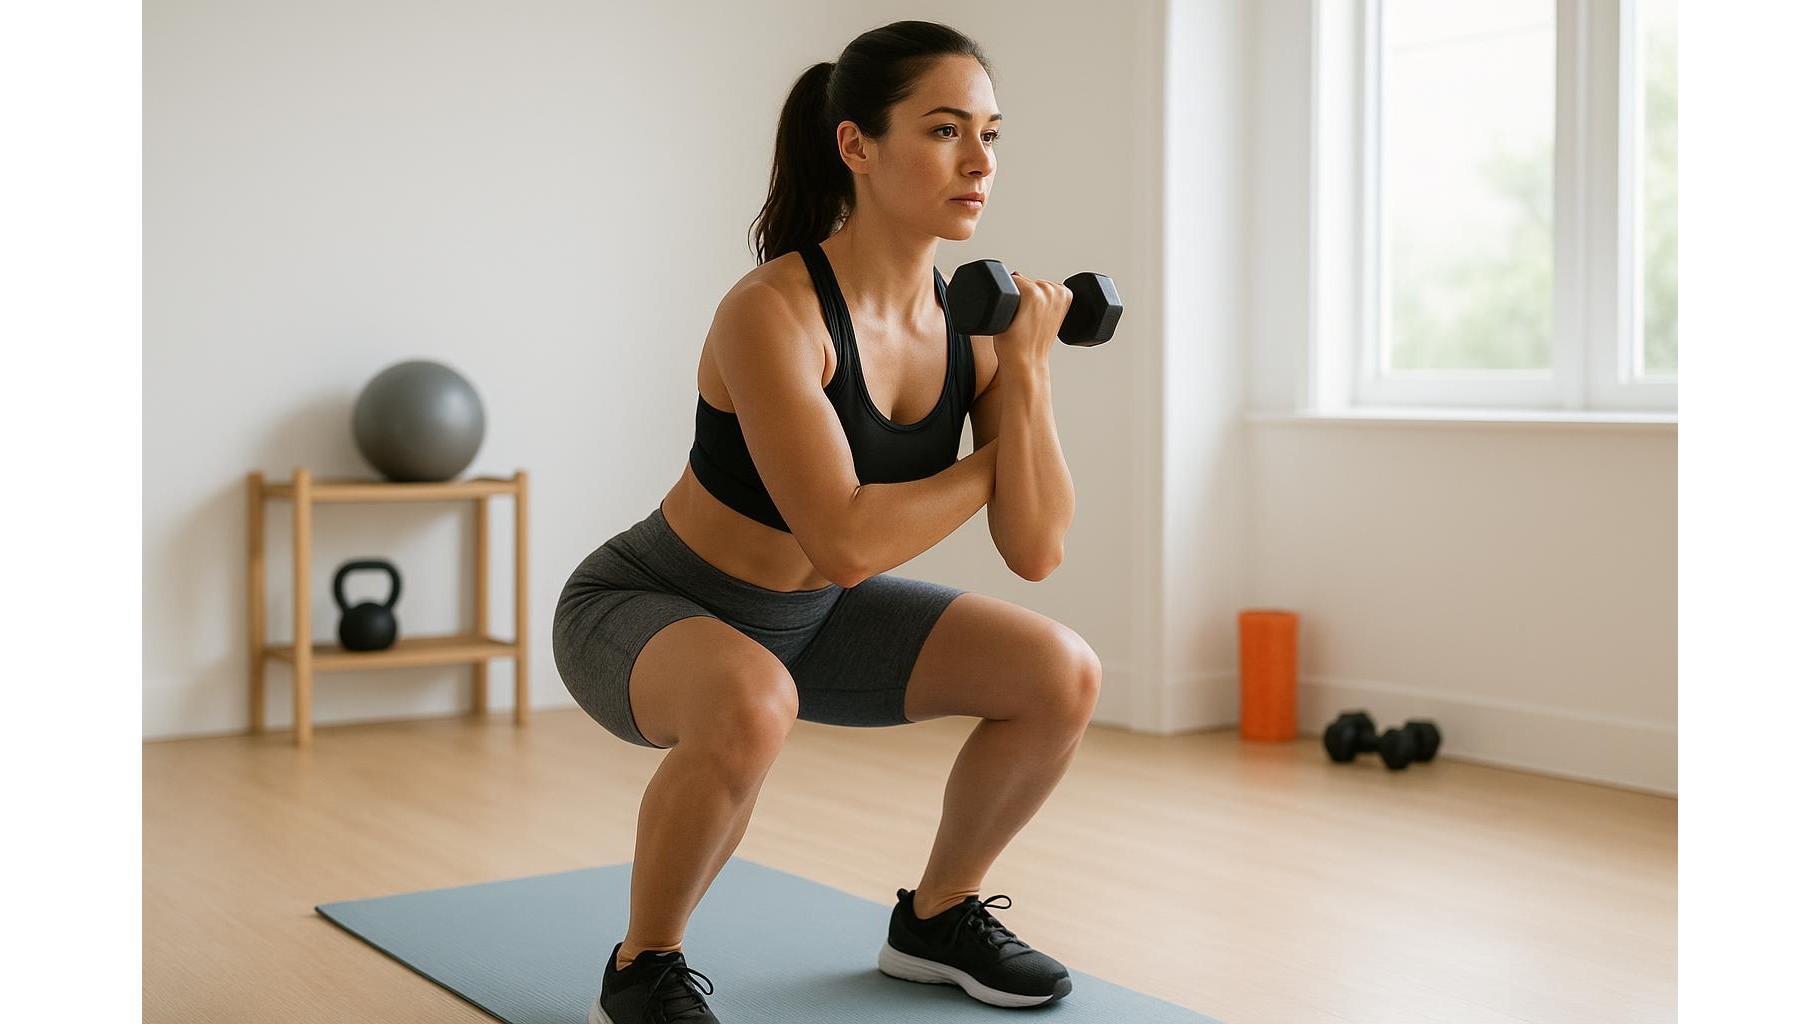
Good angles reveal joint positions and bar path clearly. For back squats and
Lighting and background: making your form visible
Even the best phone camera struggles in dim rooms. For clear technique checks, aim for bright, even lighting that comes from behind the camera and shines onto you, not from behind you where it causes silhouettes. Switch on multiple lamps, open curtains and avoid strong light sources in the frame. Wear clothing that contrasts with the background, such as a light T‑shirt against dark walls or vice versa, so your hip and shoulder lines are easy to see. A clean, uncluttered background helps you notice bar path and body alignment instead of getting distracted by visual noise in the room.
Simple checklists for squat, hinge and press form
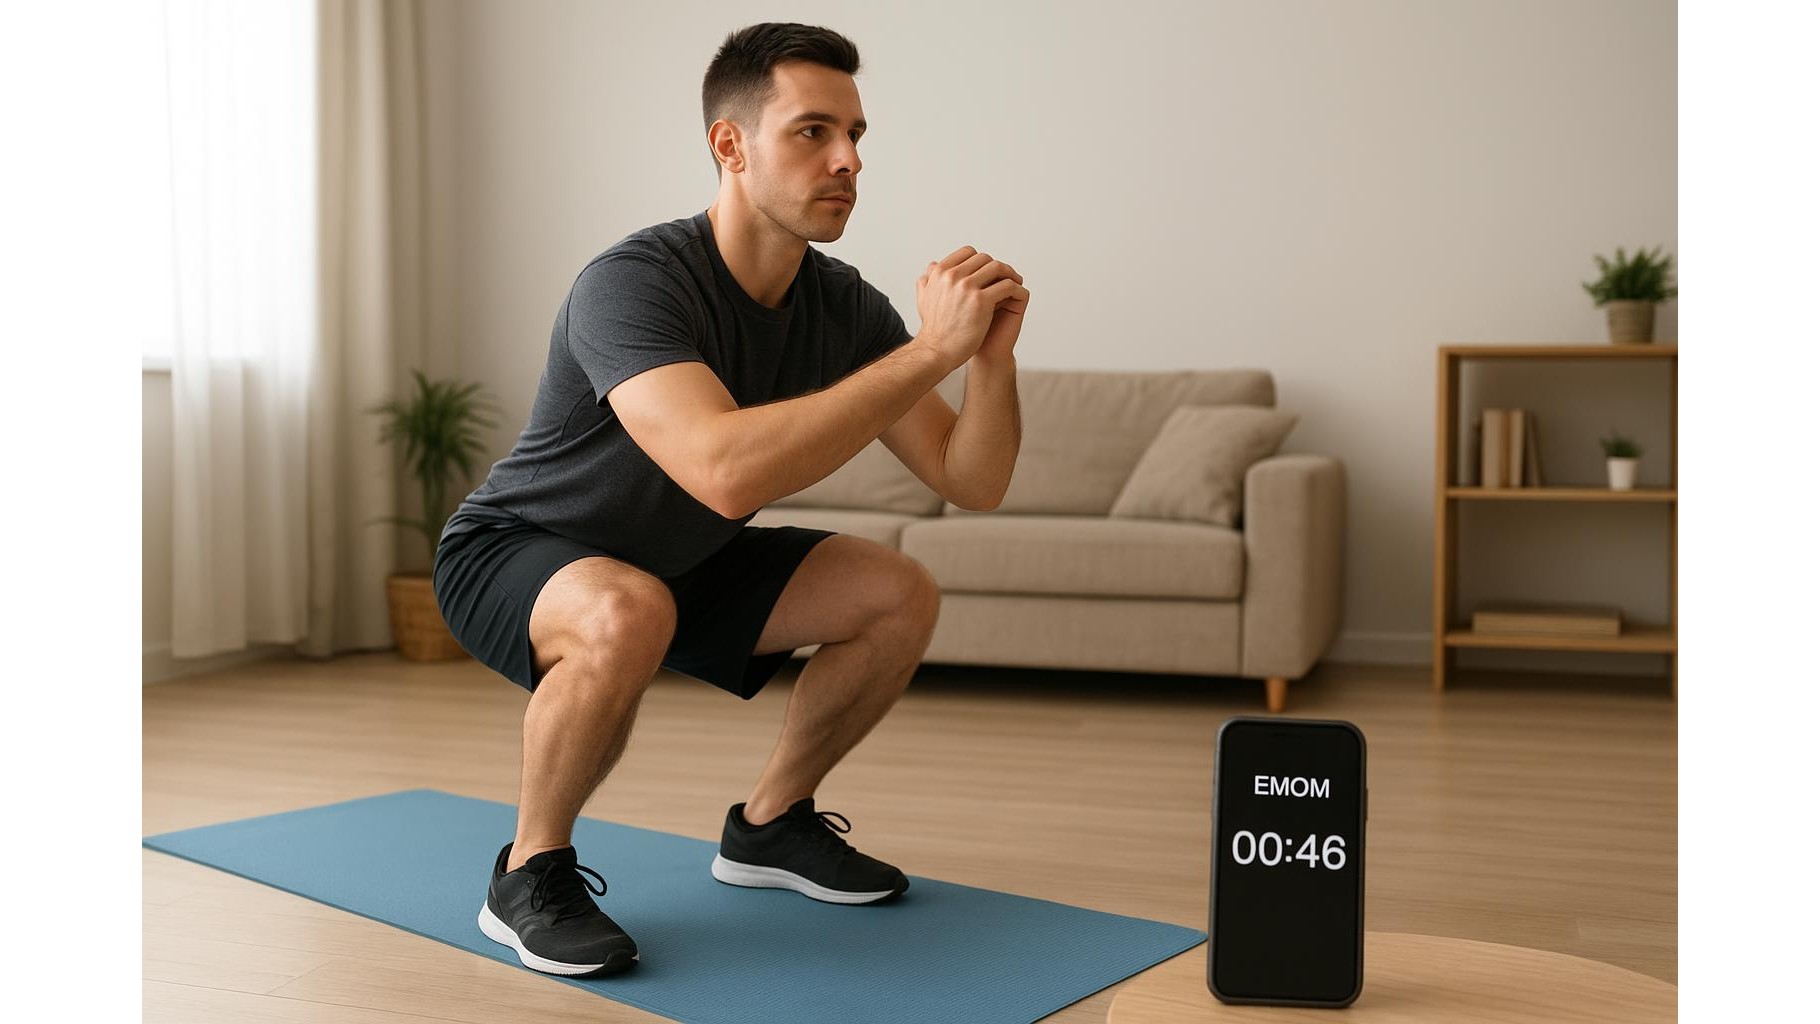
Rather than trying to analyse everything at once, use a short technique checklist for each main lift. For squats, check: are your feet evenly set, are your knees tracking in line with toes, does the hip crease clearly pass below the top of the knee, and does the bar move in a straight or almost straight line? For hinges and deadlifts, look for a neutral spine, shoulders slightly in front of the bar at the start, the bar staying close to the legs and hips and shoulders rising together. For presses, confirm that your wrists are stacked over elbows, ribs stay down, and the bar finishes over the middle of your foot with locked elbows. Keep these lists short, repeatable and focused on safety first, performance second.
Building a habit of review and gradual improvement
Video only helps if you build a consistent review habit. Pick one or two sets per exercise to record each session instead of filming everything. After the workout, quickly scan the clips, compare against your checklist and write down one priority cue for the next time, such as “push knees out” or “keep bar closer”. Over a few weeks you will build a personal library of lifting footage that shows trends in your movement and how different cues or warm‑ups affect your form. This objective feedback is especially valuable in a solo home gym environment, where it is easy to repeat the same mistake for months without realising.
Using a simple home camera thoughtfully transforms your workouts from guesswork into a structured practice of observation and correction. By standardising your camera setup, choosing useful angles, improving lighting and working with short, clear technique checklists, you can make meaningful progress on your squat, hinge and press mechanics even when you train alone. Over time, these small, systematic adjustments add up to safer lifting, better performance and more confidence under the bar in your home gym.