Transforming your home gym into a smart training space is easier than you think. By adding a simple QR code system to every station, you can instantly open exercise demo videos, tracking sheets and even motivational playlists on your phone. No more scrolling through apps or searching YouTube mid‑workout: just scan and train. In this tutorial, you will learn how to plan your system, create and print codes, stick them safely to your equipment and connect everything to your favourite logging tools.
Table of contents
Why your home gym needs a QR code system
A QR code setup turns a basic garage gym into a guided training studio. Each station can have its own code linking to form videos, progression charts and session logs. For example, your squat rack QR can open a video on bracing and depth, your dumbbell area QR can load a full-body template, and your cardio machine QR can start an interval timer. This removes decision fatigue and keeps you focused on execution. It is also perfect if you share the gym with family: beginners can scan to see safe technique, while more advanced lifters can jump straight into their personalised Google Sheet or app. The result is more consistency, fewer excuses and better training data.
Planning what every QR code should do
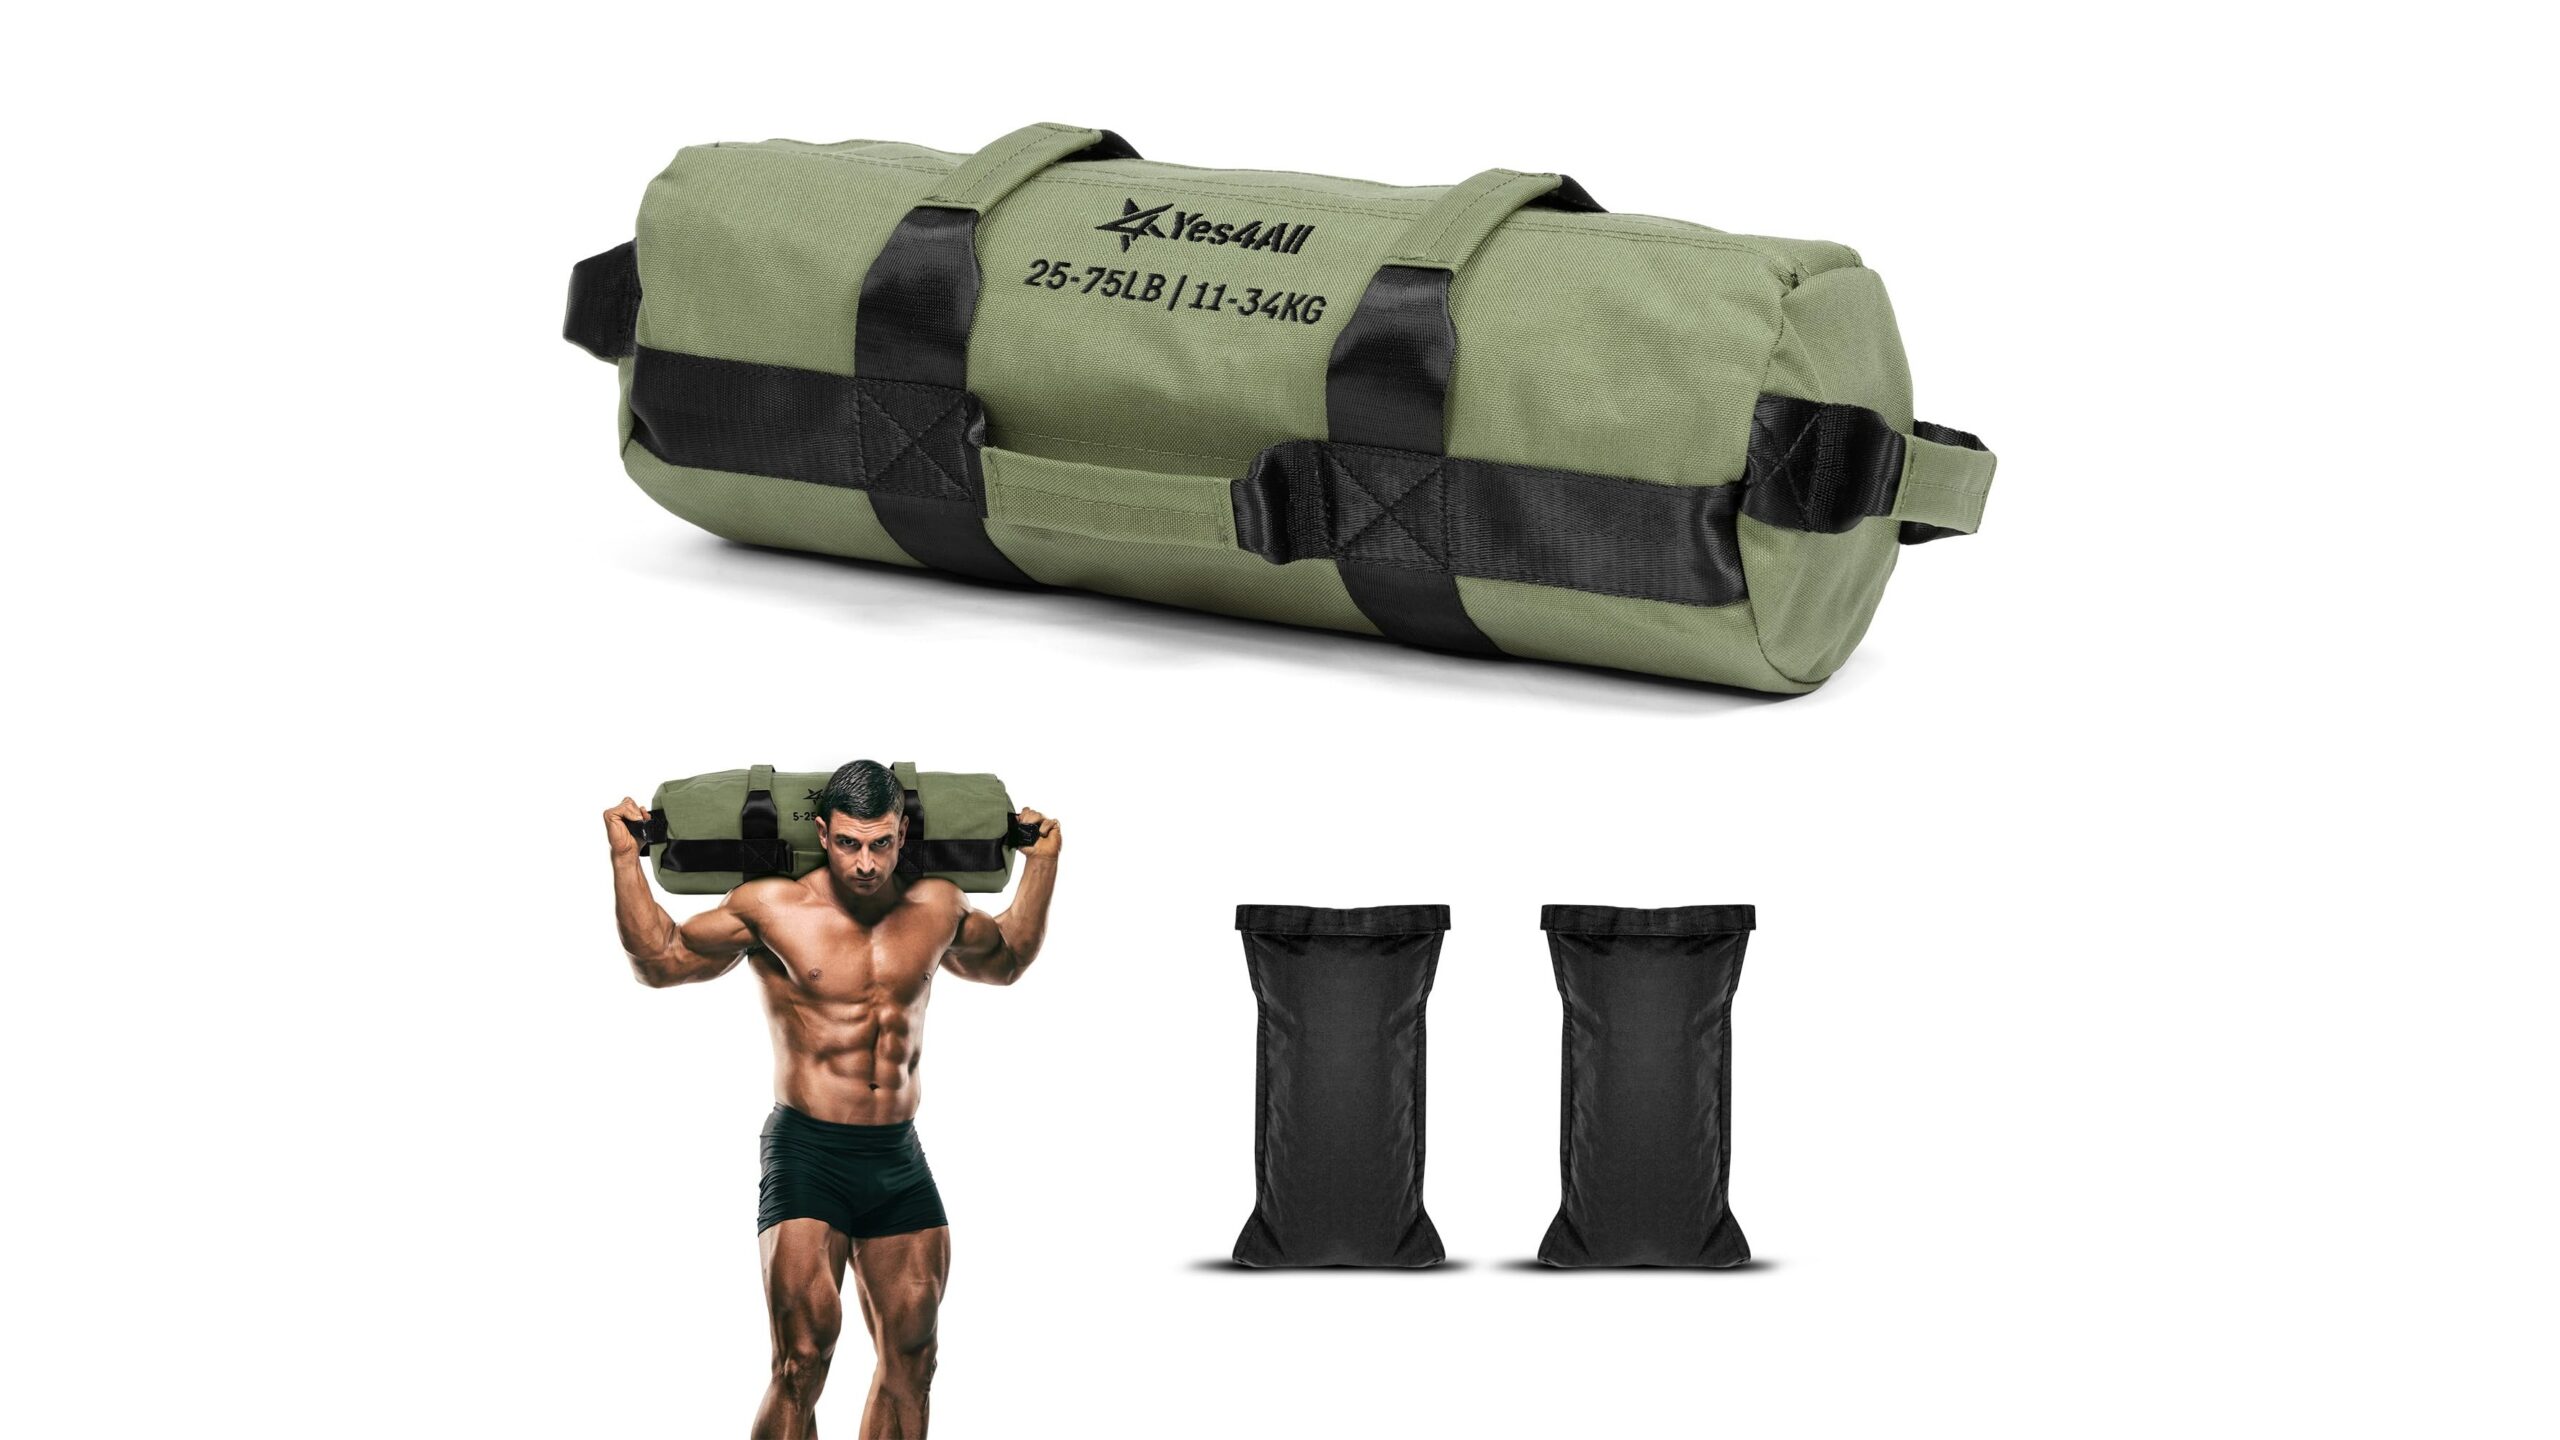
Before printing anything, decide the workflow for each training area. Walk through your home gym and list the main zones: rack, bench, dumbbells, pulley or cable tower, conditioning gear, mobility corner. For each zone, define a primary link: a YouTube or Vimeo form video playlist, a cloud-based log (Google Sheets, Notion, or your favourite app’s web view), or a Spotify playlist for that type of session. Keep it simple: one QR = one clear action. If you need multiple resources, create a single landing page (for example a simple Google Doc or note) that contains links to videos, cues and tracking sheets, then point the QR to that page. This makes it easy to update later without reprinting codes.
How to create and test your QR codes
There are many free QR code generators online. Paste your link, choose a static code (dynamic is optional) and download it as a PNG. For home gym use, black codes on a white background work best for fast scanning under different lighting. Print them on standard paper first and test every code with different phones and from various angles to ensure quick reading. Consider shortening long URLs with a trusted URL shortener before generating codes to reduce visual complexity. Give each file a clear name like “Squat_Rack_Form_QR” so you can reprint or resize later. Test everything during an actual workout: if a page feels slow or confusing to open mid‑set, refine the link before committing to permanent labels.
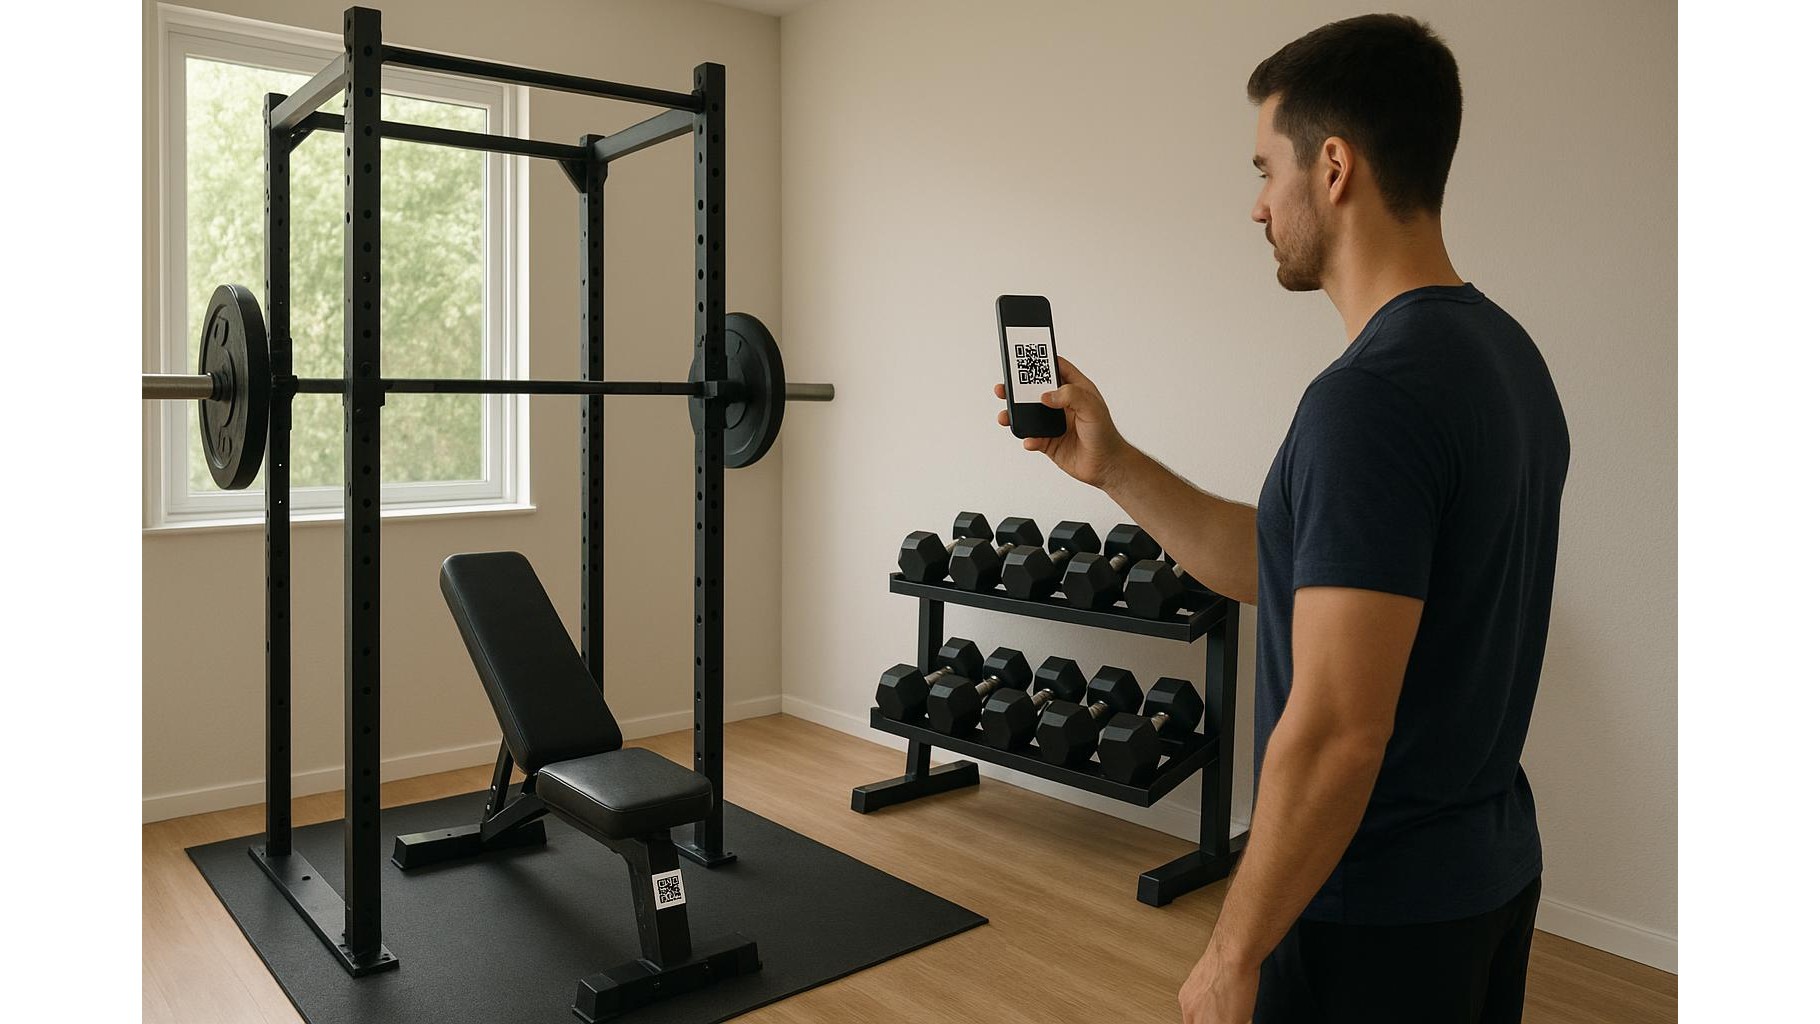
Printing and attaching QR codes to your equipment
Once your codes are tested, print them on durable labels or laminate them. Home gyms can be dusty, humid or sweaty, so protection matters. Attach codes where they are easy to see but safe from direct wear: on the upright of your squat rack at eye level, on the side of a bench frame rather than the pad, near the handle of a cable tower but not on moving parts. Use strong double‑sided tape or adhesive label sheets and clean the surface with alcohol before sticking to ensure good adhesion. Keep codes small enough to avoid clutter but large enough to scan quickly; around 3–5 cm square usually works well. If you ever rearrange your gym, you can peel and re‑stick laminated codes or simply print spares.
Integrating logs, progress tracking and playlists
The real power of a home gym QR system is integration with your tracking tools. Link squatting stations to a sheet where you record load, reps and RPE, with simple graphs for volume and PRs. For accessory stations, send the QR to written cues and a quick checklist (tempo, range of motion, common mistakes). On your conditioning gear, codes can start a saved interval session, launch a heart‑rate dashboard or open a curated playlist for sprints or steady cardio. Over time, you will build a data-rich history of your training without extra effort: scan, update, move on. This makes it much easier to spot plateaus, adjust your programme and keep motivation high.
By setting up a structured QR code system in your home gym, every station becomes a guided coach, a progress notebook and a DJ in one. The investment in planning and printing is minimal, but the payoff in efficiency, consistency and accountability is huge. Once your codes are in place, you will spend less time fumbling with apps and more time lifting, moving and improving. Start with one or two key stations, refine your links and layout, then expand until your entire home gym is just one quick scan away from your best training session.