If you love the idea of hiking but can’t always escape to the hills, a home treadmill can become your personal indoor mountain. By playing with incline, speed and interval structure, you can closely mimic the effort and rhythm of real-world trails. Whether you’re a beginner building stamina or an intermediate exerciser preparing for your next weekend hike, structured interval hiking workouts on a treadmill offer a joint‑friendly, weather‑proof way to train all year round.
Table of contents
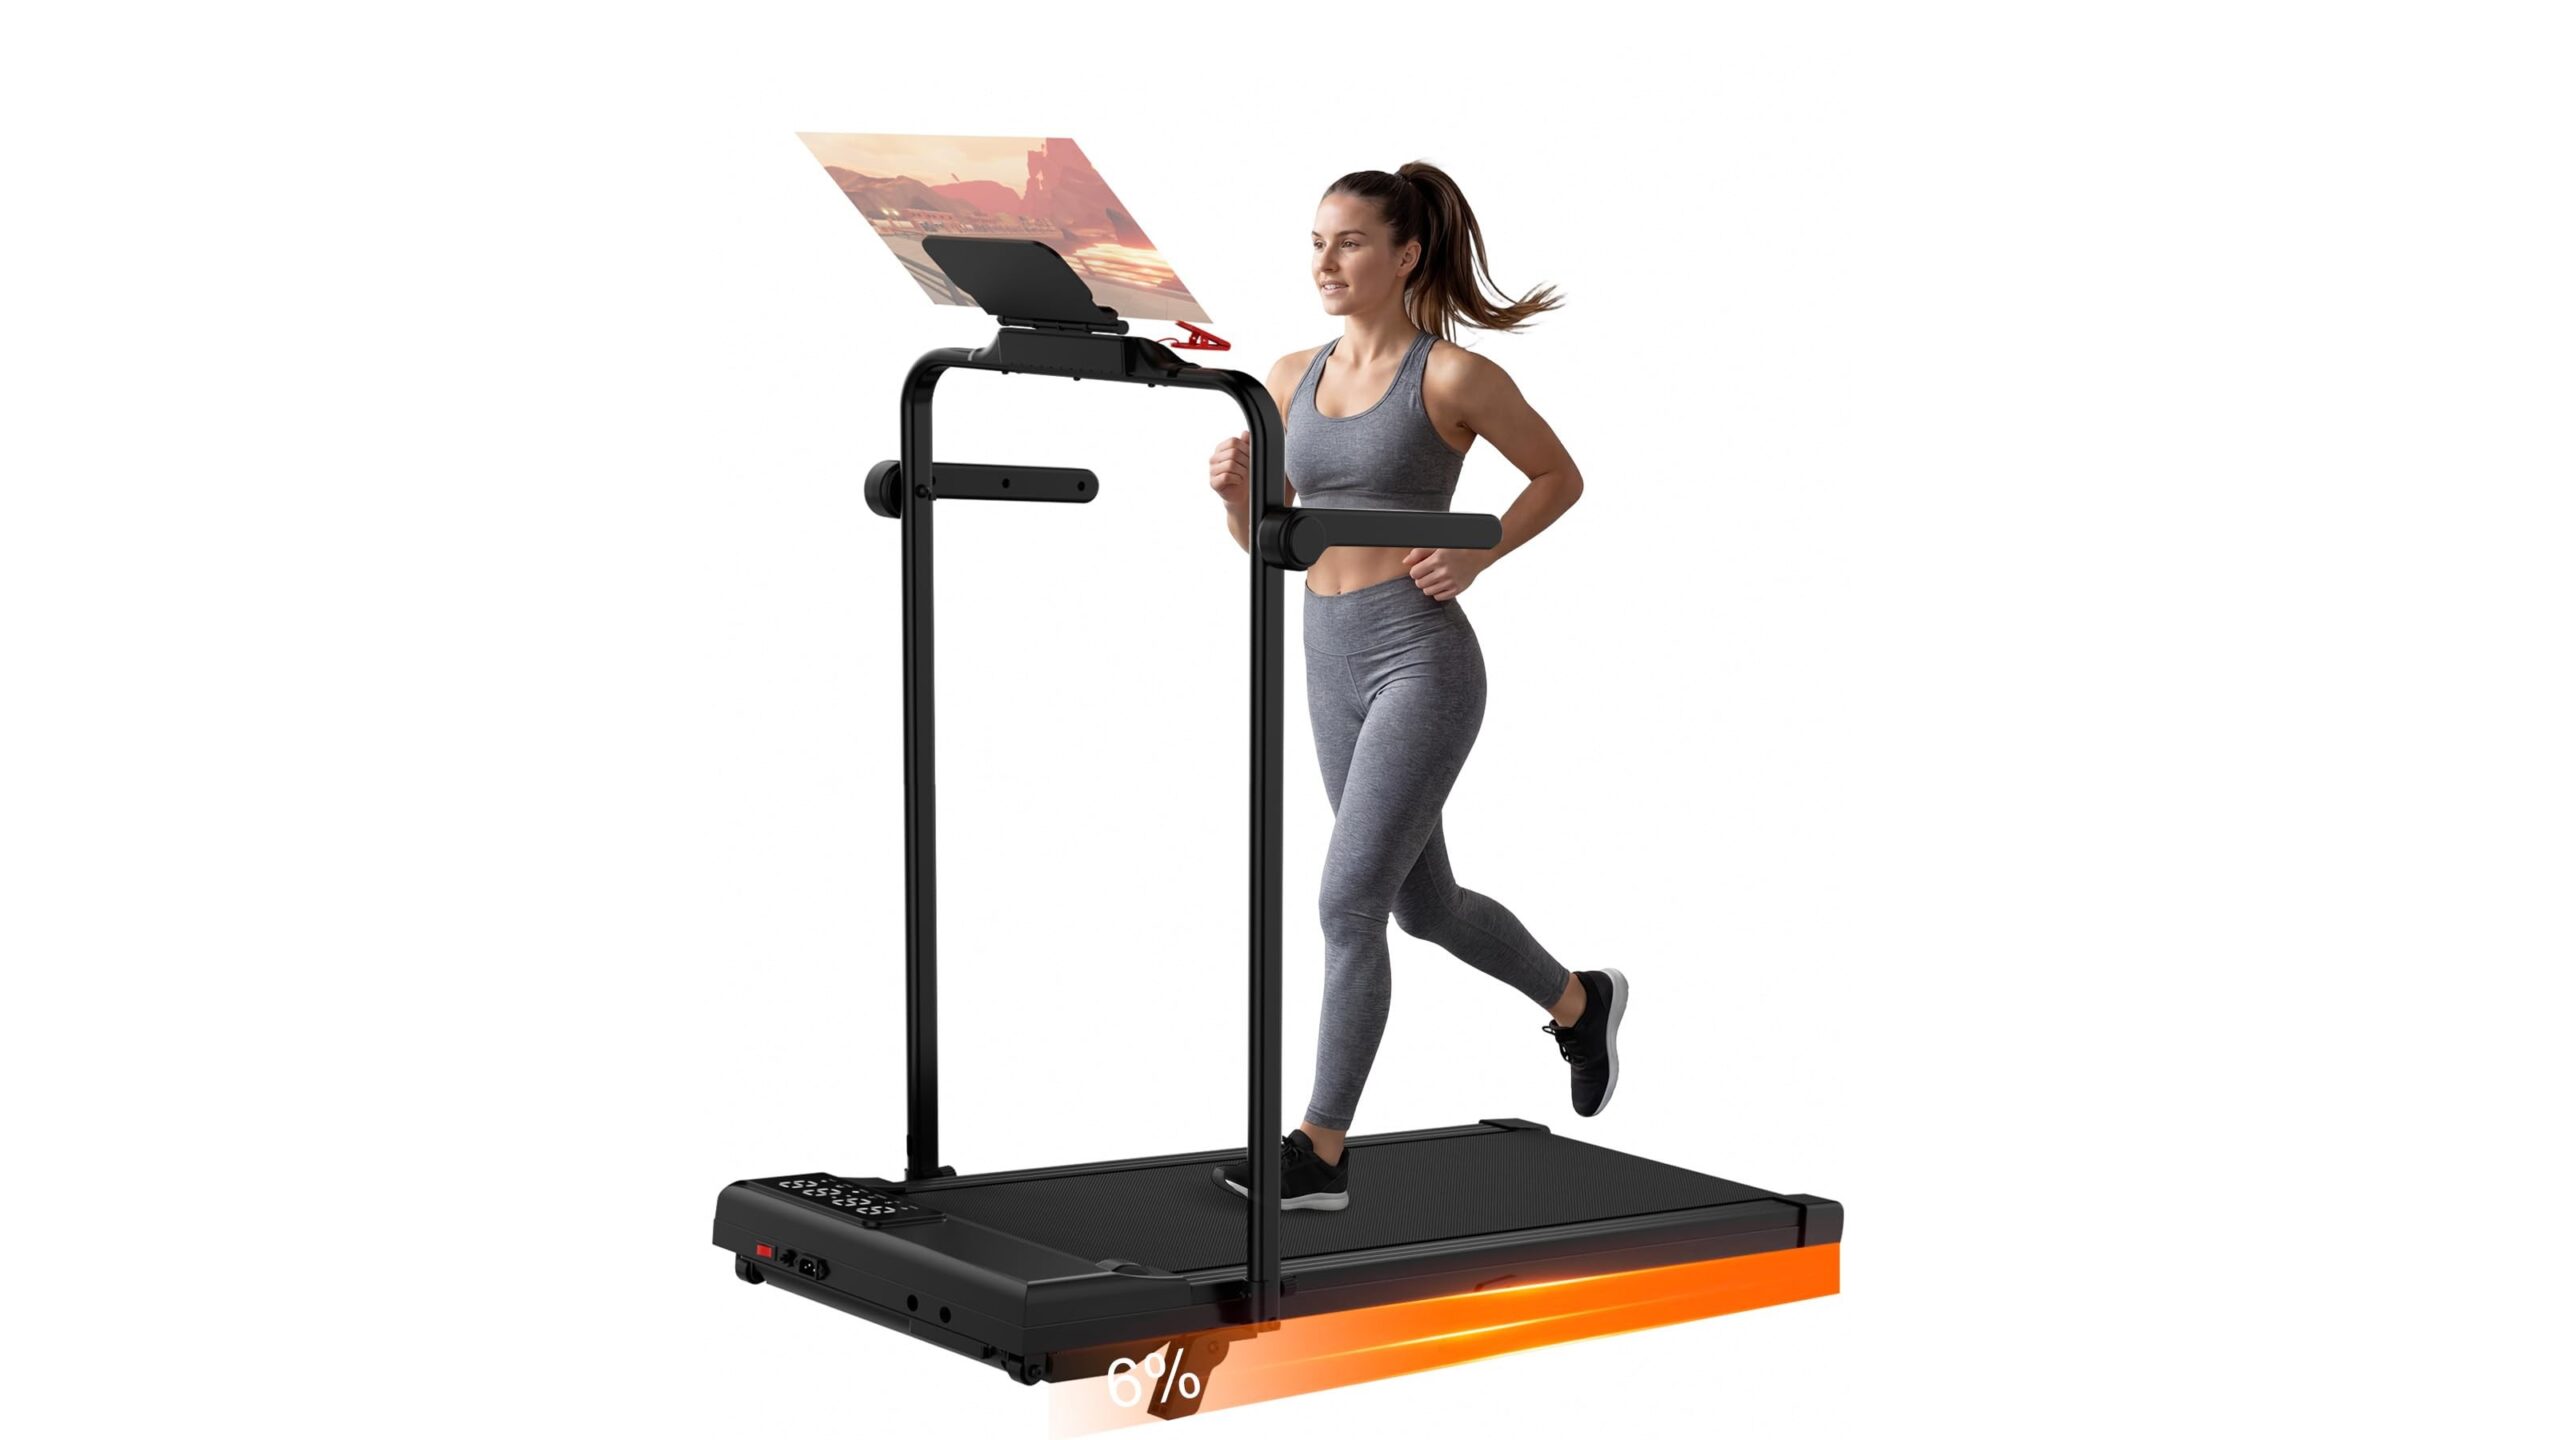
Turn your treadmill into a mountain trail
To simulate outdoor hiking, start by setting a slight incline, usually between 1–2%, to mimic wind resistance and uneven ground. From there, build your “trail” using blocks of steeper incline intervals (5–10%) followed by recovery at a lower grade. Think of the treadmill console as your route map: longer, moderate inclines replicate rolling hills, while short, steep bursts represent sharp climbs. Use the handrails sparingly to keep balance, but avoid leaning heavily, which reduces the training effect on your legs and core.
Beginner-friendly interval hiking structure
If you’re new to treadmill hiking, focus first on comfort and control. Begin with a 5‑minute warm‑up at 0–1% incline and an easy walking pace where you can speak in full sentences. Then try a simple interval set: 2 minutes at 3–4% incline, followed by 3 minutes at 0–1%, repeated 4–6 times. Keep your walking pace steady and adjust incline rather than speed to increase difficulty. Aim to finish feeling challenged but not exhausted. Over time, you can extend the length of the “uphill” sections or raise the incline by 1% while keeping your recovery intervals unchanged.
Progressive plans for intermediate hikers
Once you’re comfortable with basic intervals, you can design more specific training plans to mirror hiking routes. For example, a 30‑minute workout might include a rolling warm‑up, then 4 minutes at 6–8% incline with a brisk pace, followed by 2 minutes at 2–3% incline for recovery, repeated 4–5 times. You can also create “pyramid” sessions where the incline climbs gradually from 3% to 10% and then back down, keeping speed constant. This approach builds leg strength, cardio endurance and mental resilience in a controlled indoor environment, making real trails feel easier when you get outside.
Pacing, posture and technique indoors
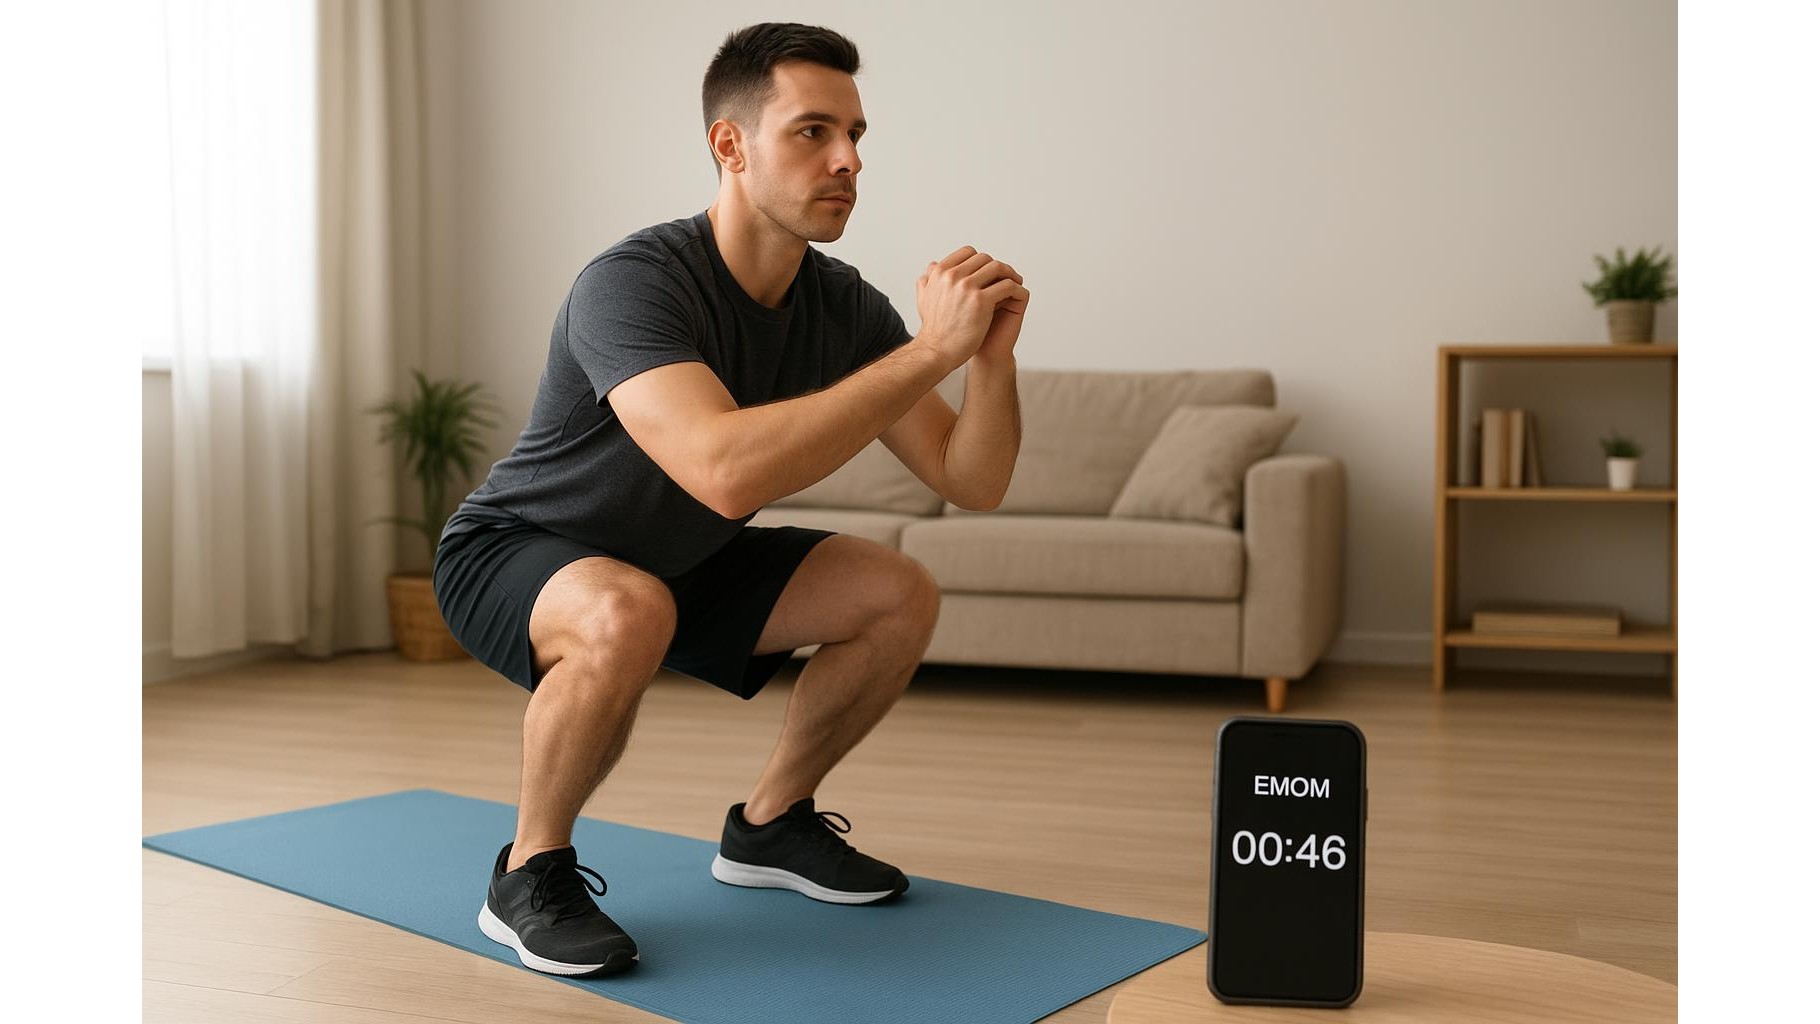
Good technique is essential for safe, effective treadmill hiking. Keep your stride shorter on steeper inclines, planting your feet softly under your hips rather than reaching far forward. Maintain an upright posture with a slight forward lean from the ankles, not the waist, and let your arms swing naturally to help with balance. Use the treadmill’s speed settings to find your sustainable hiking pace: a pace where you can still talk, but not sing. As the incline rises, resist the temptation to keep increasing speed; instead, let incline provide most of the challenge while you focus on smooth breathing and consistent rhythm.
Safety, comfort and progression tips
Because indoor workouts can feel repetitive, start every session with a clear plan and finish with a 5‑minute cool‑down at a low incline. Wear supportive shoes with good cushioning, and keep a water bottle within reach to stay hydrated in the warmer indoor air. If you use headphones, keep the volume low enough to hear the treadmill and your surroundings. New hikers should increase either total workout time or incline, but not both in the same week, to avoid overuse injuries. Listen to your body: light muscle fatigue is fine, but joint pain is a signal to reduce intensity. With consistent, well‑planned interval hiking workouts, your home treadmill can prepare you for everything from gentle countryside walks to more demanding mountain adventures.
In summary, turning your home treadmill into a virtual hiking trail is all about smart use of incline, realistic pacing and a gradual progression of effort. By starting with simple beginner intervals, then advancing to structured, hill‑style sessions, you can build strength, stamina and confidence without leaving the house. Combine solid technique with basic safety habits and you’ll step onto your next real‑world trail feeling fitter, better prepared and ready to enjoy the views.