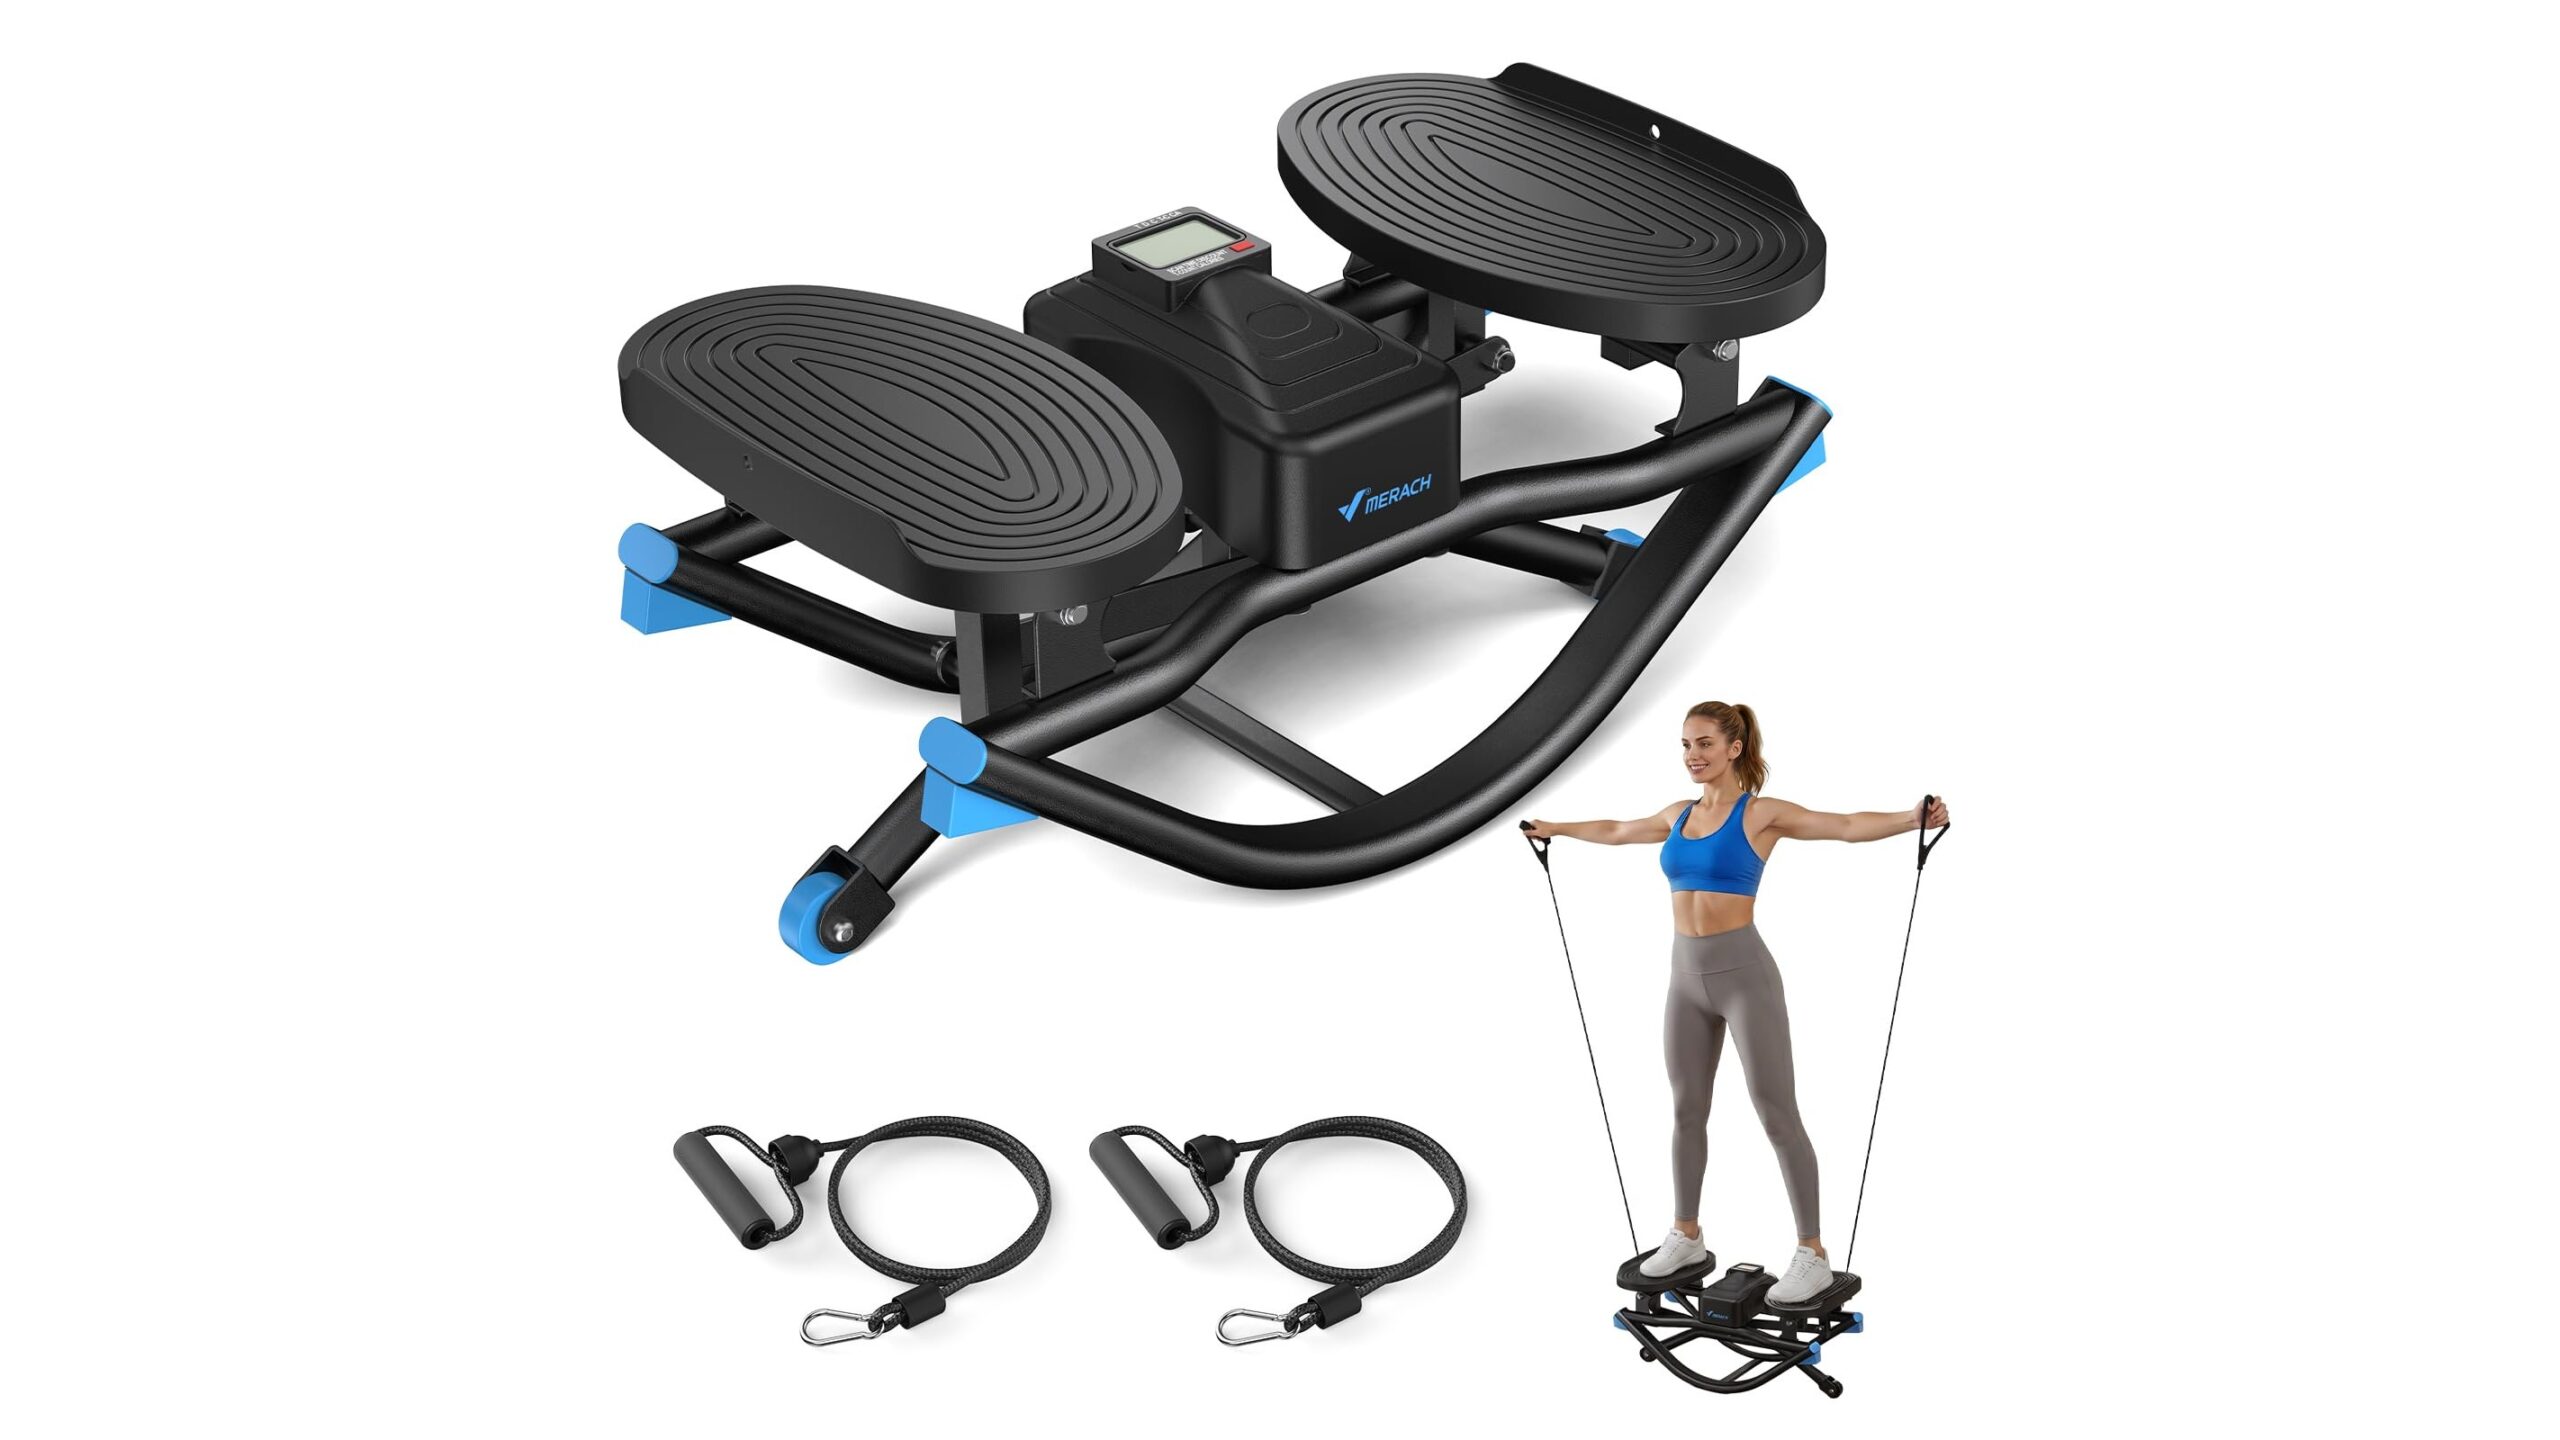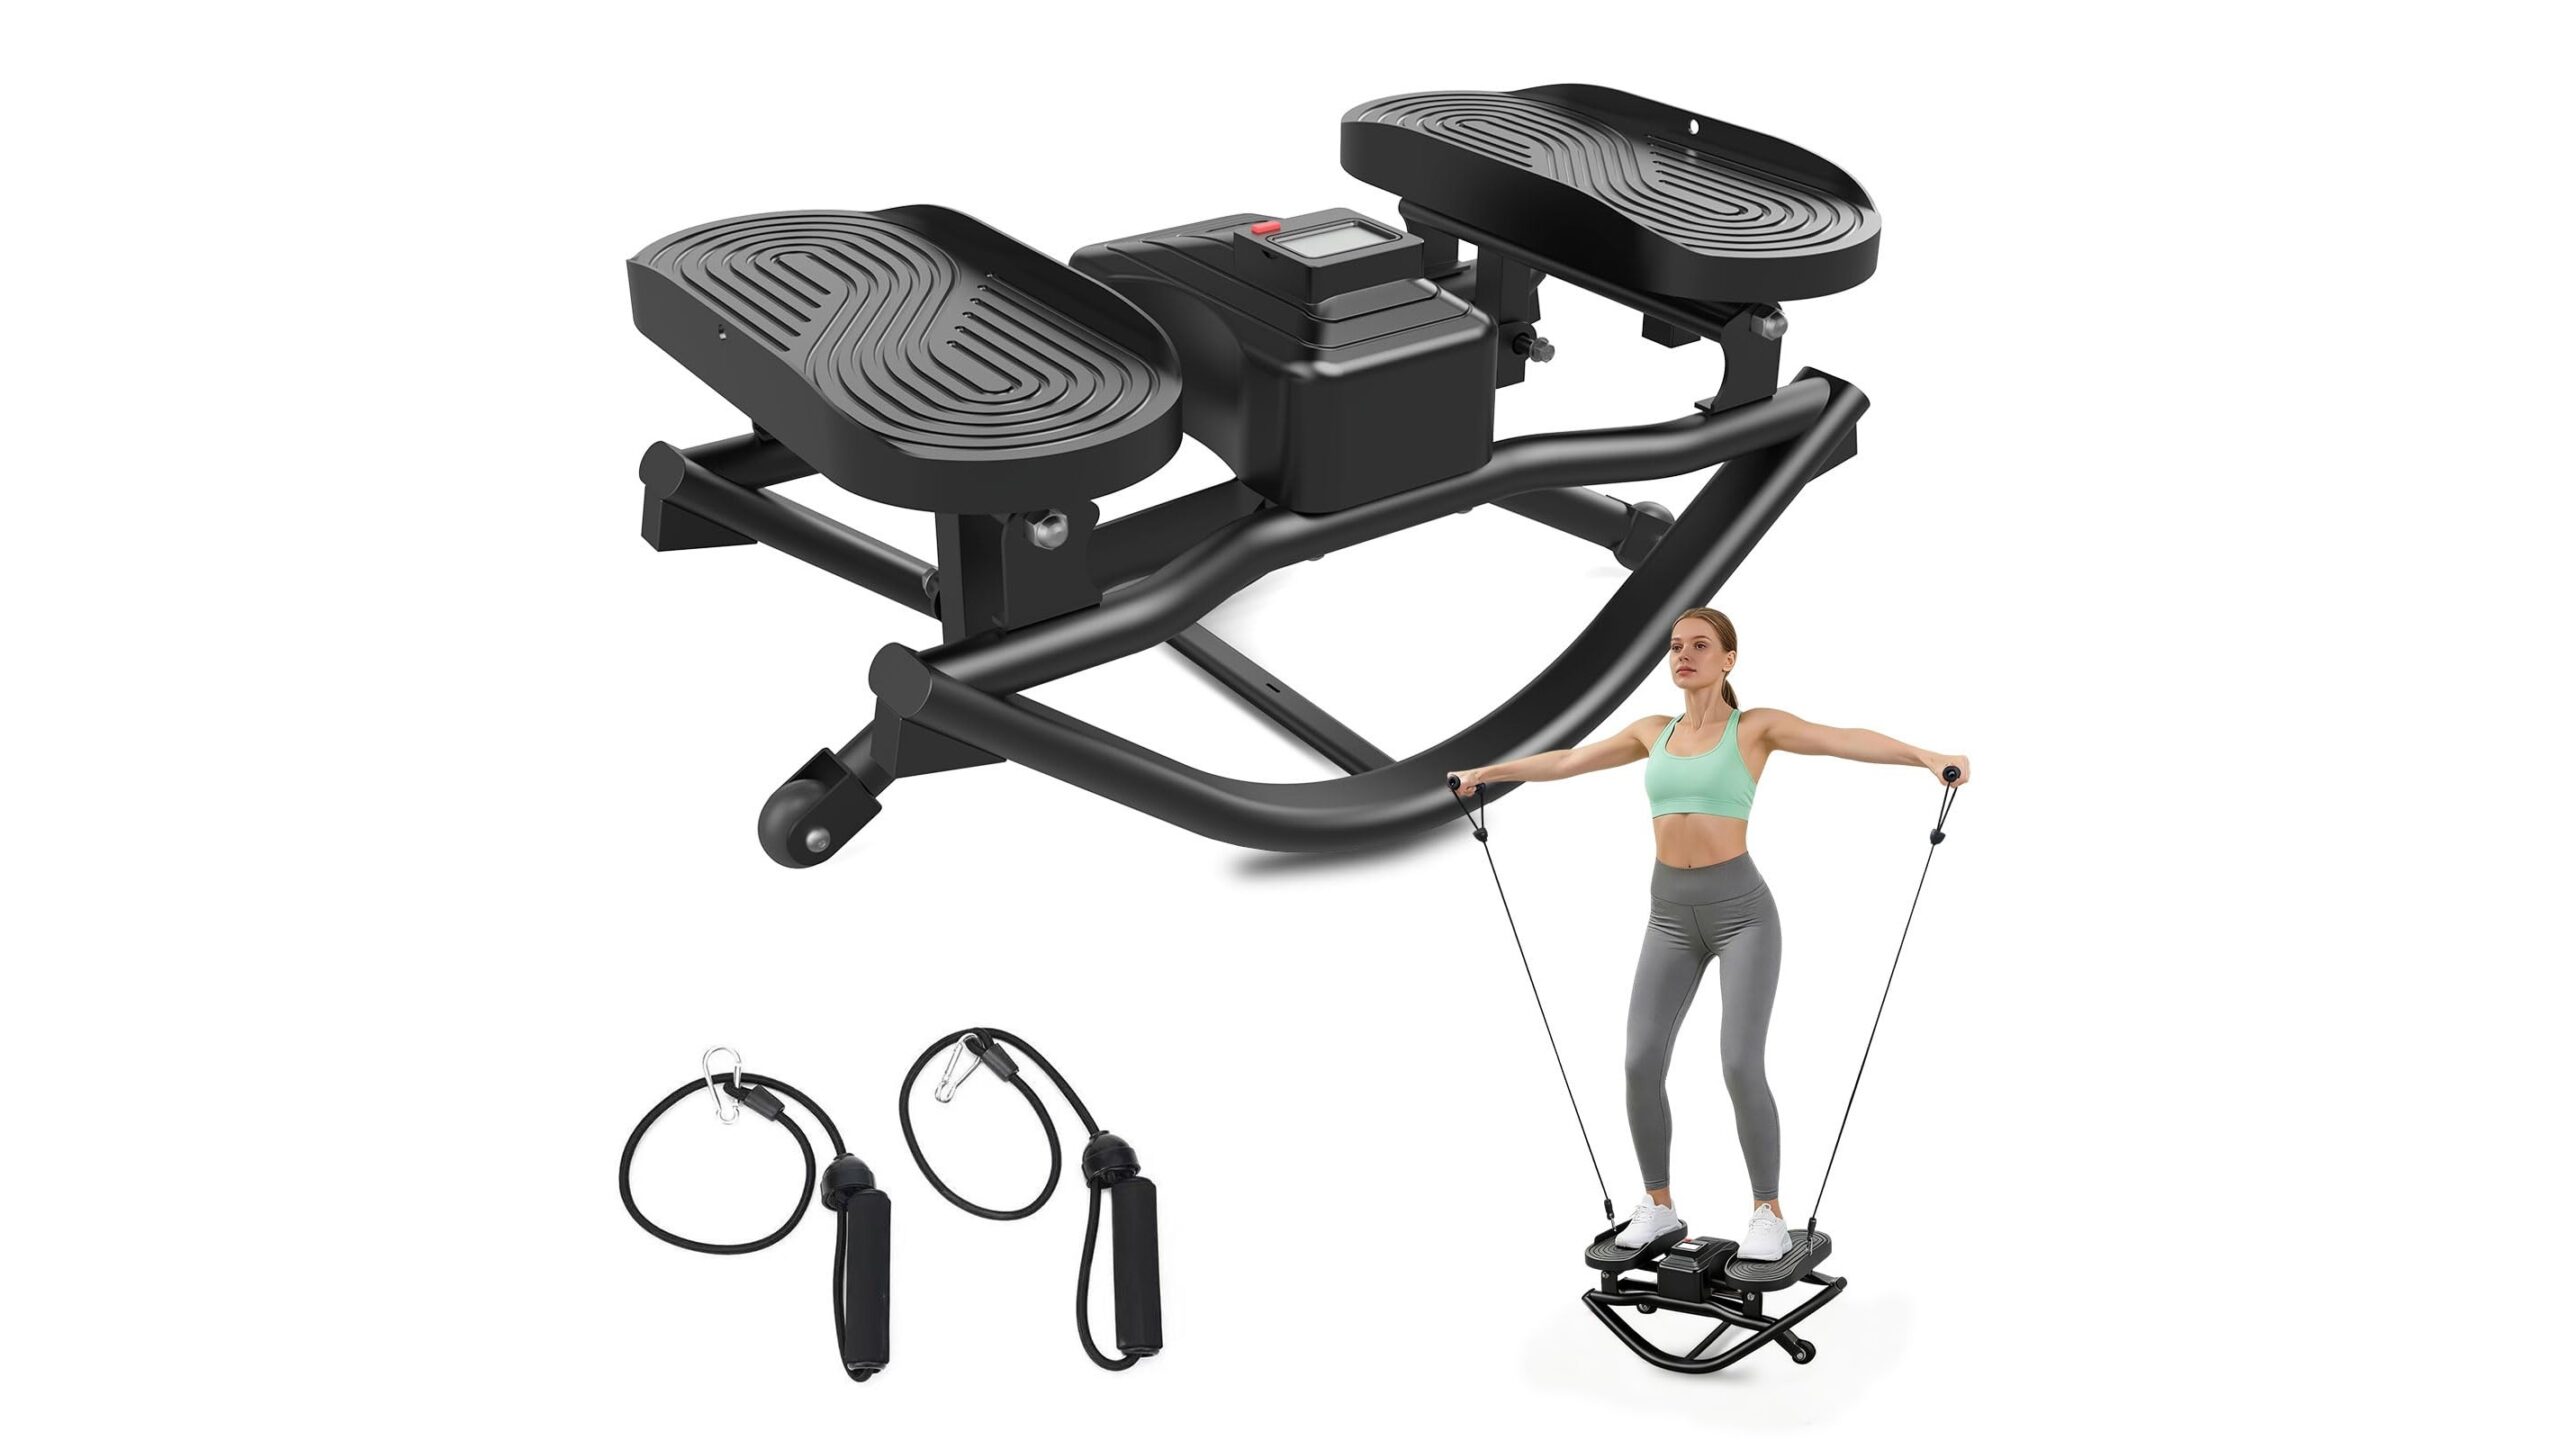
Training on a compact home stepper is usually seen as a simple up‑and‑down cardio move, but with a few smart tweaks you can unlock powerful backward and lateral steps that better target the glutes, hips and outer thighs. Used correctly, these multi‑direction movements can actually feel kinder on sensitive knees while still delivering a serious burn. This guide explains how to step safely in different directions, how to protect your joints, and how to build short, effective home workouts on your mini stepper.
Table of contents
Why step in different directions on a home stepper?
Most home users only perform forward, up‑and‑down stepping, which mainly challenges the quads and calves. Adding backward steps and side steps shifts the emphasis to the glute max, glute medius, and the muscles that stabilise the hips and knees. This can improve everyday movement, like walking stairs or hiking, because your body is trained to control forces from multiple angles, not just straight ahead. Multi‑direction stepping also introduces a small balance and coordination element, helping you build ankle and hip stability that can reduce the risk of knee irritation. When done with good technique, shorter ranges of motion and controlled tempo, these patterns can be easier on the joints than long‑stride lunges or deep squats, making them ideal for home knee‑friendly conditioning.
Safe backward stepping: set‑up and form cues
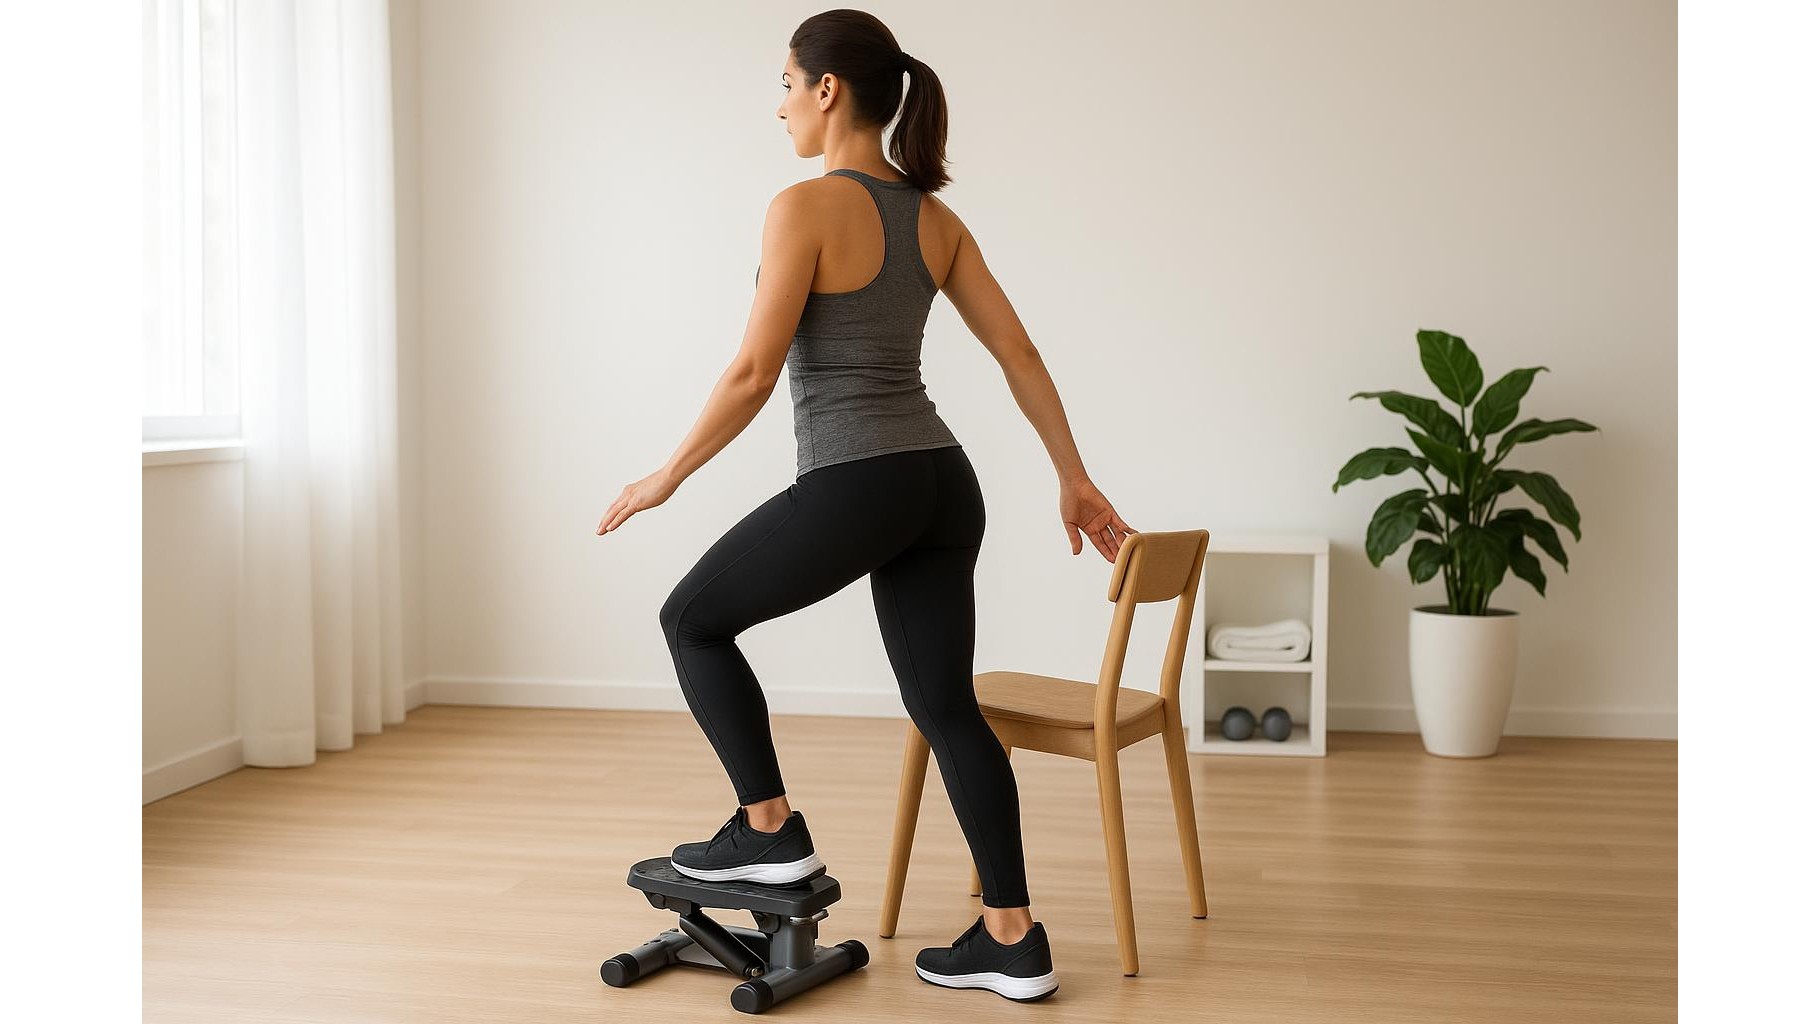
Before trying backward steps, make sure your mini stepper is on a stable, non‑slip surface and that you can lightly hold a support such as a wall or sturdy chair. Stand tall with a slight forward lean from the ankles, ribs stacked over hips, and engage your core as if gently bracing for a cough. Shift your weight slightly into the heels so you feel the glutes and hamstrings ready to work. As you press one pedal down, think of driving it back and slightly down rather than straight down, as if you were pushing the ground away behind you. Keep your knees soft but not collapsing inward; imagine a line from hip to knee to middle toe. Use a short, controlled range at first, focusing on squeezing the glute at the bottom of the stroke, then return smoothly without letting the pedals slam. If you feel pressure in the front of the knee, shorten the range, slow your tempo, or slightly increase your hip hinge so the hips, not the knee joint, take the load.
How to perform side steps for glutes and hips
Side stepping on a home stepper increases activation of the glute medius and outer hip, which are key for knee stability. Start by standing with your hips centred over the pedals, feet slightly wider than usual so your toes point almost straight ahead or a few degrees outward. Lightly hold a support if balance is an issue. To initiate a side‑biased step, imagine gently pushing the pedal down and out toward the side, like pressing diagonally into the corner of the pedal. Keep your pelvis level; avoid letting one hip hike up toward your ribcage. Focus on keeping the knee tracking over the middle of the foot, not caving inward. Alternate sides or perform short sets where you emphasise one leg for 20–30 seconds, then switch. You can progress the side‑step pattern by adding a slight pause at the bottom of each stroke, really feeling the outer hip working to control the movement before returning to the top.
Sample multi‑direction mini stepper workouts
To build a well‑rounded home stepper workout that challenges the glutes while protecting the knees, combine forward, backward and lateral patterns within a 15–20 minute session. A simple circuit for beginners might be:
- 2 minutes of easy forward stepping to warm up
- 30 seconds of backward steps with a light hand on support, followed by 30 seconds easy forward stepping
- 30 seconds of side‑emphasis stepping focusing on the left leg, then 30 seconds on the right
- 1 minute of moderate forward stepping to recover
Repeat this block 3–4 times, keeping effort at a level where you can still speak in short sentences. As you progress, you can increase work intervals to 45–60 seconds, reduce support from your hands, or add simple upper‑body movements like light band rows or overhead presses, always maintaining perfect knee alignment and smooth, quiet pedal motion.
Key safety tips for knees and lower back
When using multi‑direction steps, your first priority is joint safety. Keep movements pain‑free at all times: mild muscle burn is fine, but sharp or nagging pain around the knee joint is a signal to stop and adjust. Limit your step depth so that the knee never feels forced into a deep bend; a smaller, controlled stroke is both safer and surprisingly effective. Maintain a neutral spine—avoid rounding your back or excessively arching; think “long through the crown of the head”. Always warm up with a few minutes of light stepping and simple mobility (ankle circles, gentle hip swings) before adding backward or side patterns. If you have a history of knee, hip, or back issues, consider checking with a physiotherapist before progressing intensity. Finally, prioritise consistency over intensity: several shorter, well‑performed sessions per week will do more for glute strength and knee resilience than occasional all‑out workouts.
Used thoughtfully, backward and side steps on a home stepper are a powerful way to build stronger glutes, more stable hips, and better‑supported knees without leaving your living room. By starting with small ranges of motion, using external support when needed, and paying close attention to alignment and control, you can safely explore multi‑direction movement patterns and turn a simple mini stepper into a versatile tool for low‑impact, joint‑friendly fitness.