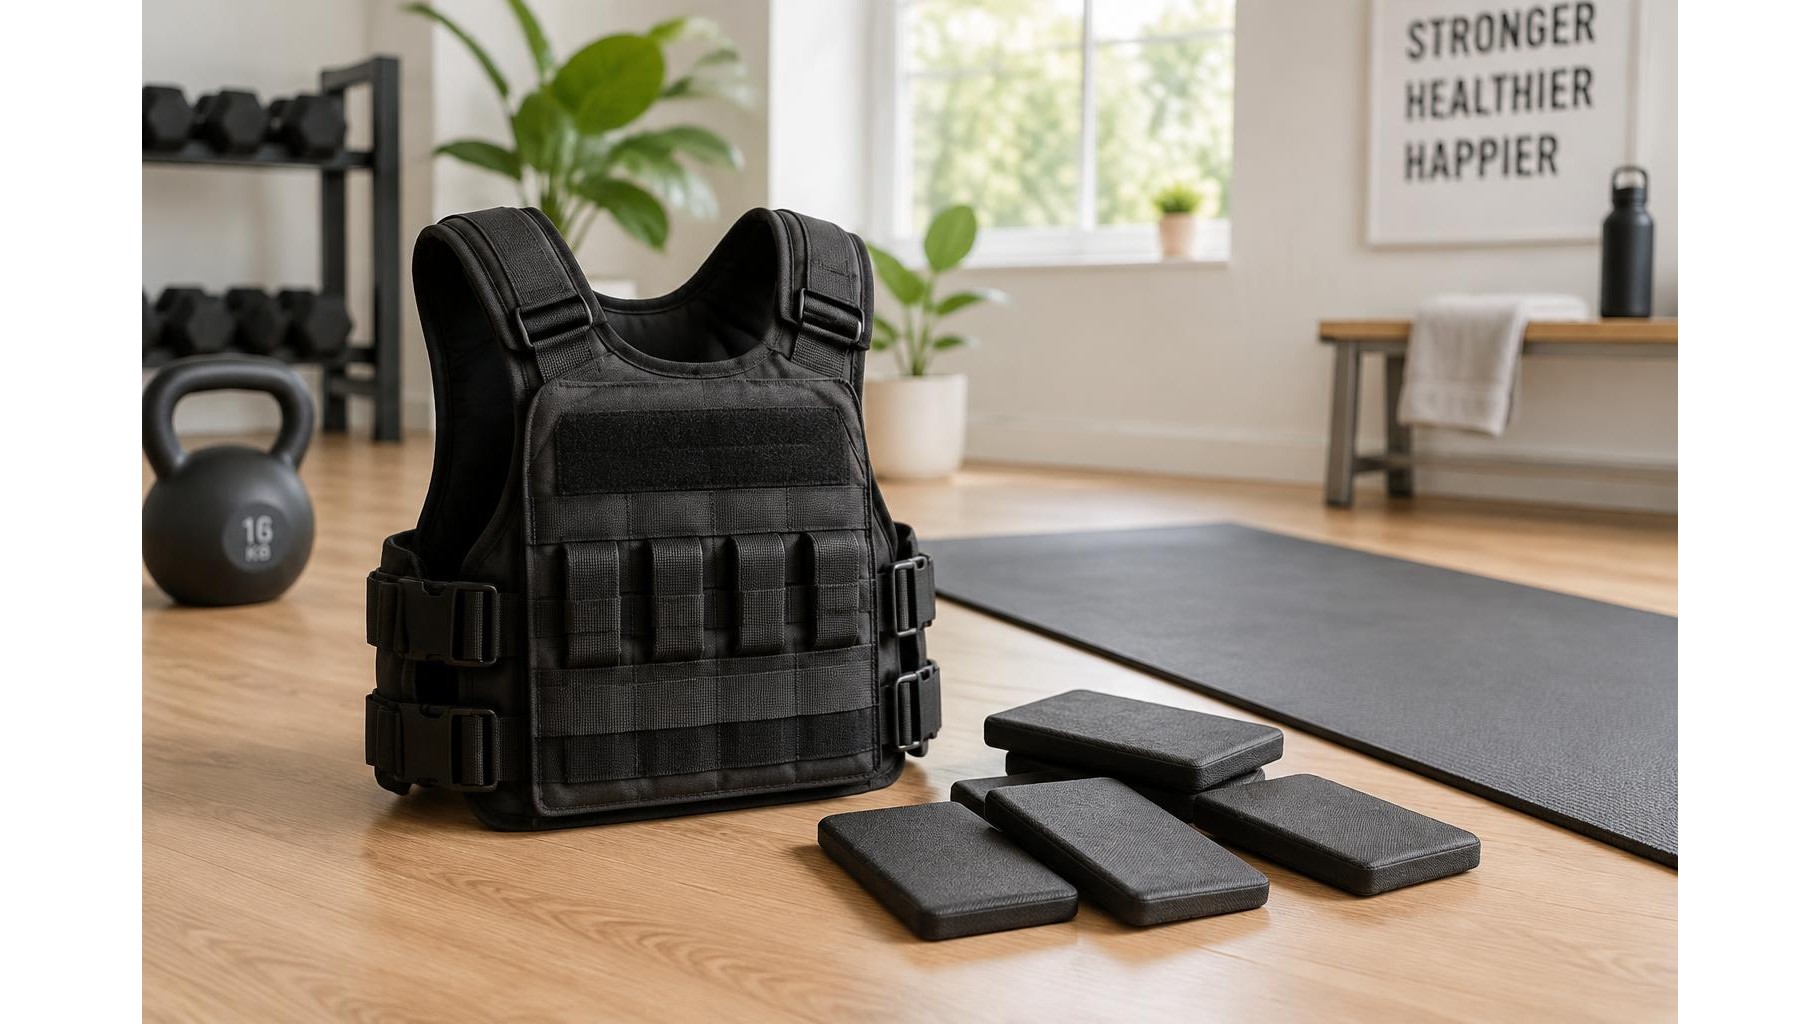
A compact adjustable weight vest can make familiar bodyweight exercises more challenging without taking up the space of a rack or a set of dumbbells. The right choice should feel secure during movement, allow small and manageable increases in load, and store easily between sessions. Use this guide to compare the features that matter and plan a gradual, safe progression at home.
Choose a useful load range and small increments
First consider which exercises you plan to load. Push-ups, split squats and step-ups may need only a modest increase, while a stronger trainee may want more capacity for squats or walking lunges. Check both the vest’s maximum weight and its starting weight: a high maximum is not useful if the first available load is already too heavy. Removable bars, sandbags or small weight packets let you adjust resistance; smaller increments make it easier to progress without a sudden jump. Confirm whether the stated capacity includes the vest itself and whether every insert is supplied.
Look for a stable, adjustable fit
A vest should sit close to the torso without restricting breathing or arm movement. Adjustable shoulder straps and side closures help accommodate different body shapes and clothing layers. When trying one on, check that it does not ride up during a squat or swing when you jog on the spot. The load should be distributed evenly across the front and back rather than pulling heavily on the shoulders. If you train with a partner, check that the adjustment range can be changed quickly and securely between users.
Compare fastening and load security
Fastening systems influence both convenience and confidence. Buckles are quick to release, while hook-and-loop panels can offer a flexible fit; some designs combine both. Whichever system you choose, closures should stay shut during repeated movement, and weight pockets should keep inserts firmly in place. Inspect seams, pocket openings and adjustment points for sturdy construction. Avoid overloading a vest or improvising with unapproved weights: an insert that shifts or falls out can disrupt balance and create a trip hazard.
Prioritise comfort for home sessions
Comfort matters most once a workout gets warm. Look for breathable panels, smooth edges and padding where the vest contacts the shoulders or chest. A compact profile is useful for floor exercises, but make sure the vest does not press uncomfortably against your ribs when you bend or lie down. Materials should be easy to wipe clean after training. If possible, try the vest with several movements—such as a squat, push-up and lunge—before committing to a long session. Discomfort that worsens as you move is a sign to adjust the fit or choose another design.
Plan storage and gradual progression
For a small home gym, consider how the vest and its inserts will be stored. A design with removable weights is easier to keep compact; a carry handle or storage bag can help keep pieces together. Begin with bodyweight alone to check your technique, then add a light load only when repetitions feel controlled. Increase resistance in small steps, and change one variable at a time: do not raise the weight and workout volume together. Stop if you experience sharp pain, unusual joint discomfort or loss of form. Rest and recovery remain important even when the equipment is simple.
In summary, choose a vest with small, secure load increments, a close adjustable fit, dependable fastenings and materials that suit your training space. Start lighter than you think you need, practise with controlled movements and progress only when your technique remains consistent. A well-chosen vest should support steady training—not force you to rush toward heavier loads.