Unilateral training—working one side of the body at a time—can make a small home gym more versatile, but it also puts extra demands on your bench. As you press or row with one arm, uneven forces can expose wobble that might go unnoticed during a two-sided exercise. A suitable compact adjustable weight bench should feel stable, offer useful angles and fit your available floor and storage space. Assess it for the movements you actually plan to do, not just its headline weight capacity.
Prioritise stability over compactness
Look for a broad, level base, secure locking points and a frame that does not rock when pressure is applied near either edge of the pad. Check the manufacturer’s stated user and load limits, remembering that these may include your body weight as well as the dumbbells. For unilateral work, test the bench on the exact floor where you will train: uneven boards or thick mats can make a sound bench feel unstable. Before each session, confirm that the feet sit flat and that the adjustment pins or ladder mechanism are fully engaged.
Choose adjustments that match your exercises
A useful backrest range usually includes flat and several incline settings; a decline position is optional for many home routines. Check how quickly the angle changes and whether the seat can be adjusted independently to keep you from sliding during incline presses. For single-arm presses, set the backrest securely before sitting down, keep your feet planted and start with a manageable load. The bench should not shift as you control the dumbbell on one side. Avoid awkward angles that the manufacturer does not specify or lock securely.
Check pad dimensions and support
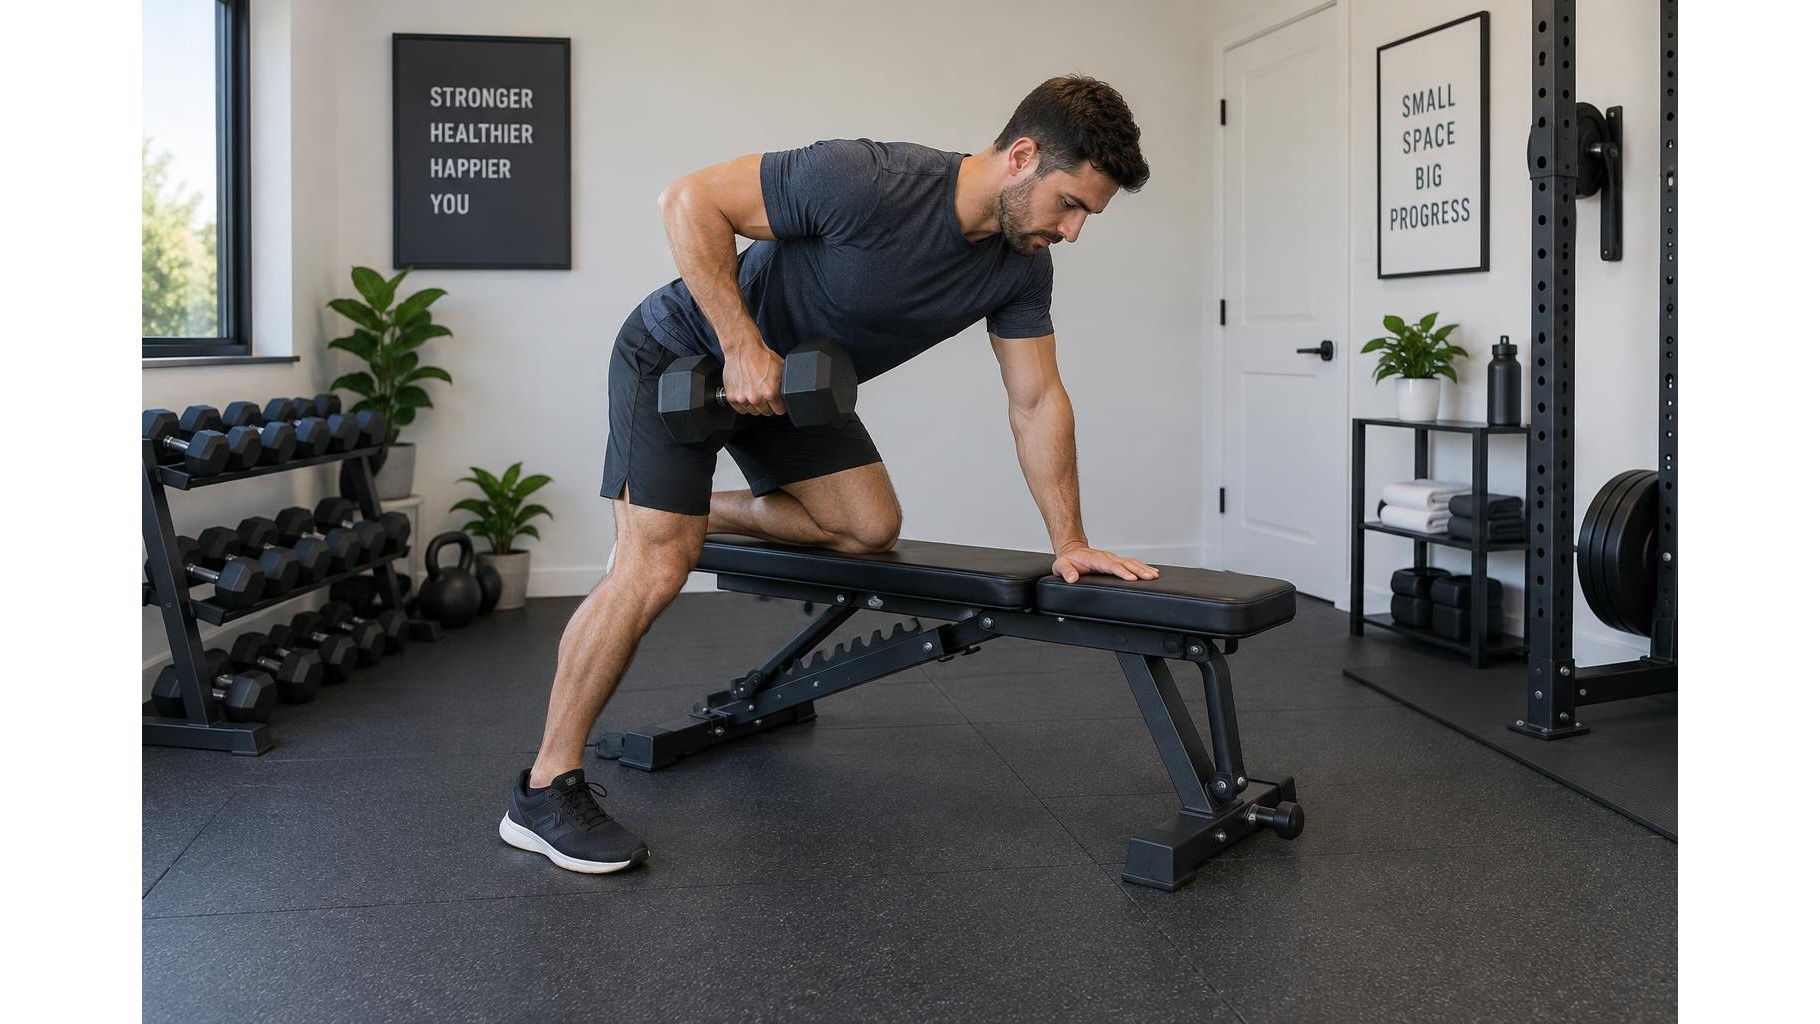
The pad should be long and wide enough to support your torso without restricting shoulder movement. A very narrow pad may feel unstable during a one-arm press, while an excessively wide one can interfere with the working arm in a supported row. Look for firm, even padding that does not compress down to the frame under pressure, plus a cover that can be wiped clean. For rows, position one hand and the opposite knee on the bench only if its dimensions allow a balanced, secure setup; keep the free foot firmly on the floor.
Plan split-squat setup and clearance
For split squats, the bench is typically used to support the rear foot. Check that its height suits your mobility and that the frame and legs do not obstruct your stance. Place the bench against a wall if that helps prevent movement, while ensuring it remains level and the support leg is locked. Leave enough room to step into and out of position without striking nearby furniture. If the bench slides or feels unstable under rear-foot pressure, use a lower, more secure support rather than forcing the exercise.
Make storage part of the safety check
Measure the bench in use and when folded, then compare those dimensions with your storage area and workout footprint. Foldable designs can save space, but hinges, wheels and latch mechanisms should lock reliably and remain clear of fingers during setup. Make sure unfolding the bench does not block an exit or leave too little room to lower dumbbells safely. Store it on a stable surface, not where it can tip into other equipment, and inspect bolts, welds, feet and adjustment hardware regularly for looseness or damage.
In short, choose a bench that combines secure locking, a stable base, appropriate pad dimensions and practical adjustment options. Rehearse your split-squat, press and row setups with light weights before progressing, and check the bench and floor each time you train. In a compact gym, the best choice is not simply the one that folds smallest; it is the one that supports controlled movement, stores safely and fits your actual exercises.