Using a Raspberry Pi and a simple camera module, you can build a dedicated live feedback screen that lets you see your lifting form in real time, without relying on your phone. This compact setup fits neatly into any home gym, runs quietly in the background, and gives you a constant visual reference for squats, deadlifts, presses and more. With a basic Pi board, camera, and screen, you can create a reliable tool to refine technique, reduce injury risk and make solo training much more effective.
Table of contents
Choosing the Raspberry Pi, camera and screen
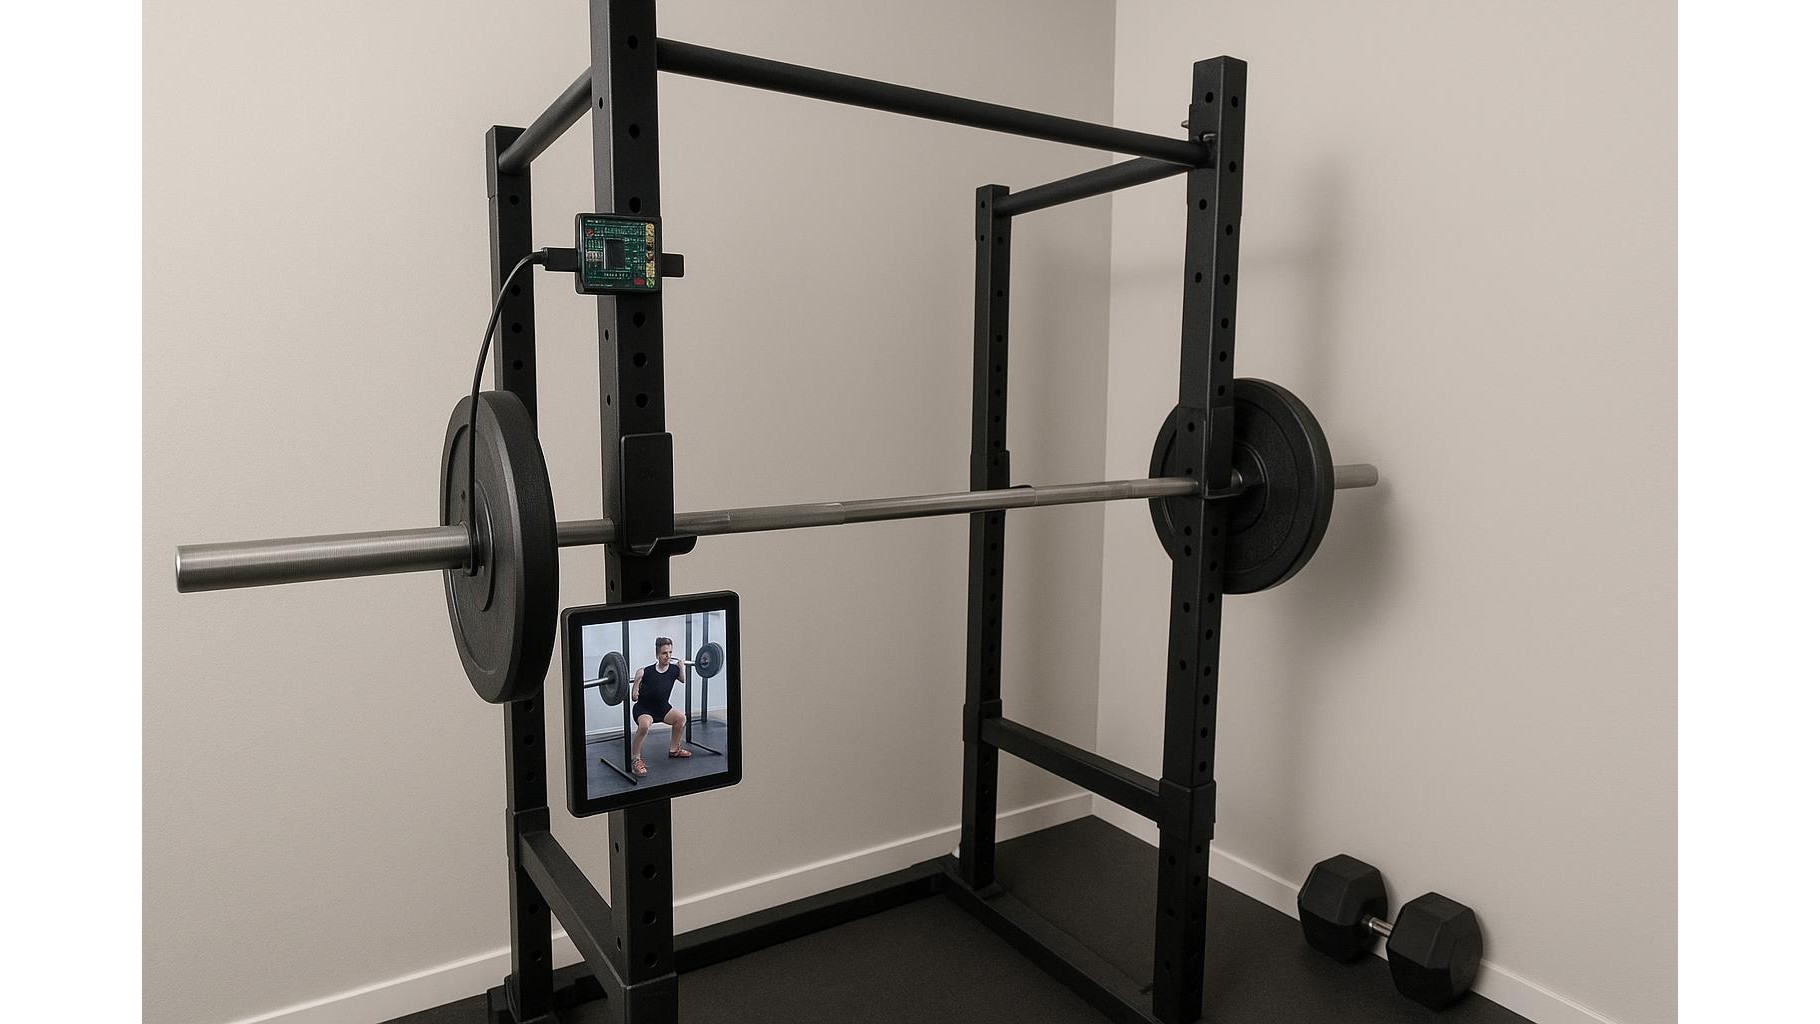
The core of this project is a small single-board computer like a Raspberry Pi 4, a compatible Raspberry Pi Camera Module, and a display you can mount in sight of your lifting area. Look for a Pi model with enough RAM and built-in Wi‑Fi so it can stream a smooth live view while staying connected to your network. A dedicated camera module that plugs into the Pi’s camera port will give you a cleaner, lower-latency image than most USB webcams. For the screen, a 7‑inch or similar touchscreen is ideal: it is compact, easy to mount on a rack upright, and bright enough to see from a few metres away during heavy sets.
Basic setup: from hardware to live video
Start by installing a lightweight operating system such as Raspberry Pi OS on a microSD card and booting your Pi. Connect the camera ribbon cable carefully to the camera port, ensuring the contacts face the correct direction, then secure it with the connector clips. Attach your display via HDMI or the dedicated display connector, and plug in power. Once the Pi boots, enable the camera interface in the system settings and install a simple viewer application or use a browser-based preview from a camera streaming tool. Aim for a configuration that opens a full-screen, low-latency live view automatically at startup so that the moment you power the Pi, your form-check camera is ready without extra clicks.
Network options and control
A networked home gym camera becomes more flexible than a basic mirror. Connecting the Pi to your home Wi‑Fi lets you access the camera stream from your phone, tablet or laptop elsewhere in the house, and even adjust angles or settings remotely. If your gym is in a garage with weak signal, consider using Ethernet for a stable connection. To keep things simple, you can configure the Pi to run a local web server that broadcasts the camera feed to any device on your network; this way, you do not rely on external cloud services. Add basic password protection so only you can view the stream, and use your phone as a secondary monitor for close-up checks between sets.
Mounting, angles and lighting
For accurate form checks, camera placement matters more than resolution. Mount the camera roughly at hip or chest height on a tripod, rack post or wall bracket that lets you easily adjust the angle. For squats and deadlifts, a 45‑degree diagonal view from the side often reveals back position, knee tracking and bar path clearly. For pressing movements, a front or slight side angle helps you monitor bar path and elbow position. Use a small wall-mounted screen or stand that keeps the display at eye level between sets, but not directly in line with your lifts to avoid distraction. Good lighting is essential: add a bright but diffuse light source behind or above the camera to reduce shadows and improve clarity, especially in garage gyms.
Privacy, safety and practical use in training
Because this is a live feedback system, you can keep it completely private by restricting access to your home network and disabling any remote cloud features. Configure the Pi to keep video local only and avoid recording by default unless you intentionally enable it to review a specific set. During training, treat the screen like a digital mirror: glance before and after sets rather than staring during heavy reps. Use the live view to check stance width, depth, bar path and posture, then make one or two focused adjustments each session. Over time, you will build better movement patterns and body awareness while keeping your home gym setup clean, minimal and tailored to your own technique work.
With a modest budget and a bit of configuration, a Raspberry Pi live form-check camera can transform how you train alone at home. Instead of guessing how your lifts look, you get immediate visual feedback from consistent angles, under your own lighting, and without cluttering the space with extra devices. Combine thoughtful placement, stable network settings and simple privacy controls, and you will have a dedicated tool that quietly supports your technique work every time you step into your home gym.