Building a serious home gym is not just about barbells and benches. If you lift heavy, jump, or drop weights, the right rubber flooring is what actually protects your subfloor, reduces noise, and keeps equipment stable. In this guide we break down how to choose dense rubber tiles and mats, what thickness and hardness ratings matter, and what installation systems work best so you can train hard without cracking tiles or upsetting your neighbours.
Why dense rubber matters for a home gym
When comparing rubber gym tiles, density and hardness are more important than simply picking the thickest mat you can find. High-density, vulcanised rubber better absorbs impact, resists permanent dents from heavy racks, and feels stable underfoot for squats and deadlifts. Cheaper foam or low-density rubber may look thick, but it compresses too easily, allowing heavy loads to transmit force straight into your floor. For serious lifters, prioritise products marketed as heavy-duty rubber gym flooring rather than generic exercise mats, and look for mentions of impact protection, commercial or studio use, and resistance to barbell drops.
Choosing the right thickness for your training style
The ideal rubber flooring thickness depends on how you use your gym. For light dumbbell work, bodyweight training, and cardio machines, tiles around 8–10 mm usually provide enough cushioning and sound dampening. If you deadlift, Olympic lift, or regularly drop weights, stepping up to 15–20 mm offers much better protection, especially over delicate surfaces like tiles or engineered wood. Very thick tiles (20 mm and above) or layered setups using a plywood platform plus dense rubber are popular in powerlifting spaces because they spread impact, limit bar bounce, and help shield both plates and floor from damage.
Hardness, noise reduction and neighbour‑friendly lifting
Beyond thickness, the hardness of the rubber—often indicated by a Shore A rating—affects both feel and sound. Harder rubber (higher Shore A) feels very stable for heavy squats and benching and resists tearing under racks, but it can transmit more vibration. Slightly softer, still-dense tiles improve noise reduction, especially in flats or upstairs rooms. To keep neighbours happier, combine dense rubber with good coverage: extending mats well beyond your rack and lifting area, and avoiding bare patches where plates might land. A continuous surface reduces clacking, rattling equipment, and hollow echoes from concrete or timber subfloors.
Interlocking tiles vs. large mats: installation choices
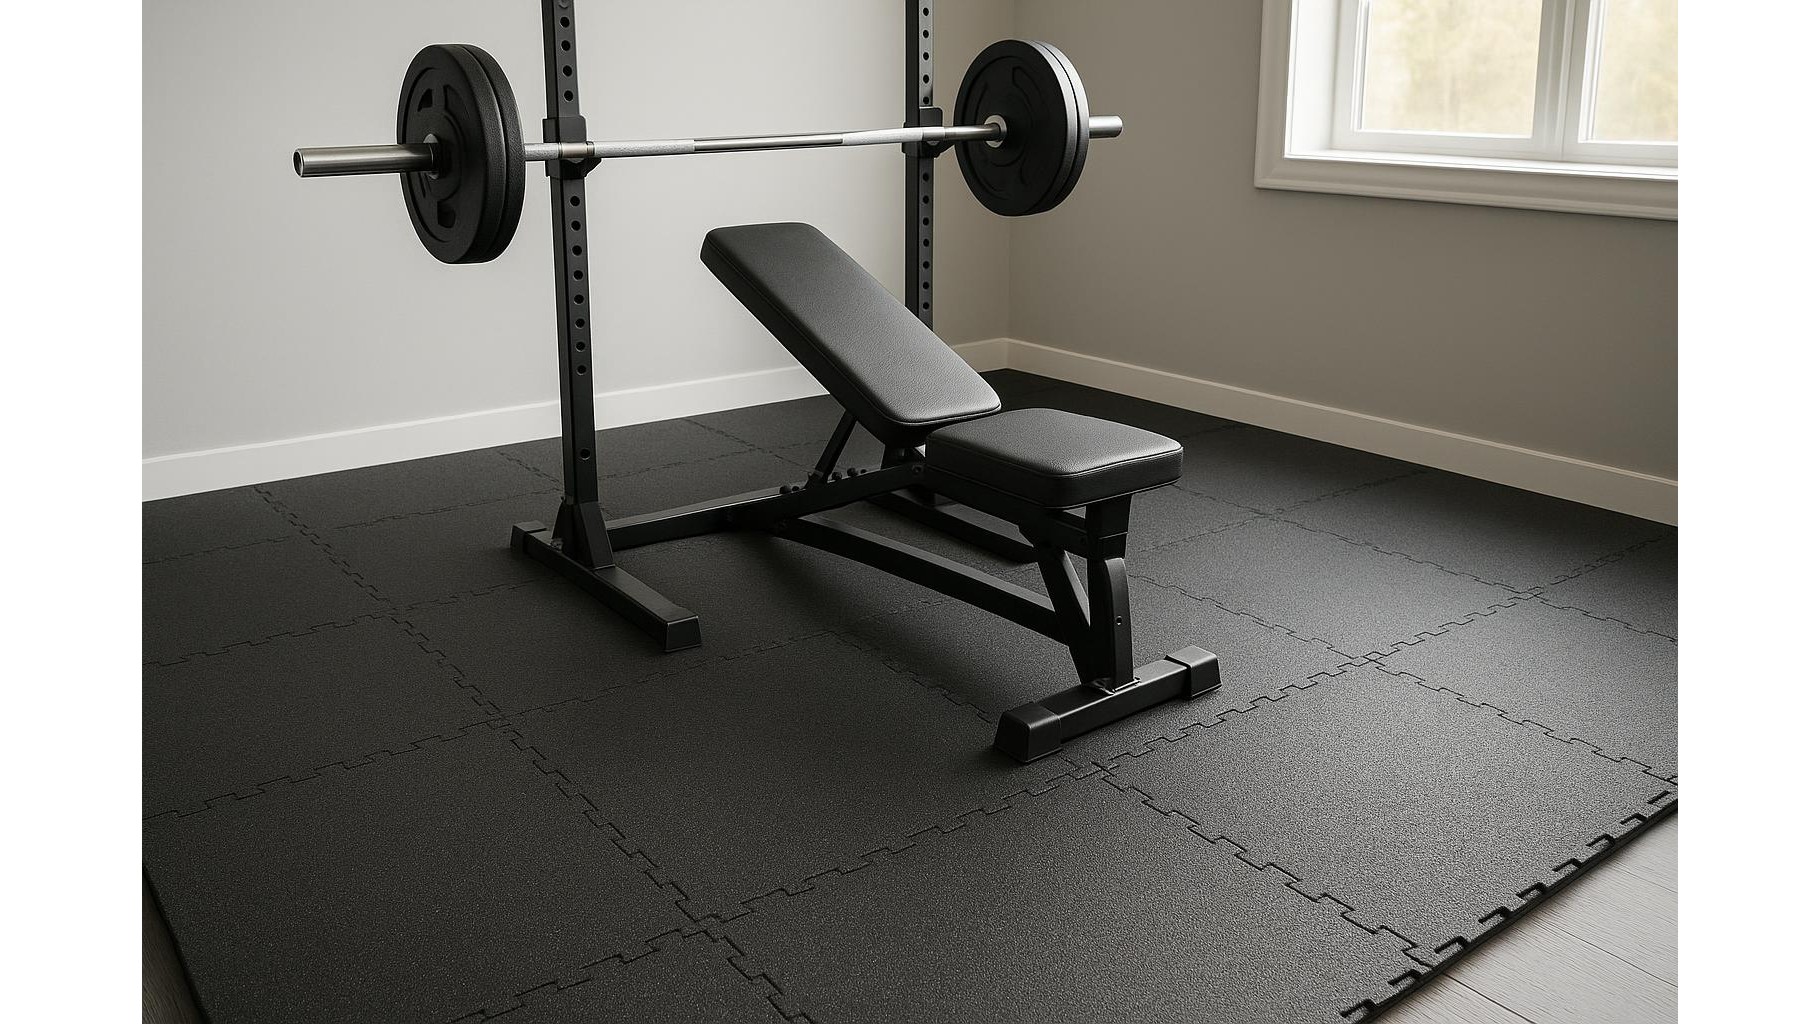
Most home gym owners choose between interlocking rubber tiles and larger, straight‑edge mats. Interlocking tiles are easier to carry upstairs, cut to size, and rearrange if you move your gym; they also help lock the surface together so tiles do not creep apart under dynamic movements. Larger mats create fewer seams, which is ideal if you move heavy equipment frequently or want a more commercial‑style look. Whatever you choose, dry‑fit the layout before trimming, leave a small expansion gap at walls, and ensure the subfloor is clean and level to prevent rocking or premature wear at the joints.
Protecting specific zones: racks, deadlift areas and cardio
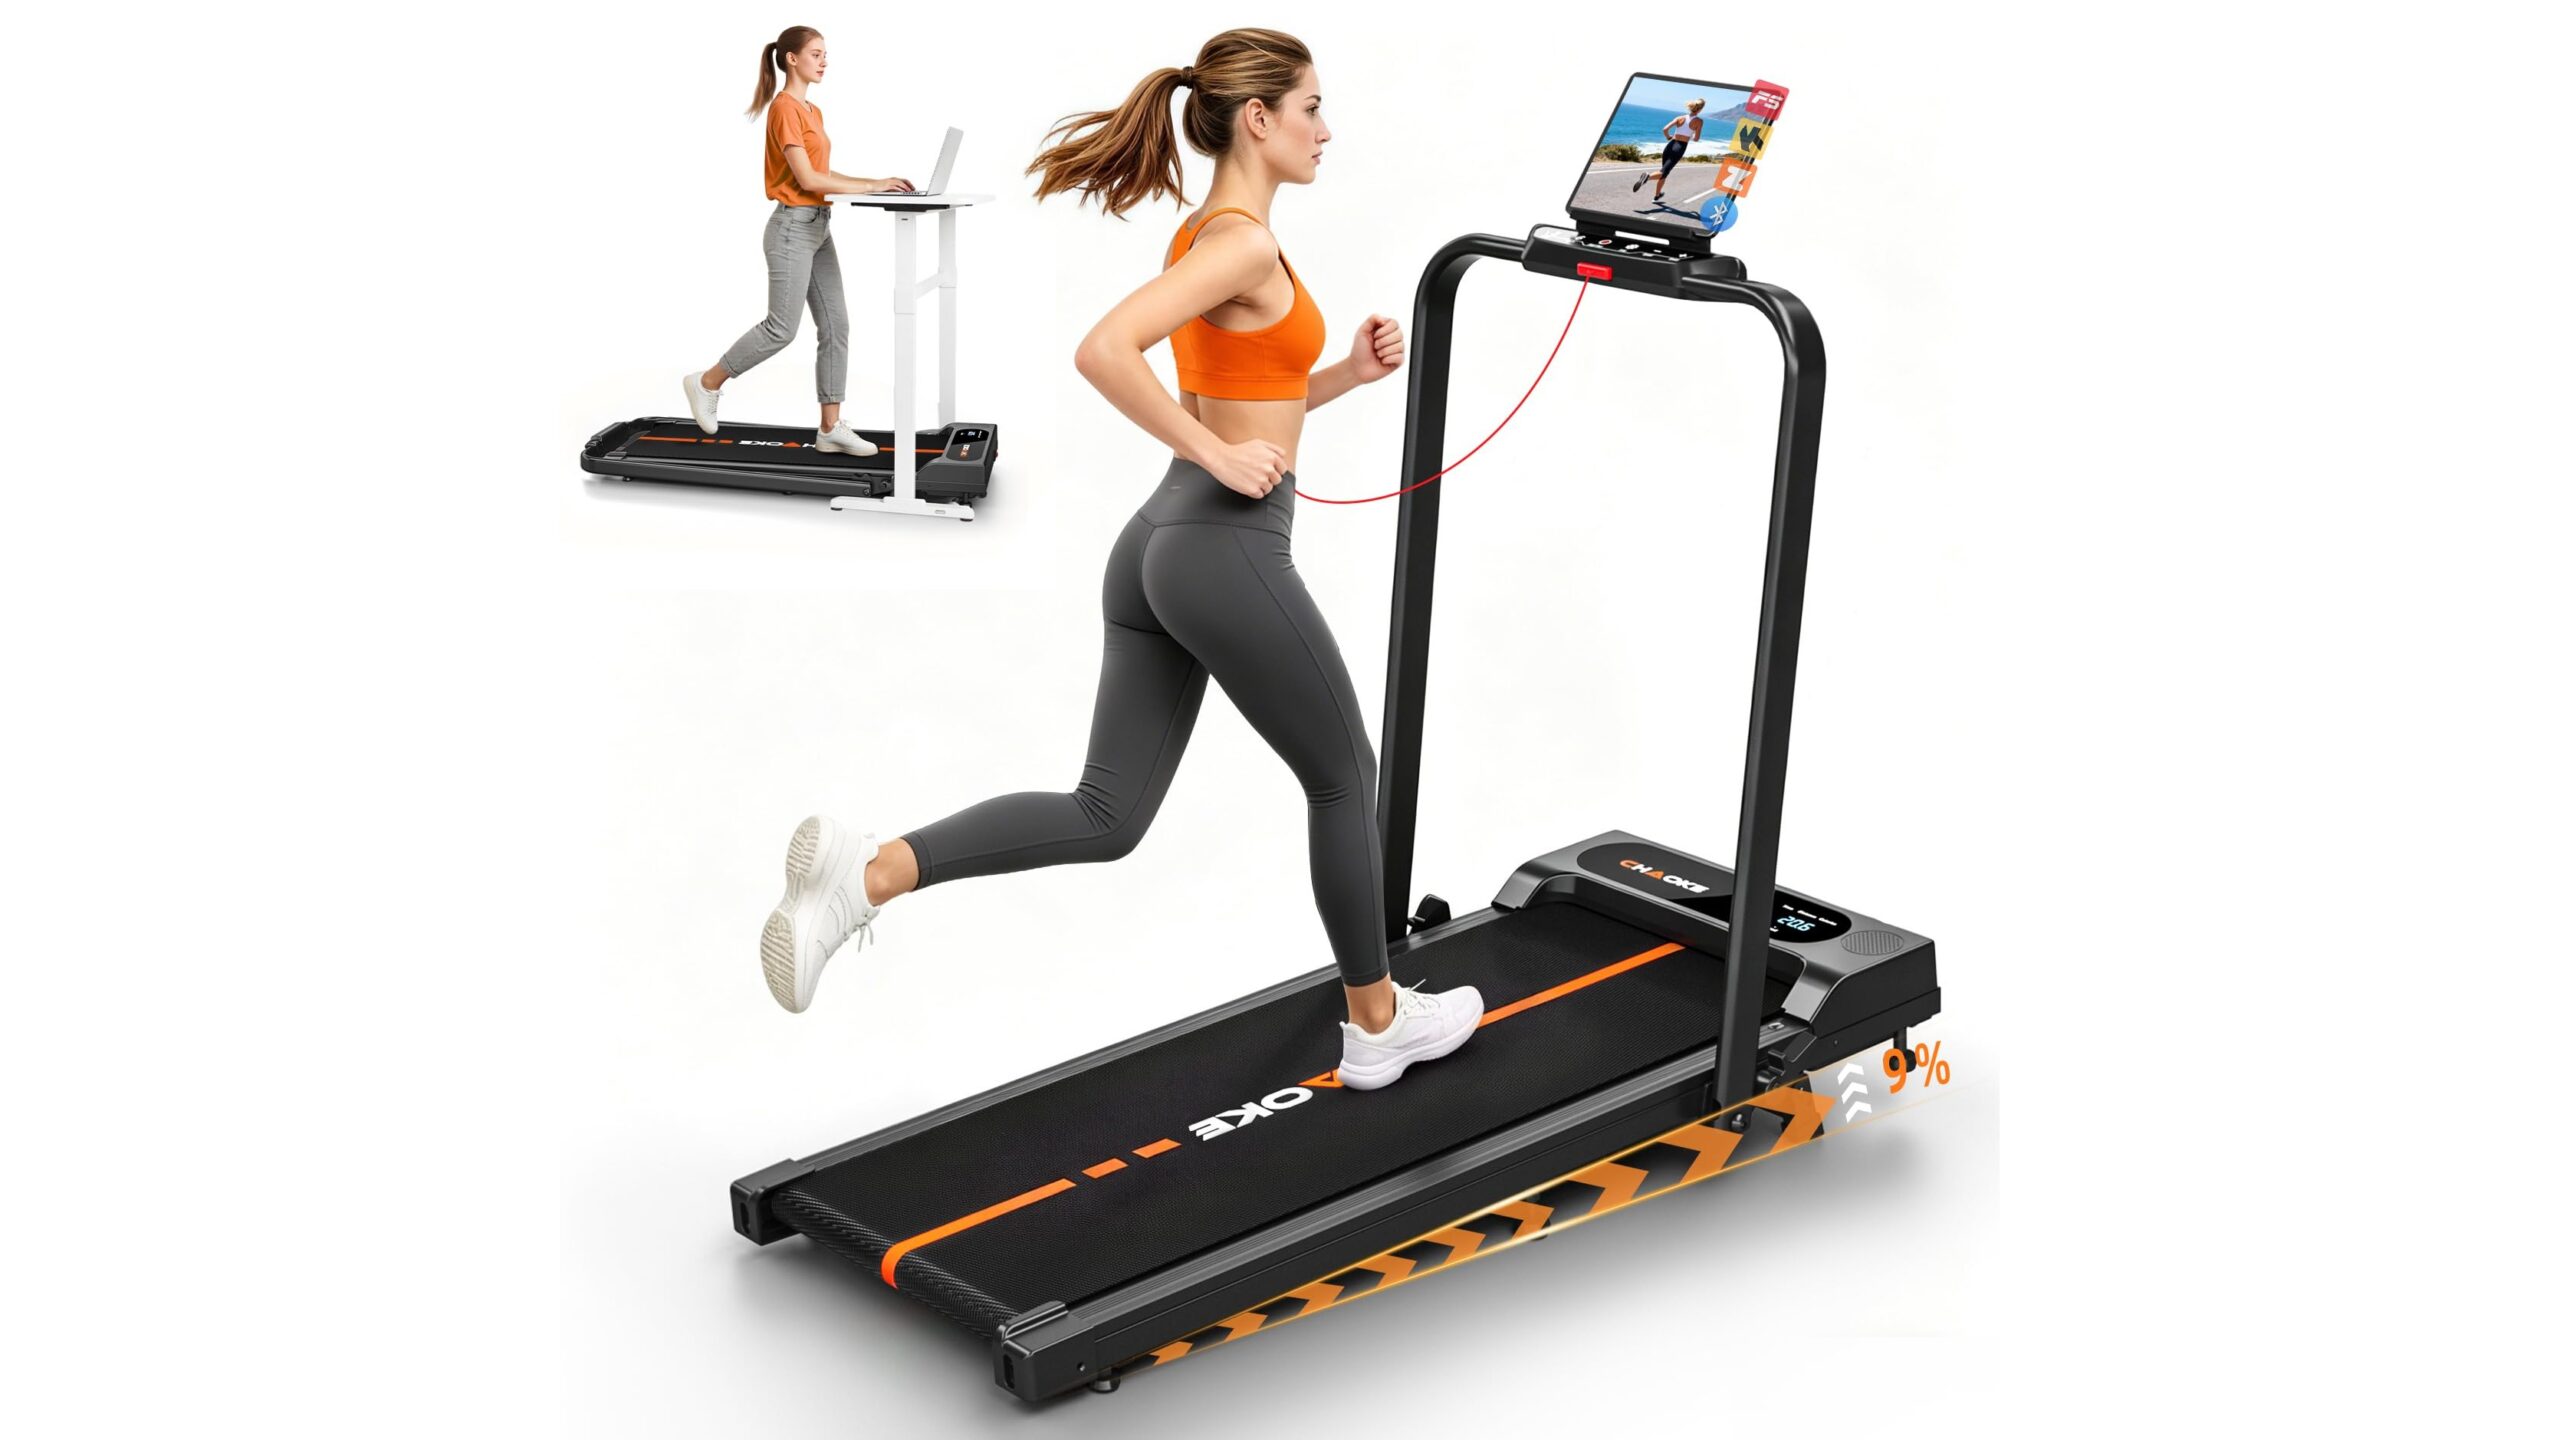
Your entire room does not always need the same floor protection. Under a power rack, prioritise dense, stable tiles that will not compress deeply under load, ensuring your feet and the rack remain secure. In a deadlift or weight‑dropping zone, double up with thicker rubber or a dedicated platform area to absorb repeated impacts. For cardio machines, continuous rubber mats help reduce vibration and stop equipment from “walking” across the room. Planning these zones in advance lets you invest in premium, dense rubber only where heavy impacts and loads occur, while using more economical thicknesses elsewhere.
Upgrading to the right home gym flooring is one of the smartest long‑term investments you can make in your training space. By focusing on density and hardness rather than just thickness, tailoring protection to how and where you lift, and choosing an installation system that fits your room, you can create a quiet, durable surface that protects both your floor and your equipment. With a properly planned rubber tile setup, you will be free to train harder, lift heavier, and enjoy your home gym without worrying about cracks, noise complaints, or costly repairs.