Using floss bands at home can be a simple, low‑cost way to ease joint tightness, improve range of motion and support recovery from training. However, compression wrapping places deliberate pressure on joints and soft tissues, so a safety‑first approach is essential. In this guide we’ll explain how floss bands work, when to use them, key risks to avoid, and practical, step‑by‑step examples to help you build an effective and safe routine in your home gym.
What are floss bands and how do they work?
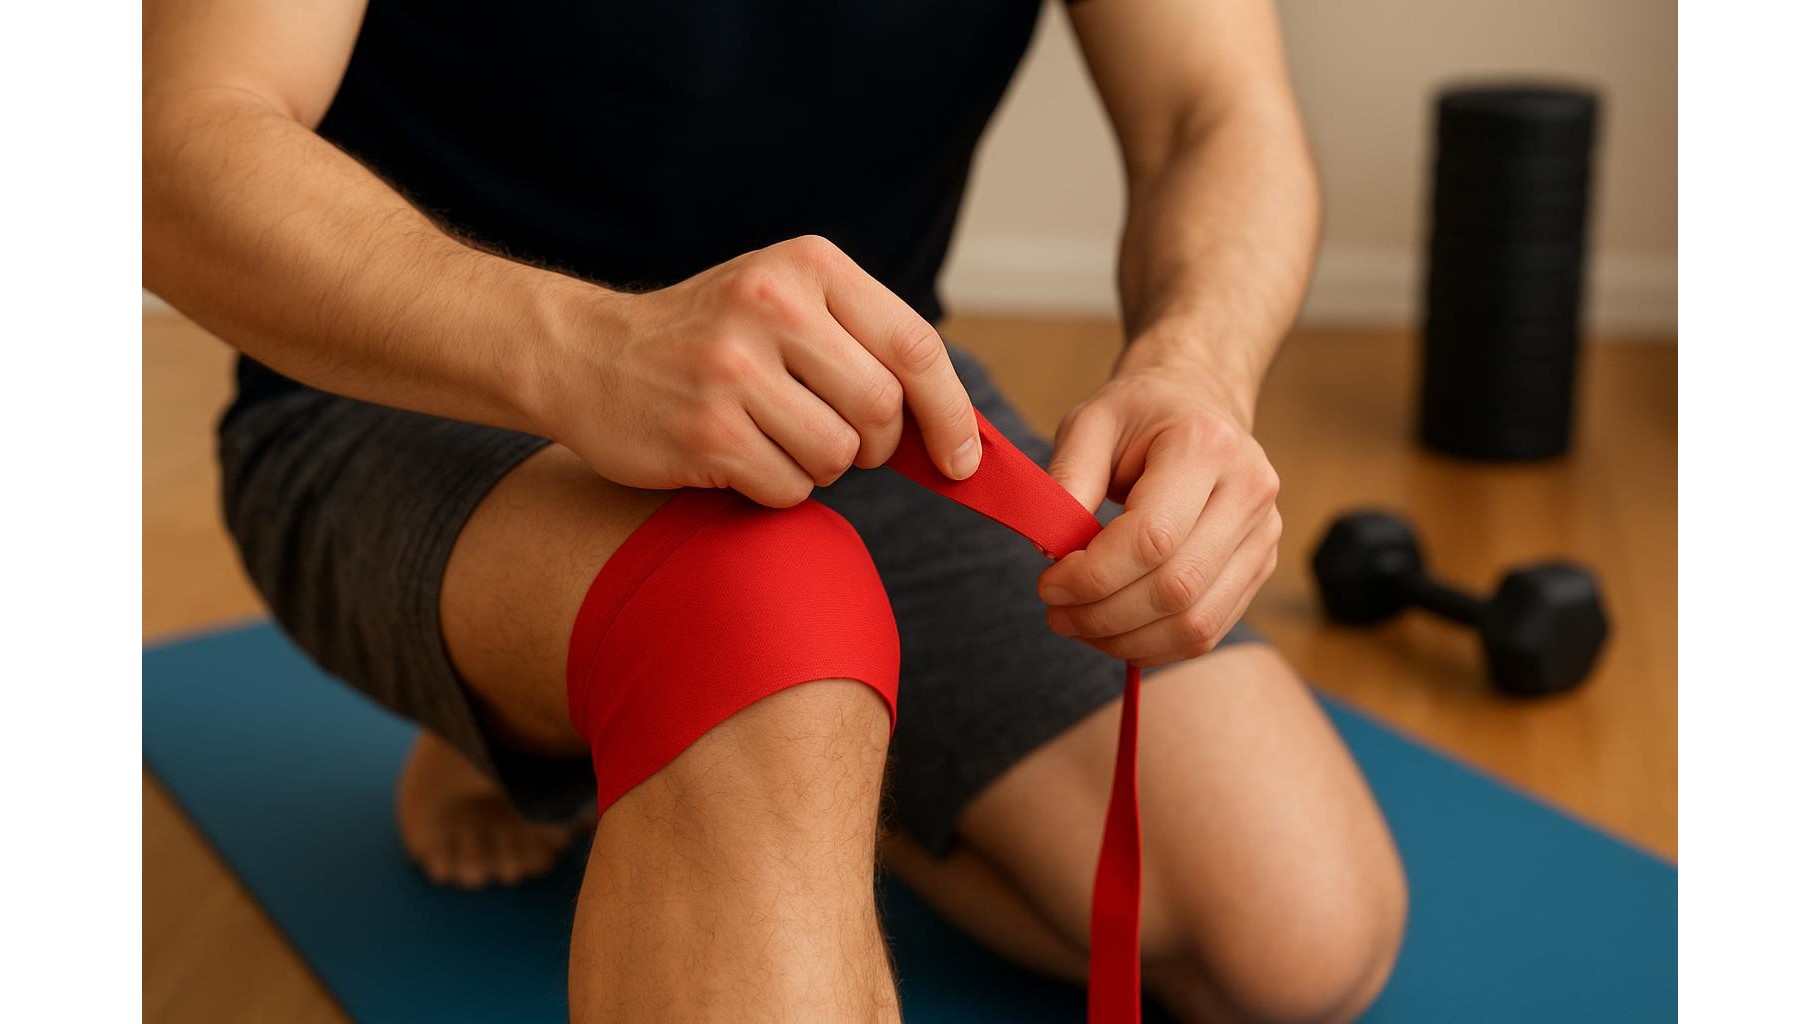
Floss bands are thick latex compression bands designed to be wrapped tightly around a joint or muscle group. Once wrapped, you move the area through pain‑free ranges of motion for 1–2 minutes, then remove the band. This brief, targeted compression may help reduce the sensation of stiffness, increase short‑term mobility and improve body awareness, especially around chronically tight joints like knees, elbows and ankles. Unlike standard resistance bands, floss bands are not pulled like a rubber band; instead they act as a compressive cuff that can influence tissue glide and blood flow when used correctly.
Safety rules: do’s and don’ts for home use
When using compression wrapping in a home setting, safety must come before intensity. Do: keep wraps short (typically 30–120 seconds), always check capillary refill in fingers or toes, and remove the band immediately if you feel numbness, tingling, sharp pain or a cold, pale limb. Do keep at least one finger’s width free from the joint line so you are not wrapping directly across the kneecap or elbow tip. Don’t wrap over open wounds, varicose veins or areas of infection, and don’t use floss bands if you have a history of blood clots, vascular disease, uncontrolled high blood pressure, or if you are pregnant, unless cleared by a medical professional. Never sleep, sit for long periods, or perform heavy lifting with a joint still wrapped.
How tight and how long? Finding the right compression level
The most common mistake with floss bands is wrapping far too tight. A useful rule of thumb is aiming for around 50–60% tension of the band’s maximum stretch and overlapping each layer by roughly half its width. You should feel firm pressure but still be able to slide a fingertip under the band, and the skin should remain warm and pink, not white or blue. Start with very short applications: 30–45 seconds of gentle movement, then unwrap and assess how your joint feels. Over time, you can work up to 1–2 minutes if there are no adverse sensations. Remember that more compression is not automatically better; the goal is improved movement quality, not chasing extreme tightness.
Step‑by‑step examples for common tight joints
For a stiff knee, begin by sitting or standing and wrapping the band just below the kneecap, spiraling up toward the mid‑thigh with moderate tension, leaving the kneecap itself mostly free. Once wrapped, perform 10–20 body‑weight knee bends through a comfortable range, then 10–20 slow leg extensions while seated. For the ankle, wrap from just above the ankle bones up toward the calf, then perform ankle circles, slow calf raises and gentle lunges. For elbows, start just below the joint and wrap up toward the upper arm, then cycle through light biceps curls, triceps extensions and wrist flexion/extension. In all cases, unwrap after the set, walk around, and reassess your range of motion and comfort before deciding whether to do another short round.
Integrating floss bands into your home gym routine
To use floss bands effectively, treat them as a supplement to, not a replacement for, smart training. The best time to apply compression wrapping is typically before your main workout, after a brief warm‑up, to help reduce a sensation of joint stiffness and prepare for loaded movements like squats, presses or push‑ups. You can also use short bouts after training as part of a cool‑down, paired with active mobility drills and light stretching. Limit use to a few targeted joints per session and a total of 2–3 short wraps per area. Keep a log of how your joints feel in everyday movement and key exercises; if flossing is helpful, you should notice easier motion and less “rusty” feeling joints, not increased soreness or lingering discomfort.
Used with respect and caution, floss bands can be a powerful tool in your home gym to address joint tightness and improve functional mobility. Focus on safe compression levels, short application times and continuous feedback from your body. Combine wrapping with a structured strength and mobility program, and seek professional guidance if you have medical conditions or persistent pain. By following the do’s and don’ts outlined above, you can make compression wrapping a controlled, effective part of your home routine rather than a risky experiment.