Turning a Raspberry Pi and an old monitor into a home gym dashboard is one of the cheapest ways to centralise your workout timers, heart rate, music and training logs. Instead of juggling your phone, smartwatch and notebook, you get a single always-on screen in your rack or on the wall that shows exactly what you need while you train. In this guide we walk through the basic hardware you need, how to connect it and what kind of software setup works best in a home gym.
Choosing your Raspberry Pi brain
At the core of this project is the Raspberry Pi, a tiny, low-power computer that can run 24/7 and quietly drive your gym dashboard. Any recent model with HDMI output will work, but a Raspberry Pi 3 or 4 gives you smoother performance when running a browser-based dashboard, music player and logging tools at the same time. The Pi connects directly to your monitor via HDMI and to your network via Wi‑Fi or Ethernet so it can sync with online services like Google Sheets, Notion or training apps. Add a simple microSD card for storage and a basic power supply and you have a reliable, fanless system that can sit behind your monitor or on a shelf in your rack.
Reusing an old monitor as your gym display
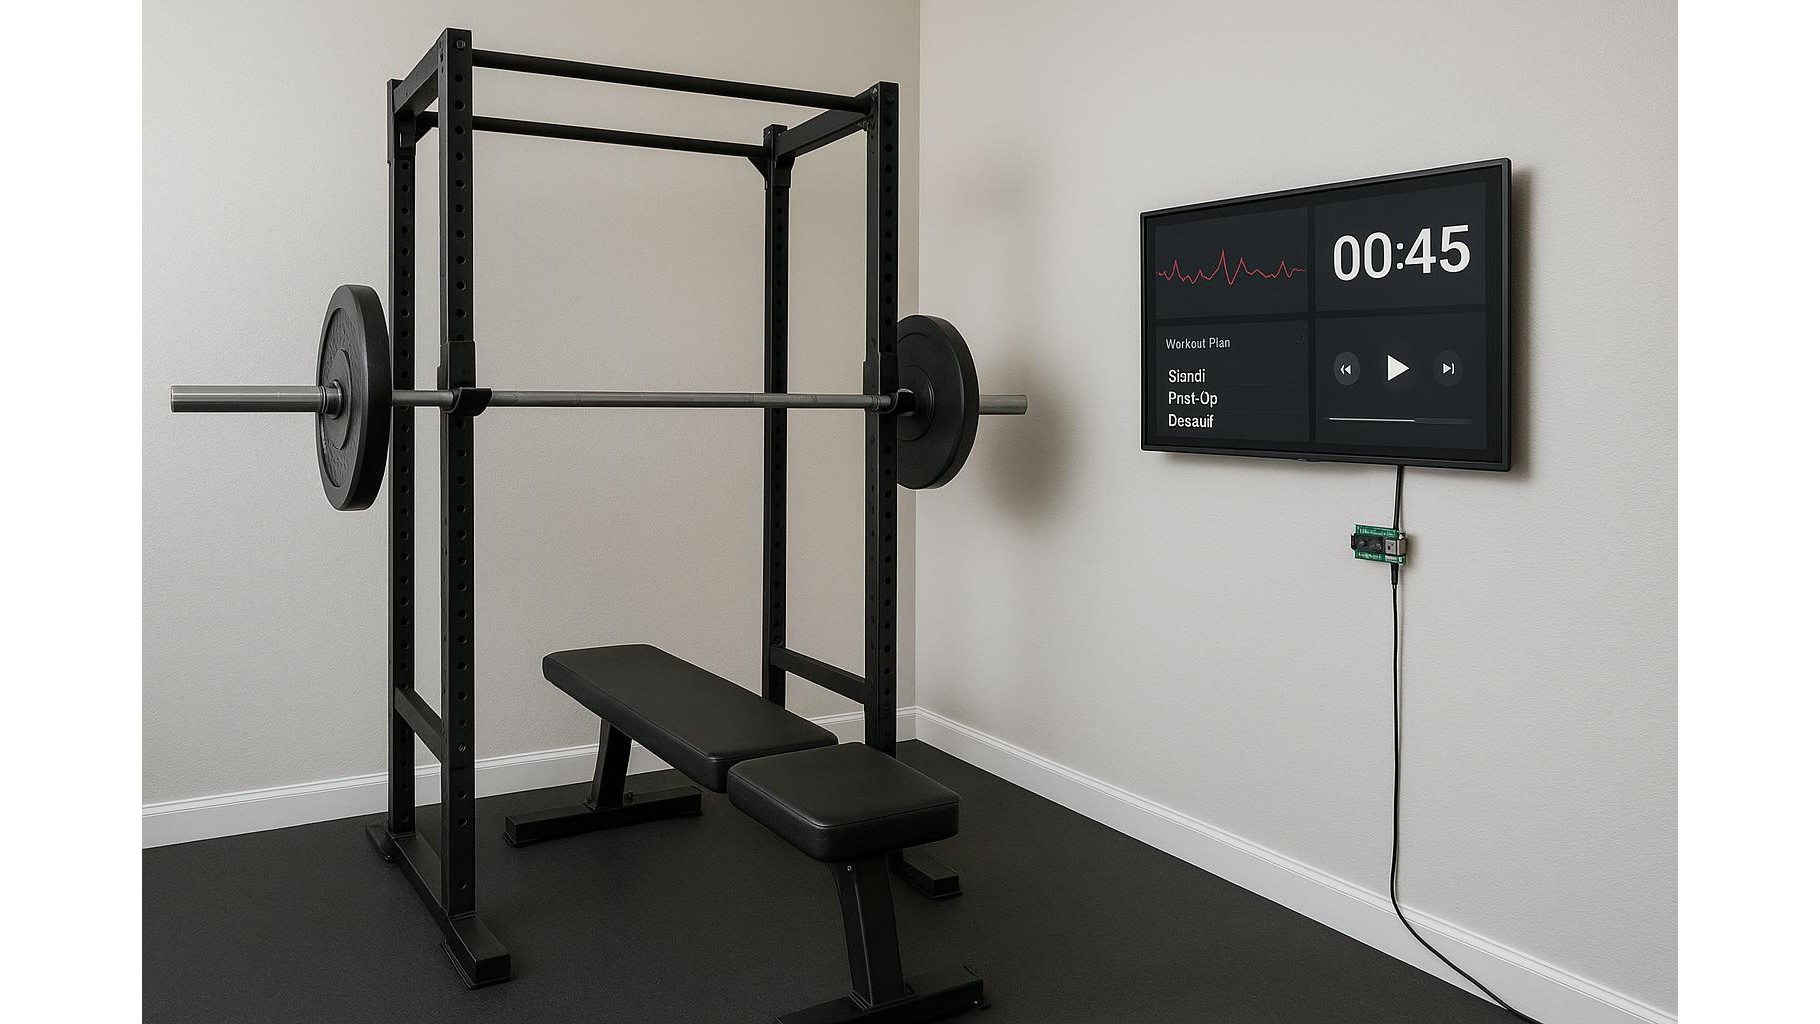
The beauty of a Pi home gym dashboard is that you can repurpose almost any old screen. A 21–27 inch monitor is ideal: large enough to read between sets but compact enough to mount near your squat rack, treadmill or cable station. Look for HDMI input so it plugs straight into the Raspberry Pi. If your monitor has built-in speakers you can also route your workout playlists through it, keeping your setup minimal. Mount the monitor on an adjustable VESA arm to tilt and swivel it towards your training area. This makes it easy to glance at interval timers, RPE charts, technique notes or YouTube form checks without stepping away from the barbell.
Integrating heart rate and workout data
Once the Pi and monitor are in place, the next step is pulling in your heart rate and workout data. The simplest method is using your existing devices – such as a Bluetooth heart rate strap or smartwatch – and syncing them to cloud platforms like Garmin Connect, Strava or Apple Health. Your Raspberry Pi can run a full-screen browser that displays web dashboards or custom pages with live or near-real-time data. For power users, you can send heart rate data via APIs or MQTT from compatible sensors and render it using lightweight web dashboards (for example, Node-RED dashboards or a minimal React app). This lets you show current heart rate, target zones and session summaries right next to your workout plan.
Building dashboards for timers, music and logs
A home gym dashboard shines when it replaces a mess of separate apps. On the Raspberry Pi you can set the system to auto-boot into a browser-based kiosk mode, loading a single page that aggregates everything you need. Include interval timers for EMOM and Tabata work, a rest timer for strength sets, quick buttons to start playlists, and panels for your current program and daily log. Free tools like Google Sheets, Notion, Obsidian Publish or self-hosted apps can all display beautifully on the Pi. Many lifters also like to embed YouTube technique videos or exercise demos alongside their written program so they can quickly check form cues between sets without grabbing their phone.
Practical mounting, control and safety tips
Because this dashboard lives in a home gym, you need to think practically. Mount the monitor and Raspberry Pi away from direct sweat spray and chalk, and use cable clips to route power and HDMI neatly along the wall or rack. Add a cheap wireless keyboard and trackpad so you can tweak settings without unplugging anything, or use your phone to remotely control the Pi via VNC when you’re setting up new dashboards. Set the display to stay on during training hours and dim or sleep at night to protect the panel. Finally, back up your training log in the cloud so you never lose months of progress if a card fails or you decide to upgrade the hardware.
By combining a low-cost Raspberry Pi with a spare monitor, you can build a powerful, custom home gym dashboard that centralises your workouts, heart rate data, timers and music in one glanceable screen. It keeps your phone out of the way, reduces distractions and makes it easier to track progress over months and years. With a small investment of time and money, you can turn a dusty old monitor into the control centre of your training space and create a more focused, data-driven environment for every session.