Spending more time on home pilates, planks and floor-based core training can quickly highlight how sensitive the wrist joints are. Hard floors, long holds and poor alignment often create sharp pressure at the base of the palm or a dull ache that lingers after your session. Protecting your wrists is not about being weaker; it is about training smarter so you can keep progressing without pain. With the right joint angles, simple props, progressive variations and, when necessary, wrist supports, you can build strength and stability while keeping irritation to a minimum.
Set up your hands and shoulders for joint-friendly angles
The first step in reducing wrist strain during pilates and plank-heavy workouts is optimising your basic setup. Spread your fingers wide and press through the full hand – especially the knuckles of index and middle finger – instead of dumping all your weight into the heel of the palm. This distributes load more evenly across the hand and forearm. Align your shoulders directly over your wrists in high plank and quadruped; if your shoulders drift forward, the angle at the wrist becomes too sharp, dramatically increasing compression. Softly bend the elbows to avoid locking out the joint, and engage your core so your torso doesn’t sag. Even small adjustments in hand placement, shoulder stacking and elbow softness can transform how your wrists feel in classic exercises like planks, mountain climbers and pilates leg reaches.
Use props and angled surfaces to reduce compression
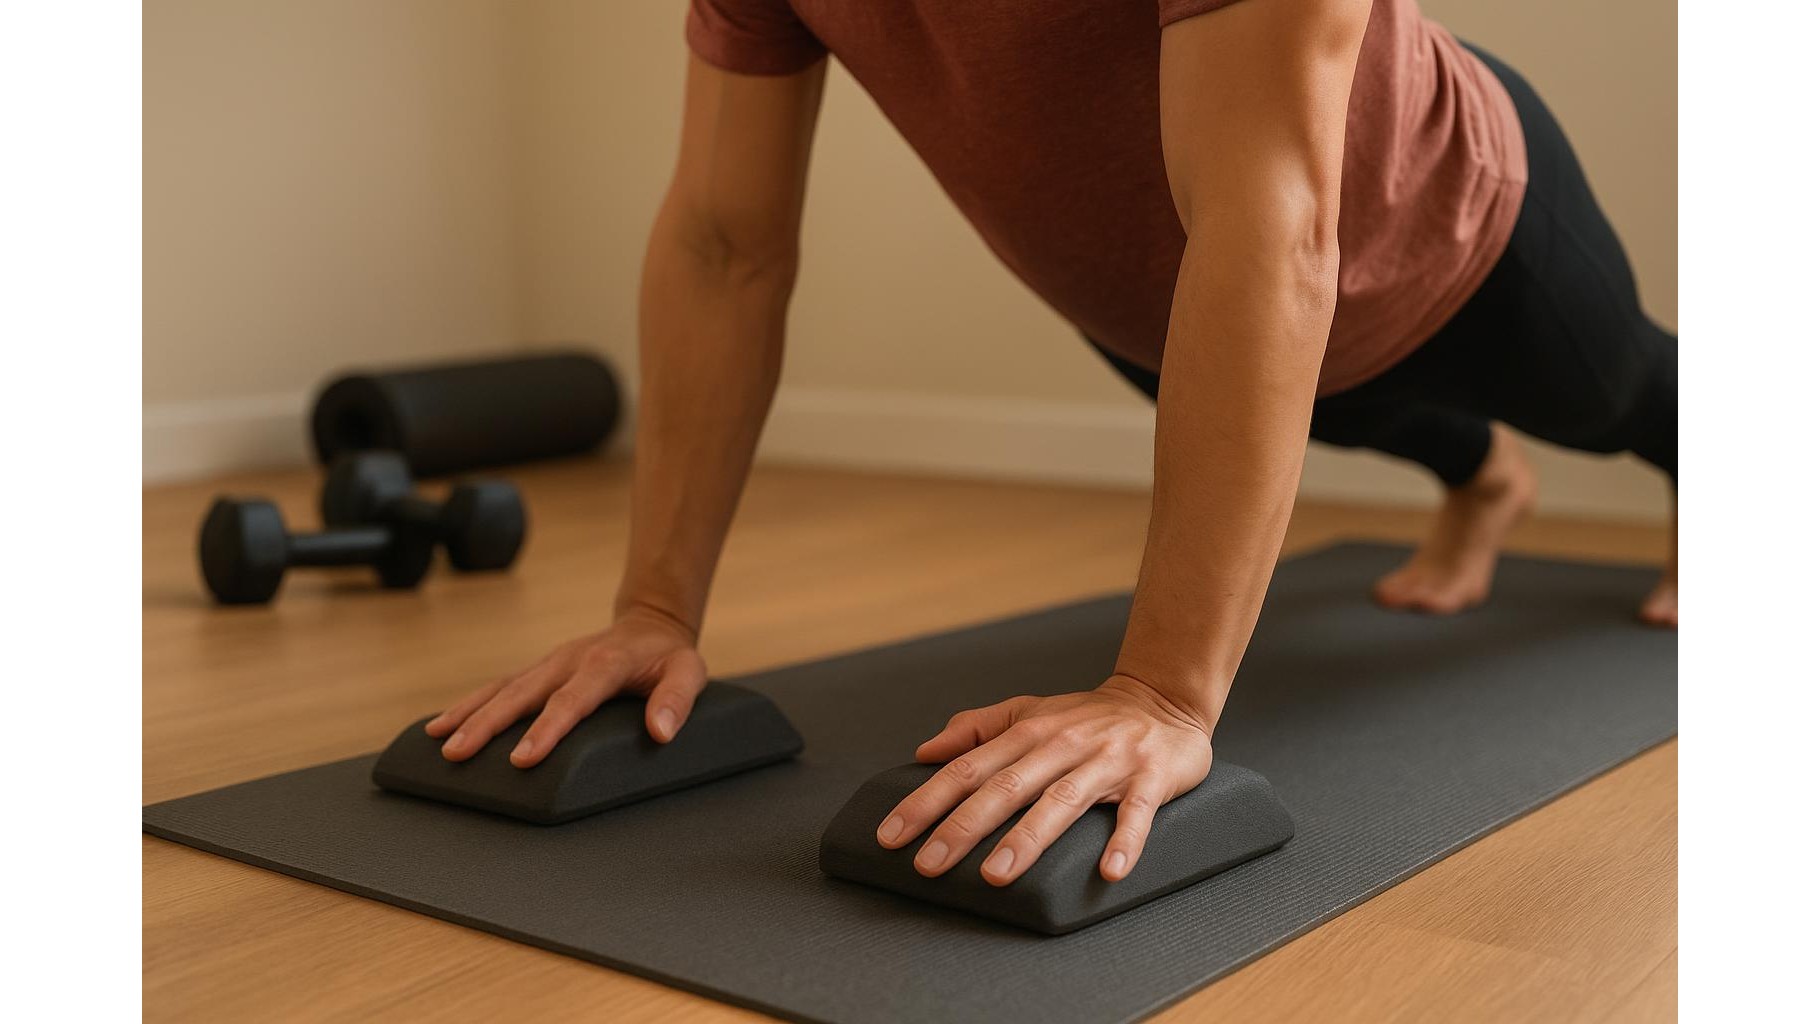
When neutral hand placement is not enough, adding angled props can create a more comfortable position for the wrists. Elevating the heel of the hand and allowing the fingers to slope downwards reduces extreme extension at the joint. Simple options include folding a towel under the palm, using a yoga block at a slight incline, or gripping small dumbbells during planks and modified push-ups so the wrist stays closer to neutral. A firm cushion under the forearms makes forearm planks more accessible on hard floors and allows you to keep training your core when your wrists need a break. Experiment with different height and firmness levels until you find the angle that lets you support weight without tingling, pinching or a burning sensation across the front of the joint.
Supportive gear for sensitive wrists and longer holds
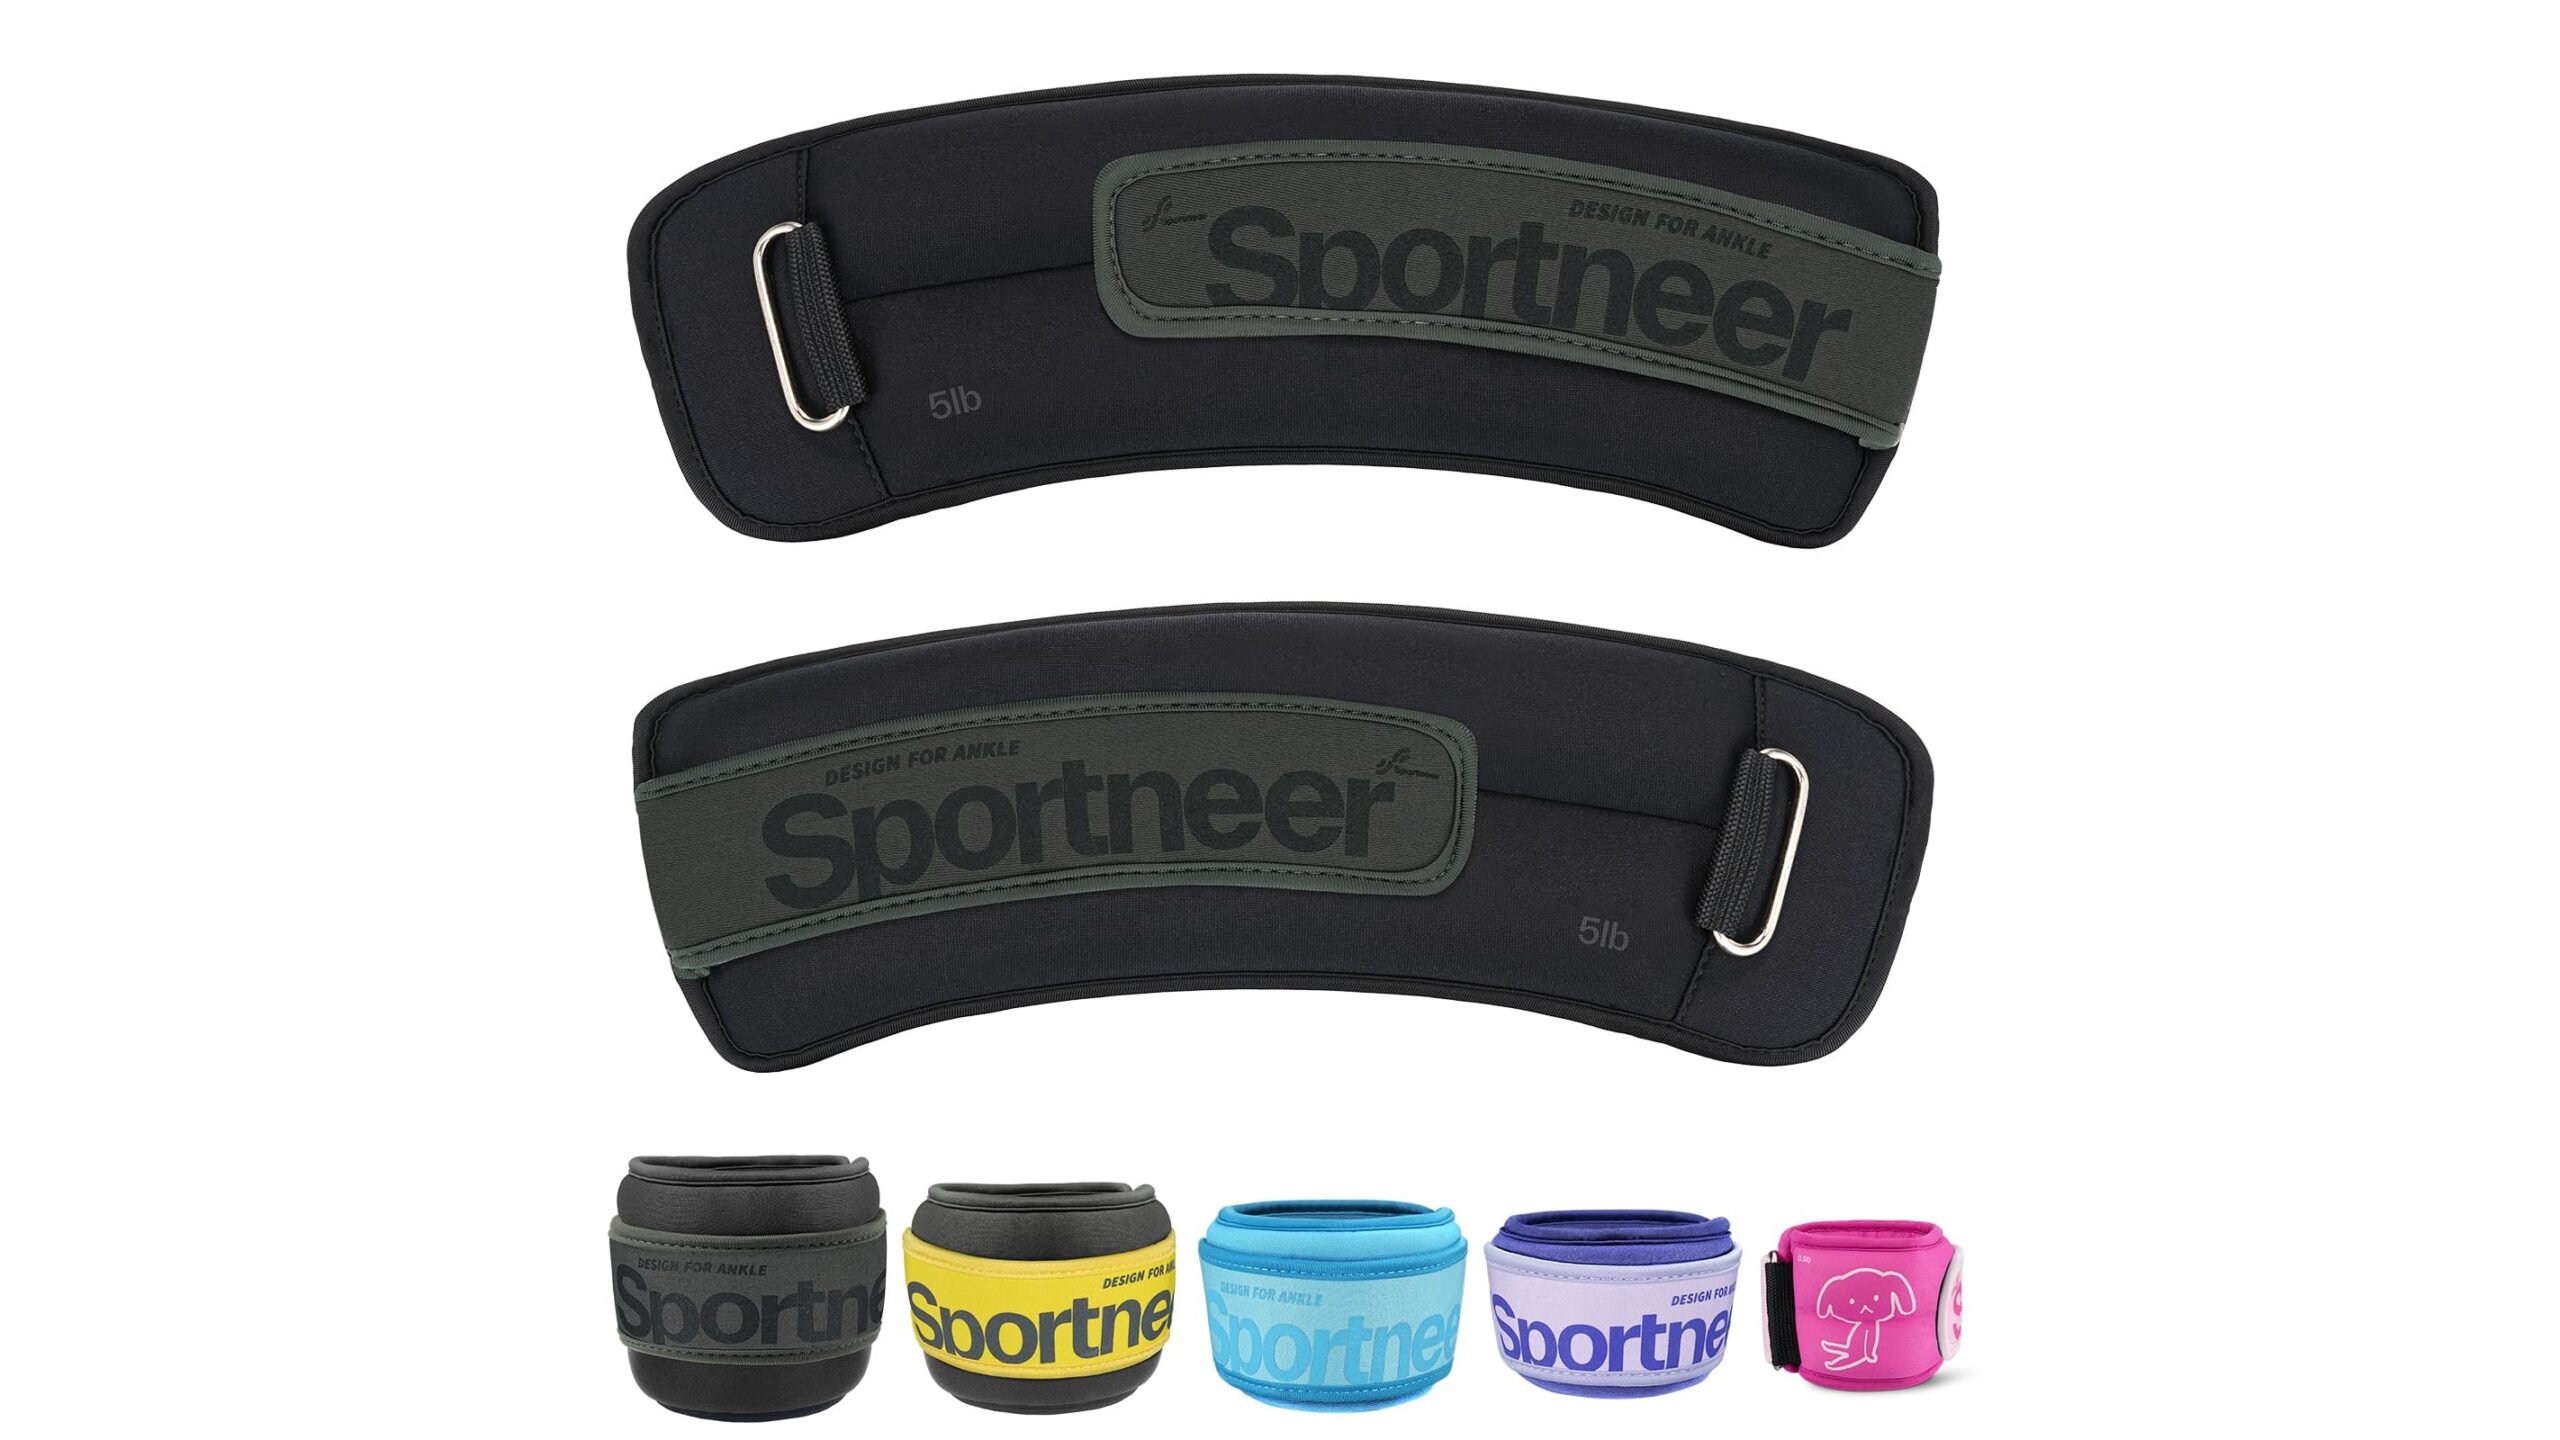
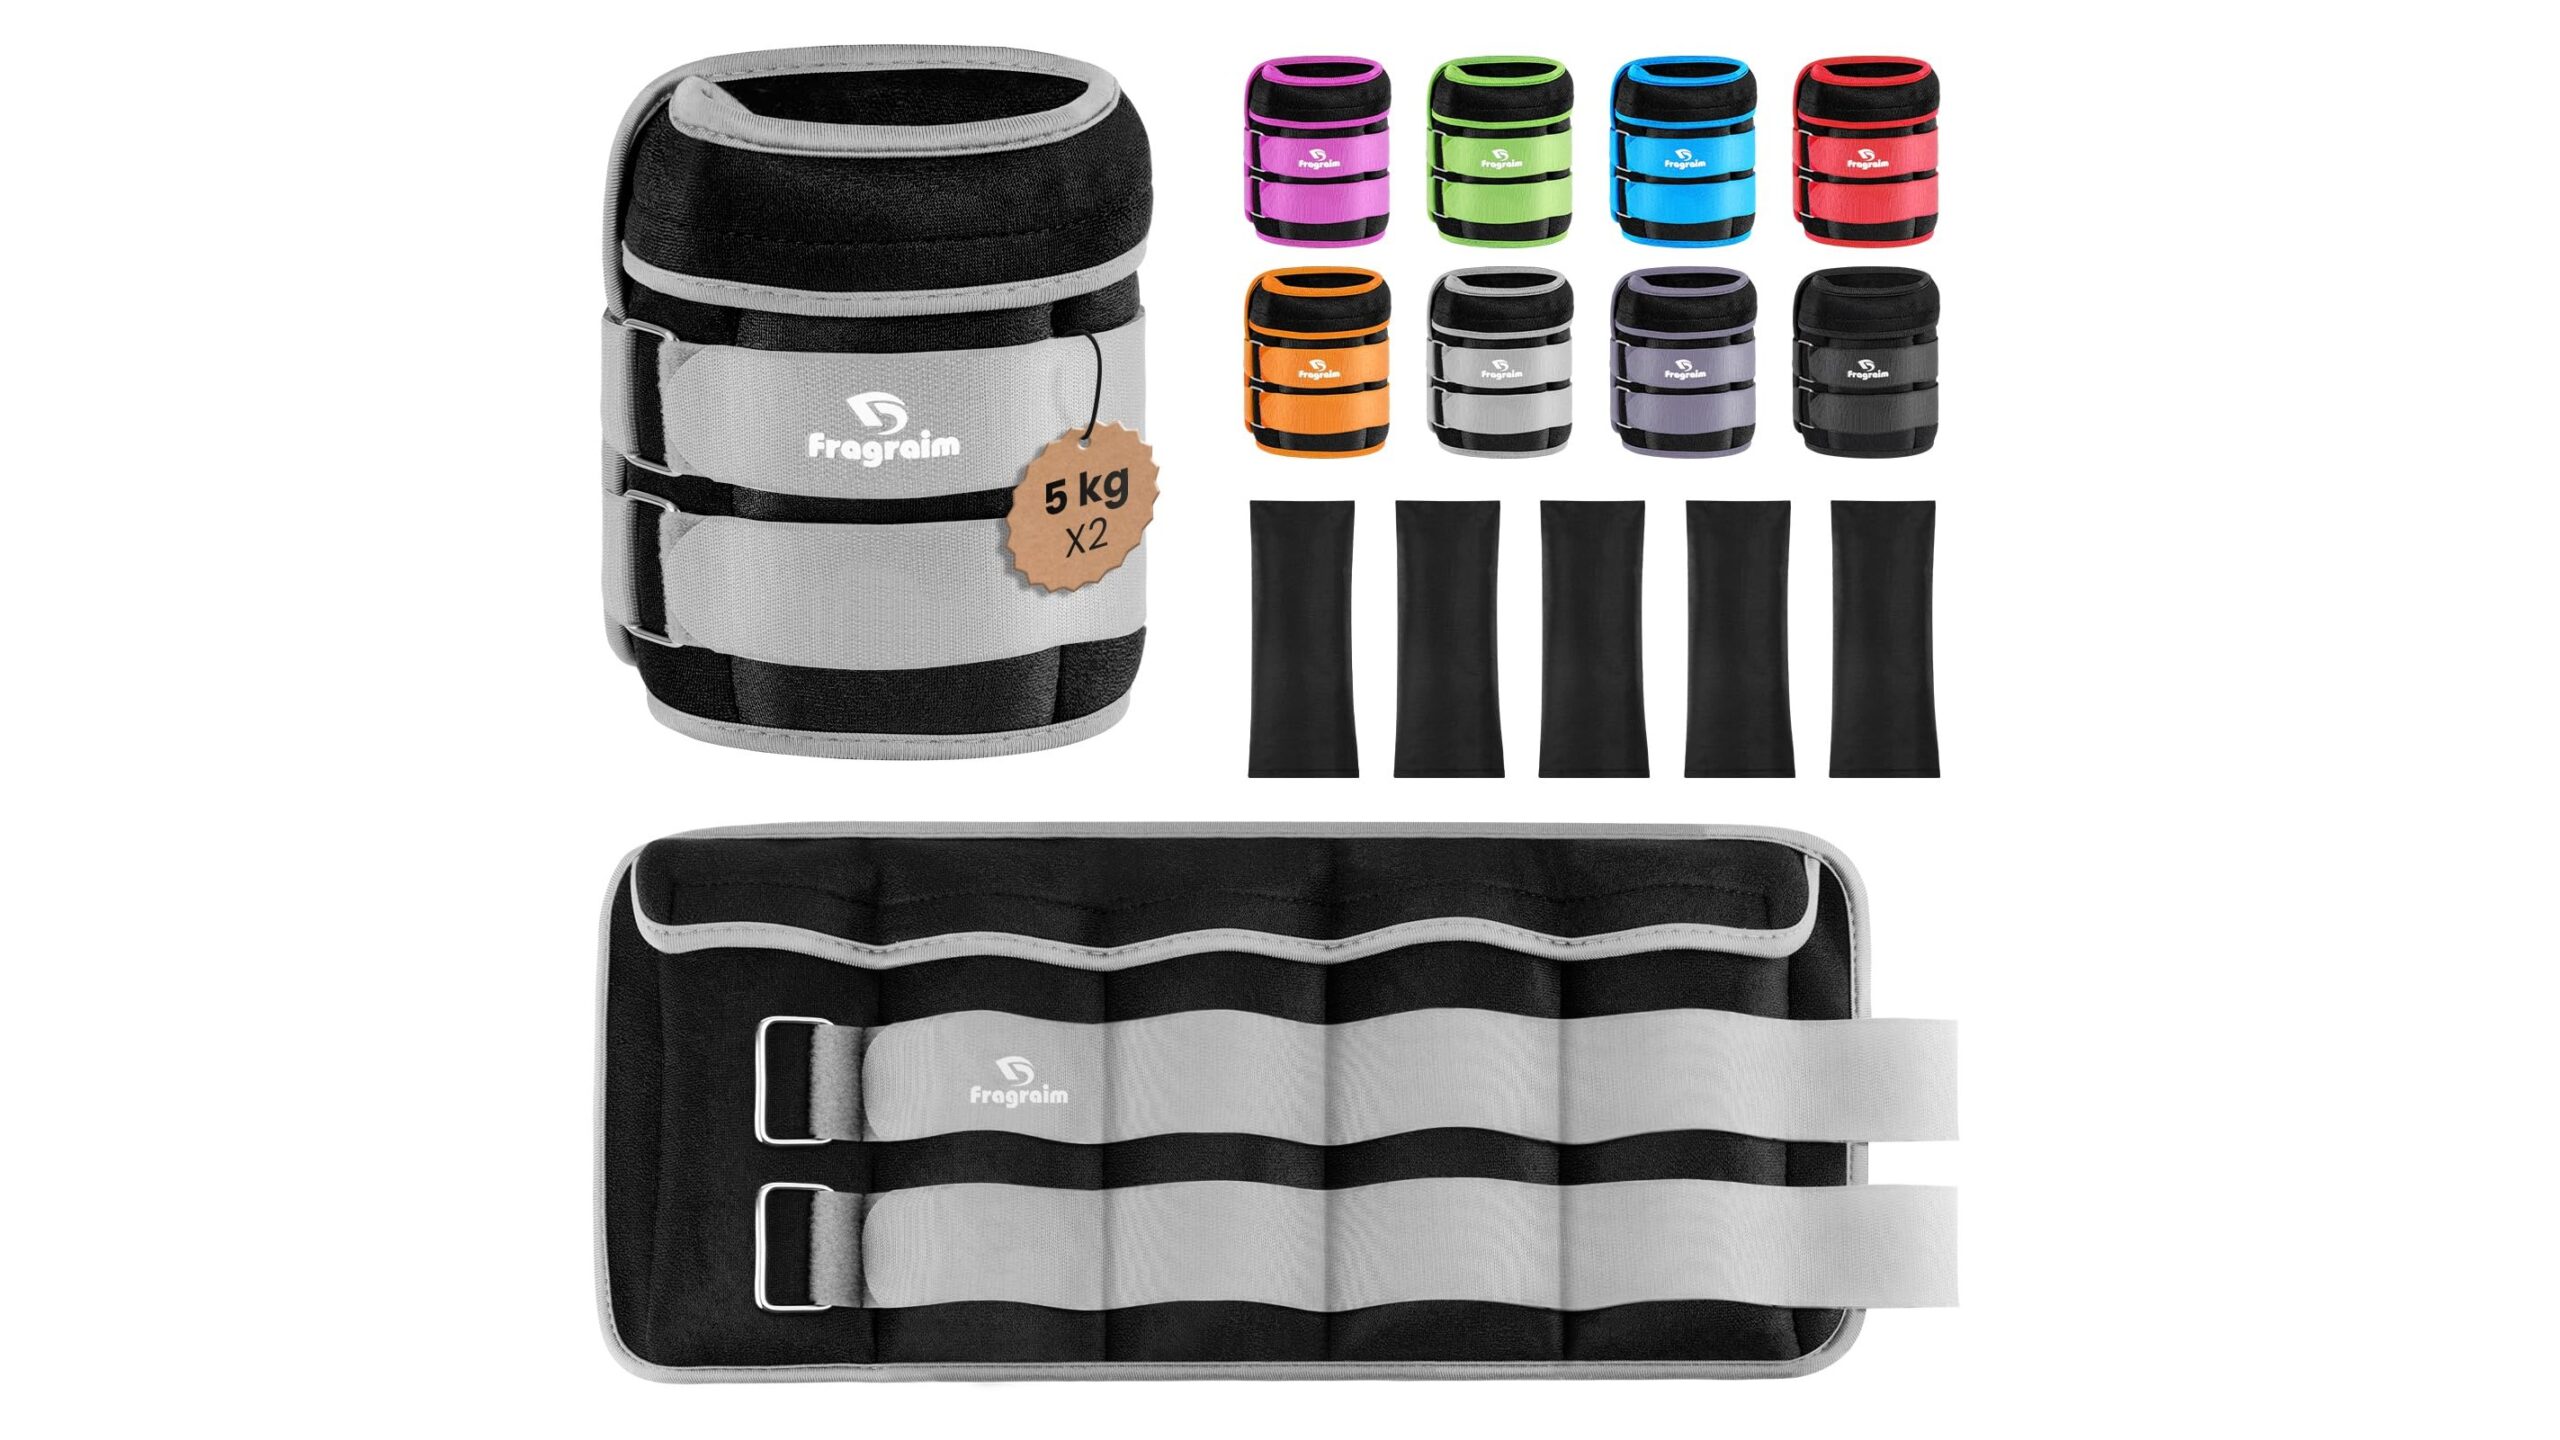
If you have particularly sensitive joints, are returning after an injury, or enjoy long holds in side planks and pilates-based conditioning, structured wrist support can be helpful. Look for adjustable wraps or sleeves that provide compression around the joint and gentle stability without blocking all movement. A good support should feel snug but not restrictive, allowing you to flex and extend the wrist slightly while limiting extremes of motion and providing reassurance during load-bearing positions. Focus on breathable materials and easy-to-adjust straps so you can fine-tune the fit between warm-up and higher-intensity work. Supports are not a substitute for good technique, but they can reduce irritation during phases when you are building back capacity or experimenting with more challenging plank variations and pilates flows.
Mobility, strength and activation drills for happier wrists
Protecting your wrists is not only about what you do during planks; it also depends on how you prepare them. Incorporate a few minutes of wrist mobility before your home pilates session. Gentle circles with fingers spread, rocking back and forth in quadruped while gradually shifting more weight into the hands, and light stretching of the forearm flexors and extensors all help. Balanced forearm strength is crucial, so include exercises like wrist curls and reverse curls with light resistance, plus isometric holds in a fist position to improve general tolerance to load. Activating the shoulder girdle and core is equally important: scapular push-ups, serratus wall slides and slow dead bugs teach your body to support weight from the torso rather than collapsing into the wrists. Over time, these drills increase resilience so your wrists feel more stable during longer, more dynamic sequences.
Smarter progressions and pain-aware training at home
Even with smart setup and supports, respecting your current capacity is essential. Build plank progressions gradually, starting with elevated hands on a sturdy surface like a bench or counter to reduce the load through the wrists. Shorter holds – for example 10–15 seconds with equal rest – often feel far better than forcing a single long plank. Alternate between positions that stress the wrists, such as high planks or pilates push-ups, and variations that unload them, such as forearm planks, side-lying leg work and supine core series. Use discomfort as feedback: mild, diffuse effort is normal, but sharp pain, tingling or symptoms that persist after your workout indicate that you need to regress the movement, adjust your setup or take a break from wrist-loaded exercises. Sustainable progress comes from listening to these signals while steadily improving strength and control.
Protecting your wrists in home pilates and plank-heavy routines is a combination of smart technique, thoughtful exercise selection and, when appropriate, the strategic use of supports. By adjusting your hand and shoulder alignment, experimenting with props and angles, adding regular mobility and strengthening drills, and progressing your planks in a pain-aware way, you can build a stronger core and upper body without sacrificing joint health. Instead of avoiding floor work altogether, you will be able to adapt it to your body, keeping your wrists comfortable while you continue to develop stability, control and confidence in your training space at home.