Plyometric training doesn’t have to mean noisy, high-impact burpees that shake the whole house. With the right progressions and a focus on landing mechanics, you can build power and reactive strength in a tiny living room without upsetting neighbours or overloading your joints. This 25‑minute beginner‑friendly routine walks you step by step through low-impact jump drills that teach your body how to absorb force safely, using minimal space and zero equipment.
Set up your space and warm up your joints
Before you start jumping, clear a patch of floor roughly the size of a yoga mat so you can move safely without clipping furniture. Train in flexible trainers on a firm surface, and if you have one, use a basic exercise mat for comfort and noise reduction. Spend 5–7 minutes warming up: march on the spot, then progress to high knee marches, gentle hip circles, and arm swings. Add 10–15 bodyweight squats and a few calf raises to wake up your ankles and knees. The goal is to raise your body temperature and get your joints moving smoothly so when you introduce low‑level plyometrics, your tissues are ready to handle the extra demand.
Learn the soft landing position
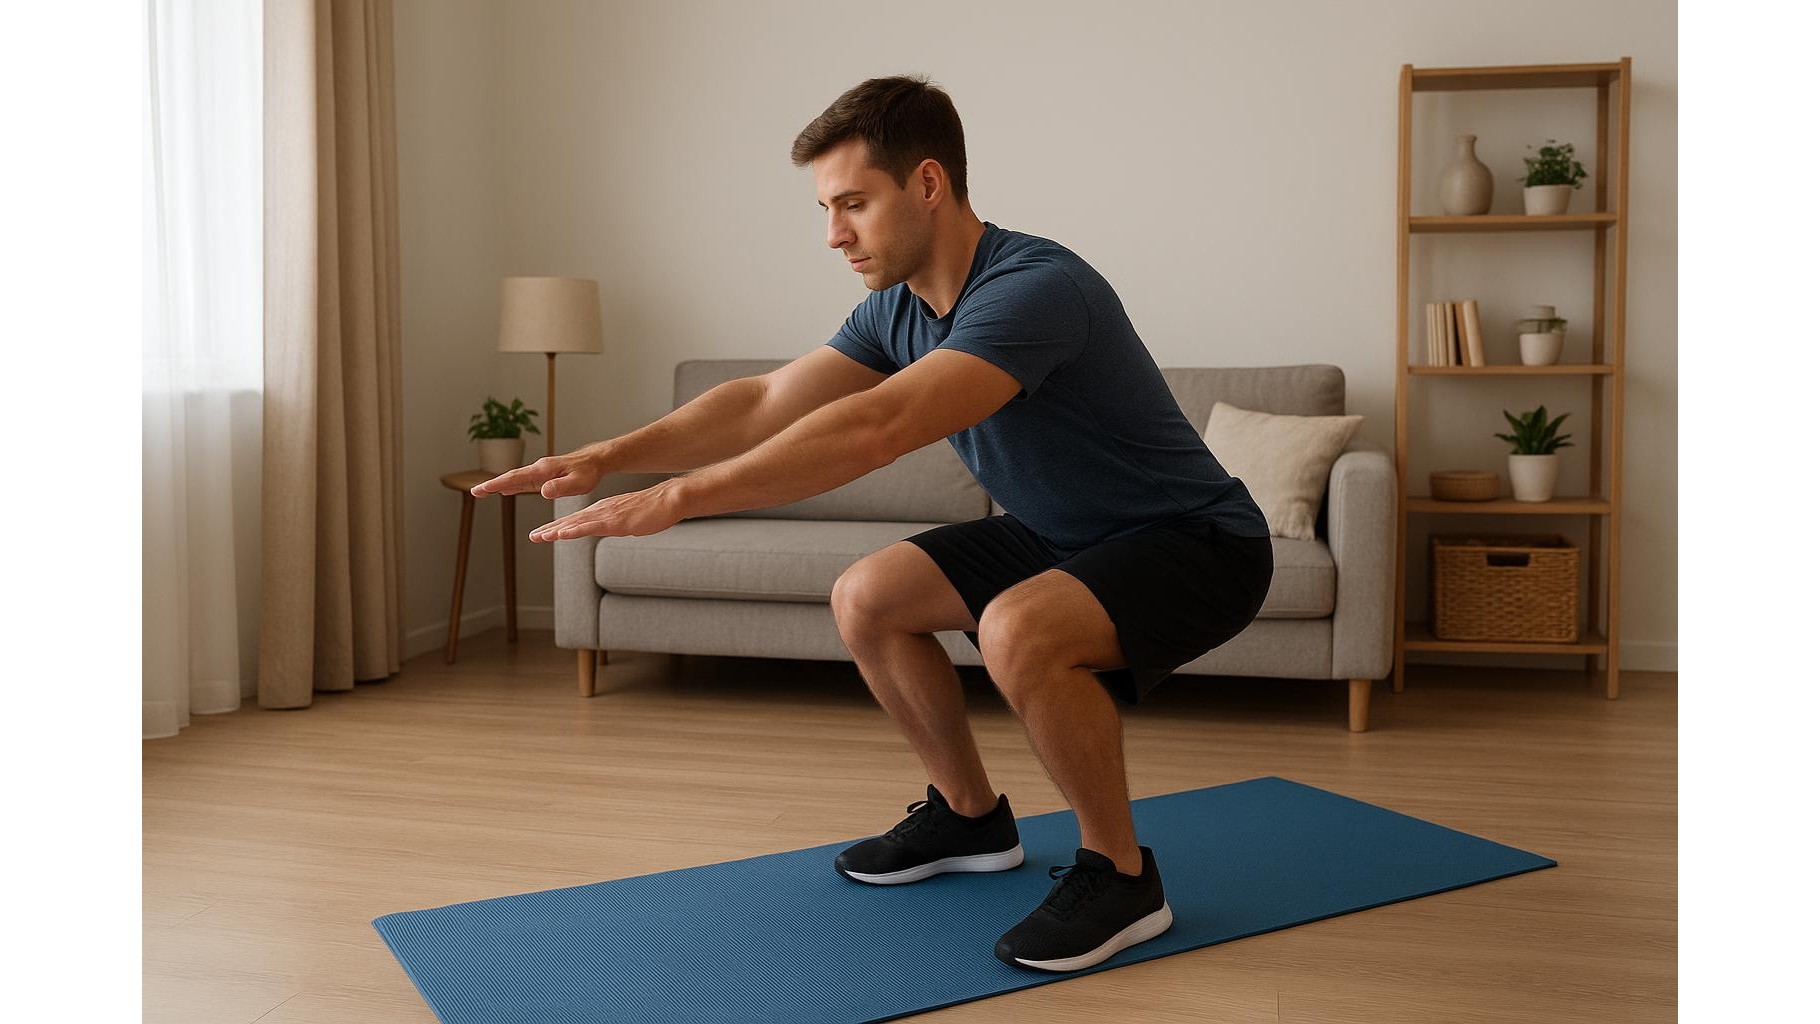
Powerful, joint‑friendly plyometrics start with a solid landing position. Stand with feet hip‑width apart, soften your knees and hips into a mini squat, and keep your chest gently lifted. Imagine sitting back into a chair while keeping your weight evenly through the whole foot, especially the mid‑foot, not just the toes. Practice drop and stick drills: rise onto your toes, then let your heels drop and bend into your landing stance, holding still for 2–3 seconds. Listen for a quiet, cushioned sound as your feet meet the floor and focus on knees tracking over the middle of the foot, not collapsing in. Perform 2 sets of 8–10 reps to groove this pattern before adding any jumping.
Start with low-impact pogo and snap drills
Once your landing mechanics are consistent, introduce very small, controlled jumps. Begin with low-impact pogo hops: keep your knees slightly bent and perform tiny bounces using mostly your ankles, barely leaving the floor. Think of these as rhythmic, springy calf pulses rather than big jumps. Do 15–20 seconds, followed by 20–30 seconds of rest, for 3 rounds. Then practise hip snap drills: hinge your hips back as if closing a car door with your glutes, then drive them forward to stand tall, squeezing your glutes. This pattern is the foundation for more explosive movements like squat jumps, but here you’re rehearsing it without impact. Emphasise smooth, controlled motion and stable knees with every rep.
Add directional and single-leg progressions
To build real‑world athleticism, you need to control force in multiple directions. Progress to lateral step-and-stick drills: take a small step to the side, lower into your landing position, and pause for a 2–3 second balance check. When that feels easy, turn it into a lateral low hop where both feet leave the floor for just a moment, travelling only a few inches side to side. Keep it quiet and low, like skipping over a painted line. Later in the workout, introduce single-leg deceleration: step forward and gently lower onto one foot, sticking the landing before tapping the back foot down for support. This teaches your ankles, knees and hips to share load evenly, improving stability and preparing you for more dynamic single‑leg hops in future sessions.
Put it together: a 25-minute living-room plyo circuit
Combine these elements into a simple circuit you can repeat 2–3 times per week. After your warm‑up, perform: 1) 2 sets of 8–10 drop and stick landings; 2) 3 rounds of 15–20 seconds pogo hops with 20–30 seconds rest; 3) 2 sets of 10 hip snaps; 4) 2 sets of 8 lateral step-and-stick each direction; 5) 2 sets of 6–8 single-leg deceleration steps per side. Rest 30–45 seconds between exercises and 1 minute between rounds. Keep reps crisp, never sloppy; once your form fades, stop the set. This approach keeps impact manageable while still challenging your muscles and connective tissue to react quickly.
Cool down and track your progress
Finish with 3–5 minutes of gentle cool down: slow marching on the spot, deep belly breathing, and light stretches for calves, quads and hips. Note how your landings feel from week to week—quieter feet, better balance and less wobble are all signs your plyometric control is improving. Over time, you can slightly increase jump height or duration, but always maintain your soft, stable landing as the top priority. With this structured, beginner‑friendly routine, you’ll build power, protect your joints and keep your neighbours happy—all from the comfort of your living room.