Building a strong home gym is not just about lifting heavier or running faster. If you never stop to check how your body is actually moving, minor stiffness, asymmetries and overuse patterns can silently grow into full-blown injuries. A simple 20‑minute weekly mobility checkup acts like a service appointment for your joints, helping you adjust training before problems appear.
Why a weekly mobility screen matters for home athletes
When you train at home without a coach’s eye on you, it is easy to repeat the same movement patterns and ignore small warning signs. A structured weekly movement screen helps you track changes in your range of motion, balance and control. Instead of guessing, you can see whether your hips are tighter than last month or if one shoulder is lagging behind. This matters if you lift, run, cycle or follow follow‑along workouts, because most overuse injuries start as slight restrictions or compensations. By committing to a 20‑minute check once a week, you create an early‑warning system that keeps your training sustainable.
Warm‑up and simple self‑assessment setup
Start your mobility checkup with 3–5 minutes of easy warm‑up: marching in place, light jumping jacks or a gentle walk around the room. The goal is to raise body temperature, not to get tired. Then clear a small area against a wall and on the floor. You only need basic home gym equipment like a mat and a stable chair or box. Have a notebook or notes app ready: writing down how movements feel is essential. Rate each drill from 1 (very stiff or painful) to 5 (smooth and easy). Over time, these simple scores will highlight trends. If anything causes sharp pain, stop immediately and note it as a red flag to discuss with a professional.
Upper‑body mobility: shoulders, spine and wrists
Begin standing with your back against a wall, feet about 15 cm away, and try to slide your arms up into a “Y” shape while keeping ribs and lower back gently against the wall. This wall “snow angel” position reveals shoulder mobility and upper‑back stiffness. If your hands cannot touch the wall or your lower back arches off strongly, you likely have restrictions in your thoracic spine or shoulders. Next, perform slow neck rotations and side bends, noting any side that feels tighter. Finish with a simple wrist and forearm check by going into a tabletop position on the floor and gently leaning forward over your hands. Limited range or discomfort here can signal overuse from push‑ups, pressing or keyboard work that needs deloading or extra mobility work.
Lower‑body mobility: hips, ankles and hamstrings
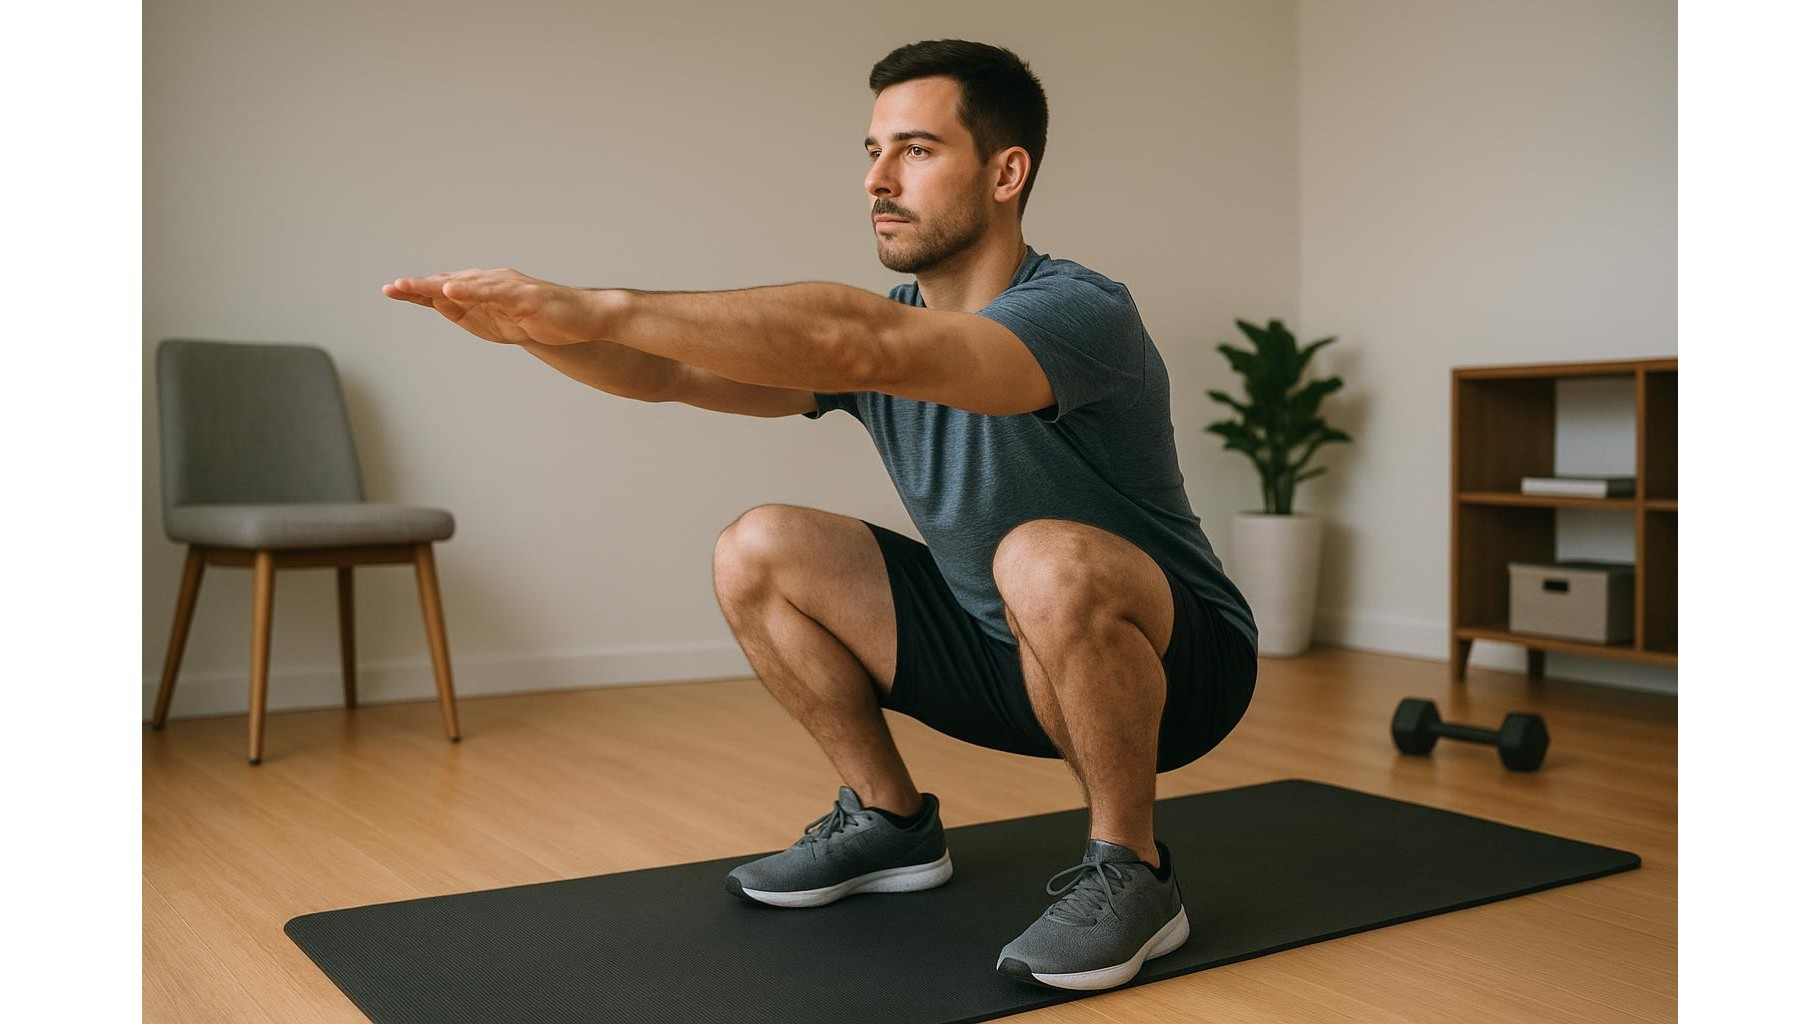
Lower‑body stiffness is a common source of overuse injuries in home athletes who squat, lunge and jump frequently. Start with a deep squat hold, using a doorframe or chair for light support if needed. Check whether one side of the hip feels tighter or if your heels lift off the floor, signalling ankle mobility limits. Then lie on your back and perform a straight‑leg raise on each leg, keeping the opposite leg flat on the floor. This quickly reveals differences in hamstring and sciatic nerve mobility. Finally, do a split‑stance calf stretch against a wall, bending the front knee forward while keeping the heel down. Compare sides: a stiffer ankle often matches knee or Achilles discomfort later, giving you a clear cue to add targeted ankle work into your weekly plan.
Functional movement patterns and asymmetry checks
Functional checks connect your joint mobility to real‑life movement patterns. Perform 5 slow bodyweight squats, 5 reverse lunges per leg and 5 controlled push‑ups or incline push‑ups. Watch for weight shifting, knee collapse inward, or one arm doing more work than the other. Follow with a single‑leg balance test: stand on one leg for 20–30 seconds, eyes open, then repeat with eyes closed if safe. Note which side wobbles more. These simple screens expose asymmetries that may not be obvious during faster workouts. If a pattern repeatedly shows up – for example, left knee collapsing in every lunge – that is a clear signal to add corrective strength and mobility for that area and to reduce heavy or high‑impact work until control improves.
Turning your results into smart training adjustments
The value of a weekly mobility screen comes from what you do with the information. After each session, highlight the stiffest areas and any movements that scored 1–2 or felt painful. For the coming week, slightly reduce the volume or intensity of exercises that stress those regions – fewer deep squats if hips are tight, fewer push‑ups if shoulders are restricted. Replace them with low‑load mobility drills, controlled tempo work and recovery tools available in most home gym setups, such as gentle stretching and self‑massage. Over several weeks, your notes should show smoother movement and more balanced scores. If a joint stays problematic or pain worsens, treat your log as vital data and seek a qualified professional before resuming heavy training.
A 20‑minute weekly mobility checkup is a simple habit that helps home athletes stay ahead of stiffness, asymmetries and overuse. By regularly scanning shoulders, spine, hips and ankles, and observing how you squat, lunge, push and balance, you turn your living room into a personal performance lab. The result is smarter programming, fewer setbacks and a stronger, more resilient body for every workout you tackle at home.