If you live with a sensitive or painful back, a home rowing machine can be a powerful ally or your worst enemy. Used correctly, it offers low-impact cardio that strengthens your core and supports your spine. Used badly, it can crank up pressure on your lumbar area and leave you hobbling off the seat. This guide walks you through setting up your rower, dialling in damper and foot position, and cleaning up your technique so your sessions stay as back-friendly as possible.
Choose the right resistance settings for a bad back
On most rowers, especially air models, the side lever is the damper, not a direct “difficulty” dial. For a bad back, rowing heavy and slow is usually a mistake because it encourages you to yank with your spine instead of your legs. Start with a low to moderate damper (often around 2–4 on a 10-point scale) so the flywheel feels smooth and light. This lets you focus on posture and rhythm rather than muscling each stroke. If your monitor shows a stroke rate, target 22–26 strokes per minute for steady cardio instead of grinding at a very low rate with high force. Lower resistance plus higher rhythm spreads the load across your hips and legs while reducing peak stress on the lower back.
Dial in foot position to protect your lumbar spine
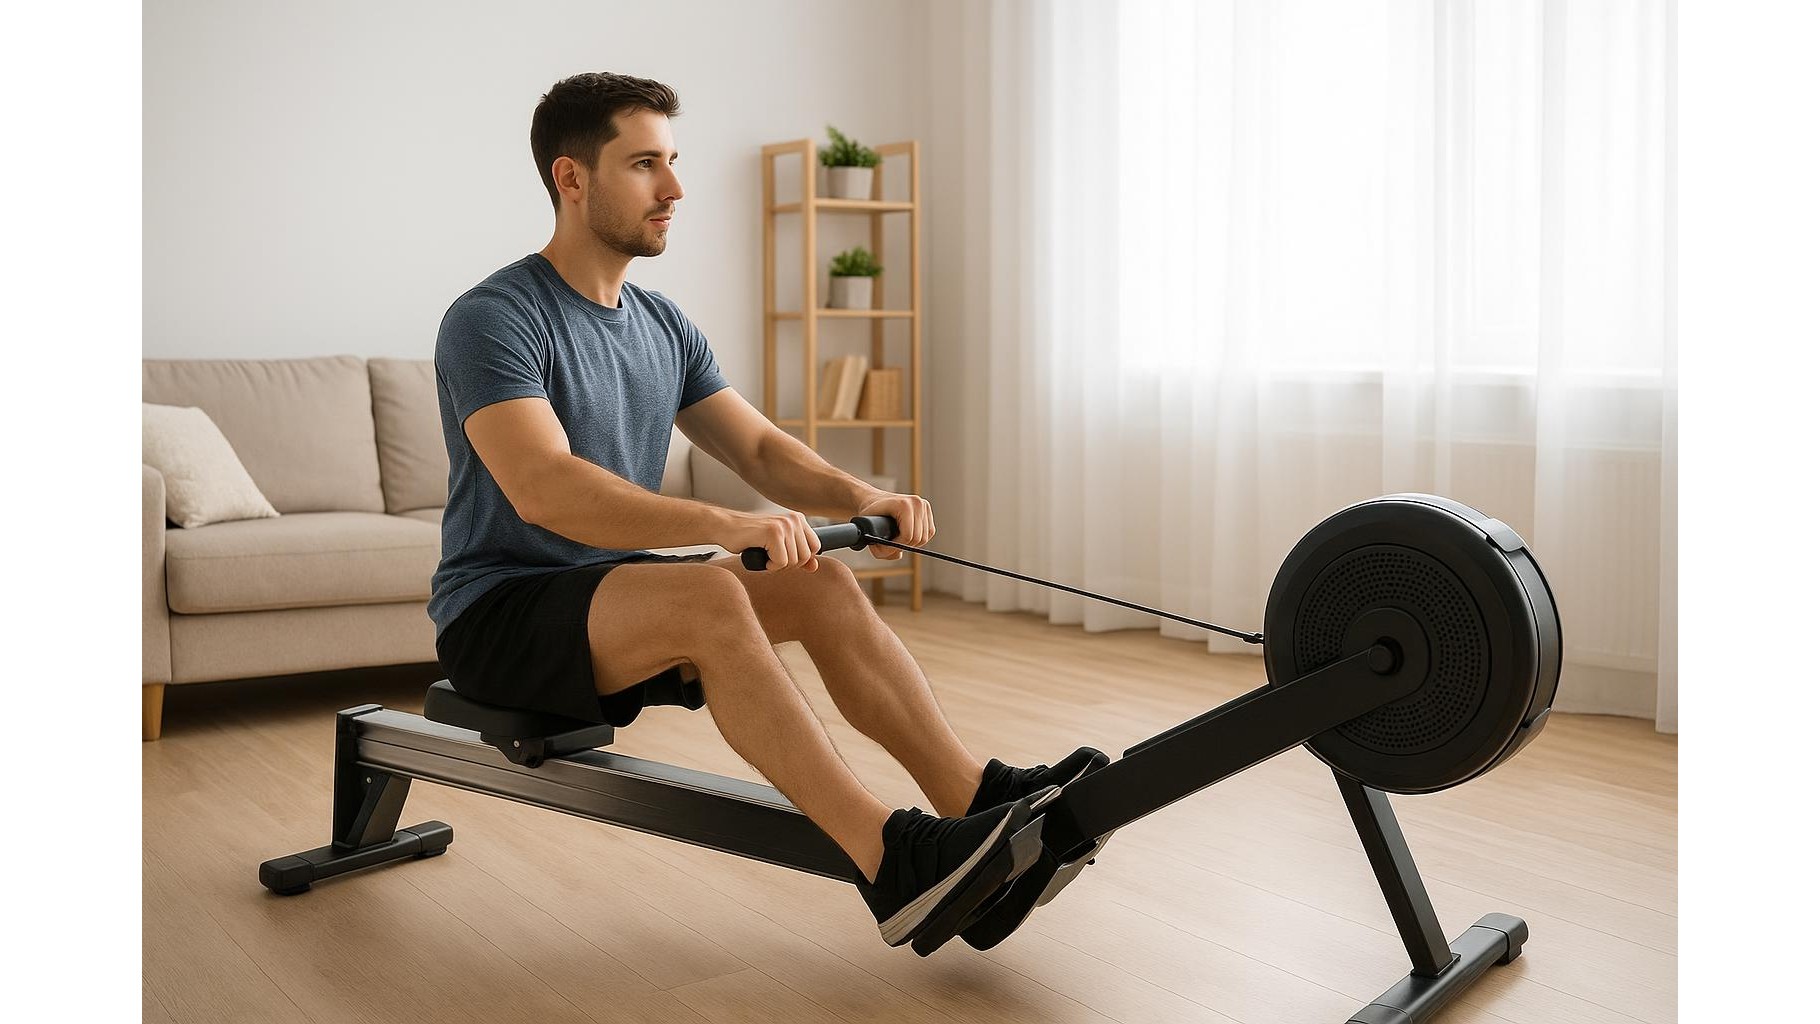
Your footplate and straps quietly control what happens to your lower back. Setting the footplates too low can lock your ankles and force your knees too high, rounding your spine at the front of the stroke. For a back-friendly rowing position, raise the footplates so that, when you come to the “catch” (front of the stroke), your shins are roughly vertical and your heels can stay just off the footplate without strain. Tighten the foot straps firmly over the widest part of your foot to keep your feet planted, but not so tight that you can’t pivot your ankles. You should be able to lean from the hips, not from your lower back. If your hamstrings are tight, shorten the stroke slightly instead of collapsing your spine to reach further forward.
Master a joint-friendly rowing technique
Good rowing technique for bad backs hinges on a simple sequence: legs, body, then arms. Start each stroke by pushing the seat away with your legs while keeping your torso leaning slightly forward from the hips and your spine long and neutral. As your legs approach straight, swing your torso back to an upright or slightly reclined position, then finish by pulling the handle to about the lower ribs. On the way back, reverse that order: arms extend, body pivots forward from the hips, then knees bend. Keep the chain level, wrists straight, and shoulders relaxed. Think of your core as a brace that transfers power from hips to handle rather than a driver of the movement. If you feel your lower back doing the work instead of your legs and glutes, reduce resistance, slow the stroke, and refocus on the legs–body–arms flow.
Avoid common form mistakes that aggravate pain
Certain habits almost guarantee back discomfort on a rower. The biggest is rounding the lower back at the catch to reach further forward. Instead, keep your chest gently lifted and hinge from the hips; shorten the stroke if needed. Another culprit is overextending at the finish, leaning too far back and slamming the handle into the body, which compresses the lumbar spine. Aim for a small, controlled recline rather than a dramatic lay-back. Don’t rush the slide forward between strokes; gliding slowly helps you reset posture and avoid jerky movements. Finally, gripping the handle like a barbell tenses your forearms and shoulders, often pulling your spine out of alignment. Use a light, relaxed grip, with the chain moving in a straight line and your elbows brushing lightly by your sides.
Structure low‑impact rowing sessions around your back
For many people with a bad back, short, frequent sessions beat occasional marathons. Begin with 5–10 minutes of easy rowing at low resistance to check how your spine responds. You can build up to 20–30 minutes of steady-state cardio by adding just a few minutes per session. A useful format is intervals: for example, 1 minute of gentle rowing, 1 minute of complete rest or standing mobility drills for your hips and hamstrings. Incorporate a brief warm-up of pelvic tilts, cat–cow, and hip hinges before you sit on the rower, and finish with glute and hamstring stretches. If you feel sharp, localised pain, stop immediately; if you notice mild stiffness, shorten the session, lower the damper, and focus on smoother strokes. Over time, consistent, well‑structured rowing can strengthen your core and posterior chain, giving your spine better support in everyday life.
Rowing can be one of the most spine-friendly cardio options you own, provided you respect your limits and pay attention to setup and form. By keeping the damper low, optimising foot position, and committing to clean technique, you turn your home rower into a tool for building resilience instead of irritation. Combine this with sensible session lengths, regular mobility work, and a willingness to stop when your back objects, and you can enjoy the conditioning benefits of rowing while keeping soreness and flare‑ups at bay.