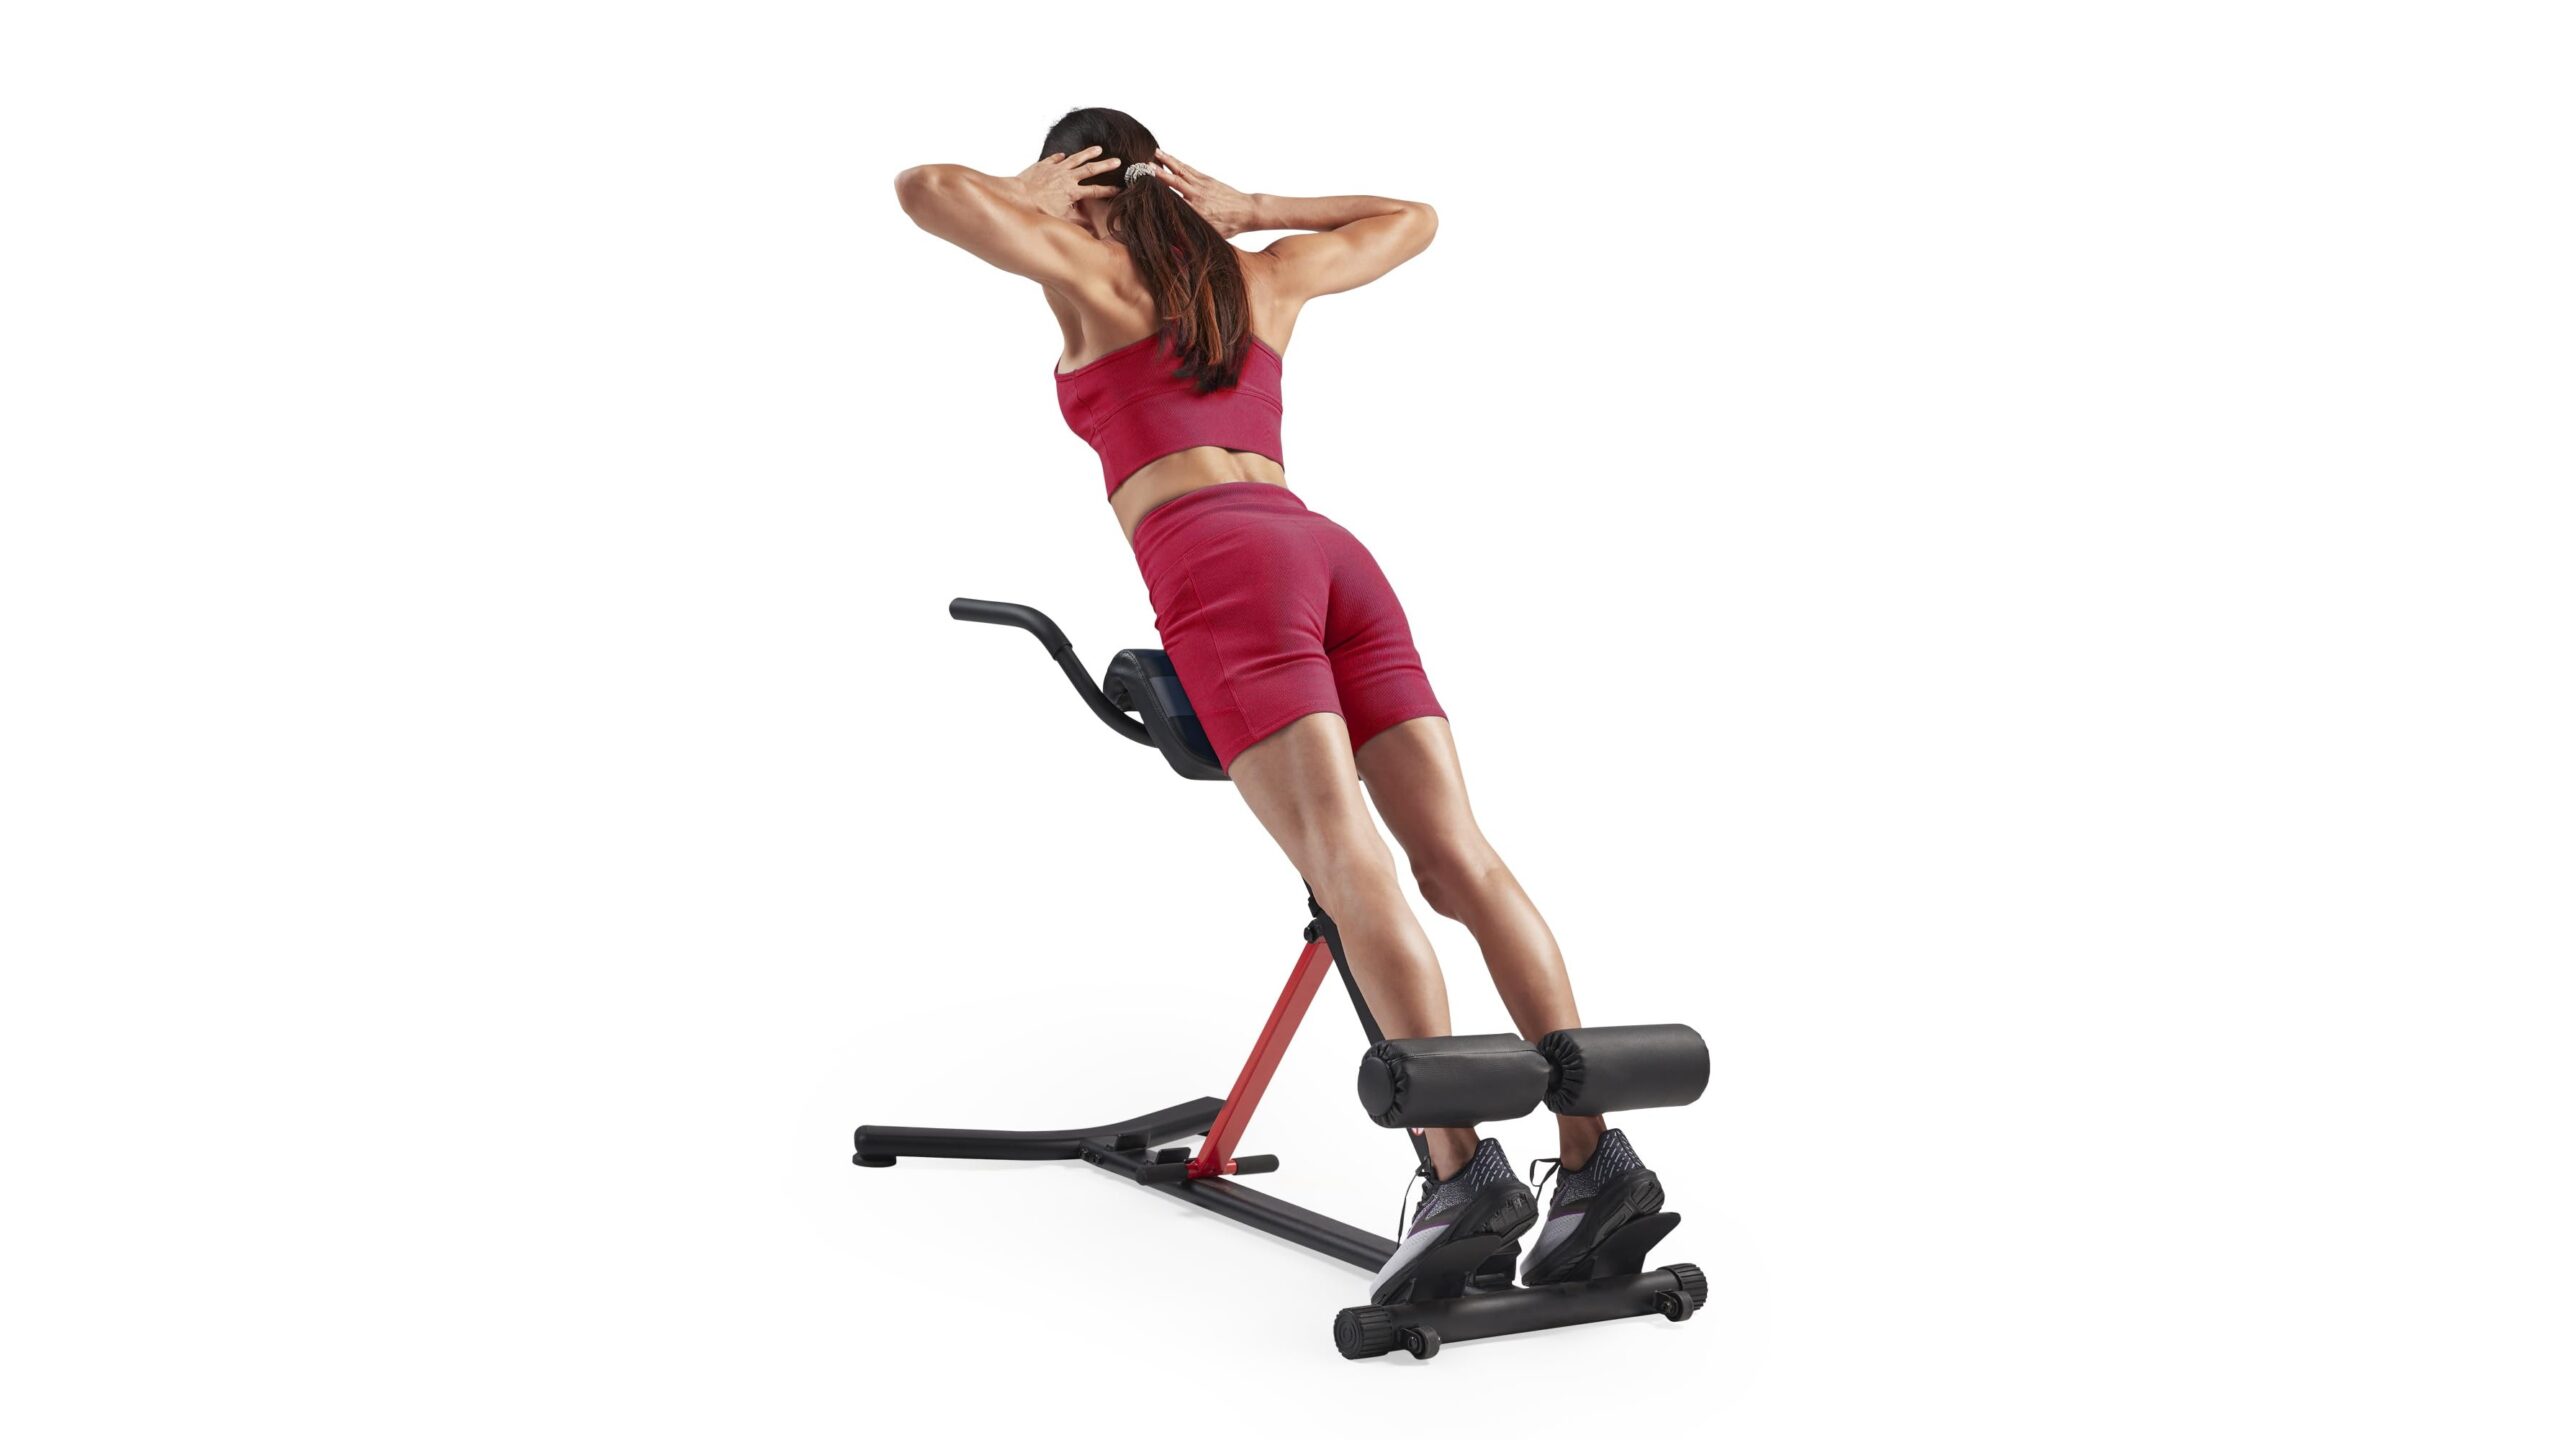
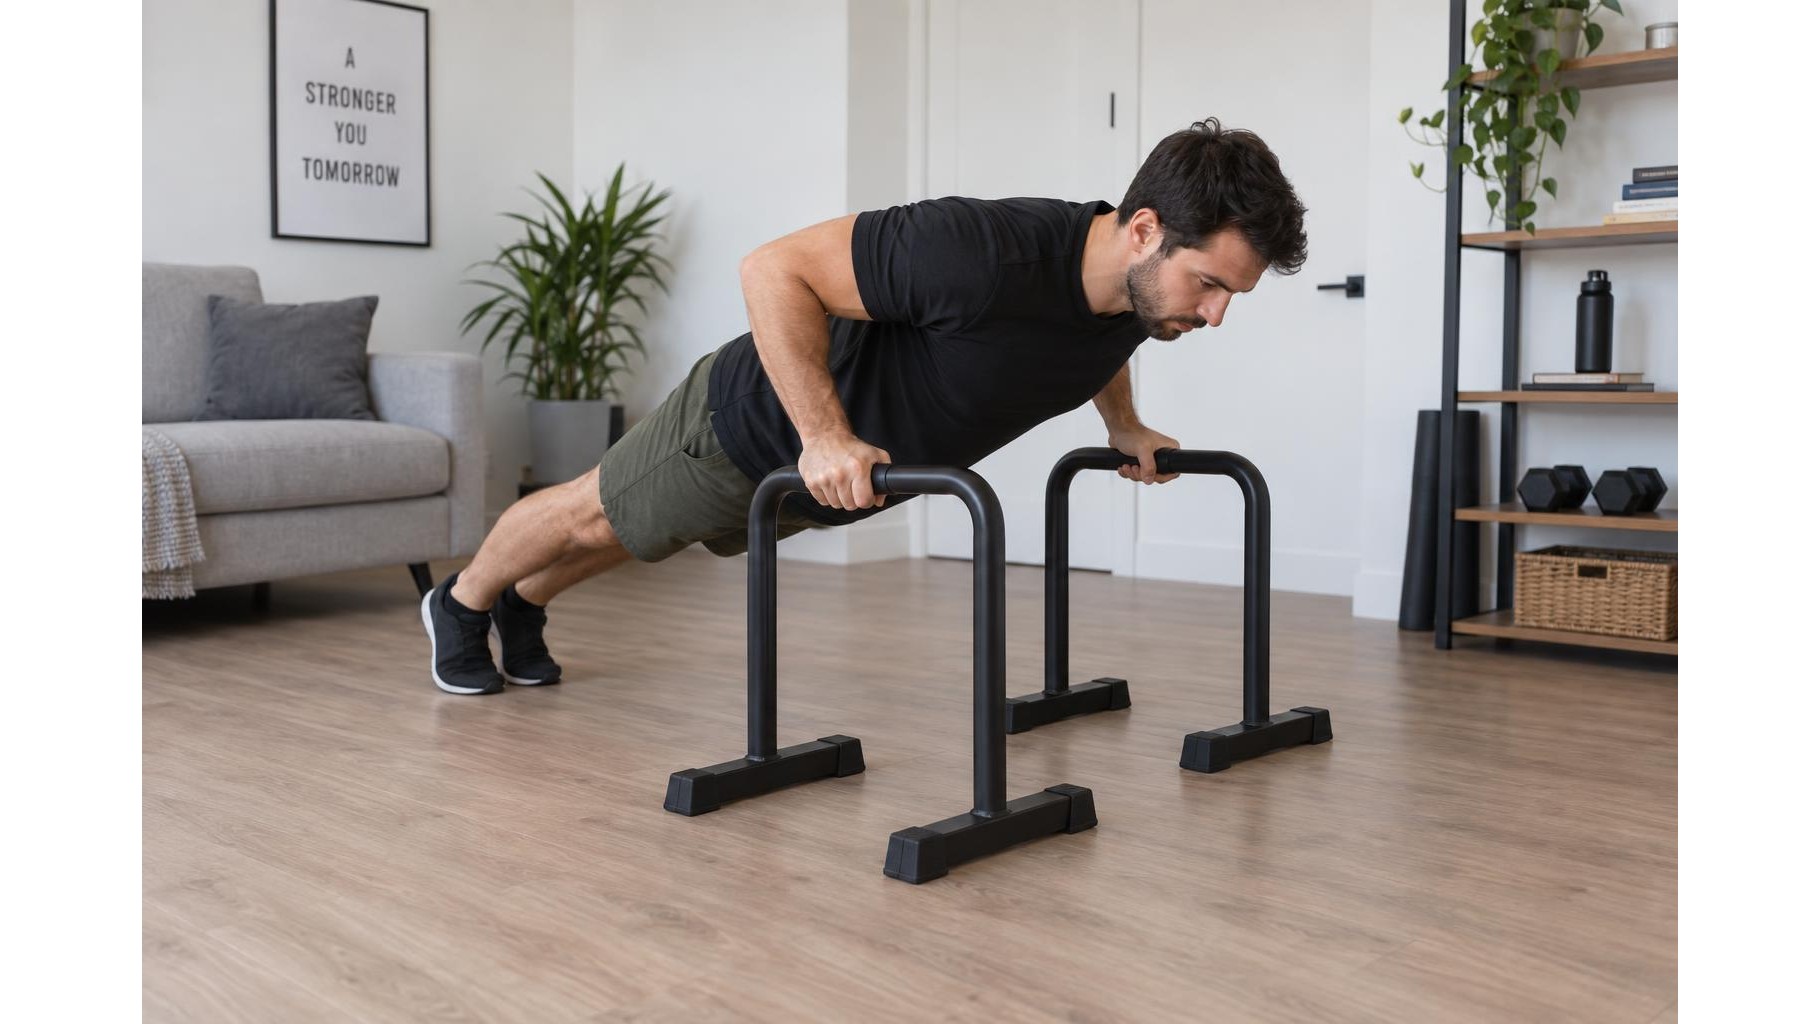
Tall parallettes can turn a small home training area into a versatile space for building upper-body strength and body control. Their raised handles offer room for deeper movement, but every repetition should stay smooth and pain-free. This 25-minute session combines incline push-ups, support holds, knee raises and optional controlled dips. Scale the exercises to your current ability, prioritize a stable setup, and stop if you feel sharp pain or the bars shift.
Set up safely and warm up
Allow about three minutes to prepare, then check that both parallettes sit on a dry, level, non-slip surface. Place them parallel and shoulder-width apart, and press down on each handle to test for rocking or sliding before you begin. Make sure there is clear space around and beneath the bars. Warm up with easy wrist circles, shoulder rolls, arm swings and a few wall push-ups. Keep your hands around the middle of each handle and avoid placing the bars on soft rugs that could move under load.
Incline push-ups for pressing strength
Work for four minutes, alternating 8–10 incline push-ups with 30–40 seconds of rest. Hold the bars and walk your feet back until your body forms a straight line from head to heels. Bend your elbows to lower your chest between the handles, then press the bars away without shrugging your shoulders. Keep your ribs gently drawn in and use a range of motion you can control. Beginners can raise the incline by placing the bars against a secure wall or use fewer repetitions. If the setup cannot be made secure, perform the movement against a wall without the parallettes.
Support holds for shoulder control
Spend four minutes on short support holds, resting 30–45 seconds between attempts. Grip the handles, press down and lift your feet just clear of the floor only if you can do so without jumping or swinging. Keep your elbows straight but not forcefully locked, shoulders away from your ears and body still. Aim for 10–20 seconds per hold, stopping before your shoulders or wrists lose position. For an easier version, keep your toes on the ground and take some weight through your legs. The goal is steady pressure through the hands, not a maximum-duration challenge.
Knee raises with a quiet torso
Use four minutes for 6–10 controlled knee raises followed by 30–45 seconds of rest. Begin in a supported hold, brace your midsection and bring both knees toward your chest without rocking the bars or swinging your hips. Lower your legs slowly until your toes return to the floor, then reset. If lifting both feet is too demanding, alternate gentle single-knee lifts while keeping one foot grounded. You can also practice seated knee tucks on a stable chair instead. Keep each repetition deliberate; a smaller range is useful when it lets you maintain control.
Choose dips only if ready
For the final four-minute block, choose controlled dips or repeat incline push-ups. Attempt dips only if your support hold feels stable and you have no shoulder or wrist discomfort. From the top support, bend your elbows slightly to lower a small distance, keeping them close to your sides, then press back up. Try 3–5 slow repetitions, with 45–60 seconds of rest; do not descend into a deep stretch. Beginners should keep their feet on the floor and practice shallow assisted bends, or skip dips altogether. Finish with easy shoulder and wrist movements, and note which variation felt smoothest.
Finish with consistency, not fatigue
This session takes about 25 minutes: three minutes to warm up and check the setup, followed by four four-minute exercise blocks and a brief transition between them. Rest longer whenever your form needs it, and leave a repetition or two in reserve rather than pushing to failure. Across future sessions, build gradually by adding a repetition, extending a hold by a few seconds or choosing a slightly harder variation—not all at once. Stable equipment, comfortable ranges and patient practice are the foundations for stronger pressing and better control at home.